About Xbox One System Error e102
Though system updates can be done without any issues in most time, some users still suffer from issues like Xbox system error e102 in this process. Some even receive the error at startup. The error code varies from person to person.
Some commonly received error codes and similar types of Xbox One system error e102 are listed as follows.
- Xbox One system error e106
- Xbox system error e208
- Xbox One error e207
- Xbox One system error e101
- System error e102 10030c02 8007045d
- Xbox One offline update
What Causes Xbox System Error e102
The reasons for the Xbox One X system error e102 are complicated. It may occur in different cases. For instance, some people claim that network issues cause the error, while others state that bad system updates trigger the issue. To be short, there are multiple factors that could result in the Xbox system error e102.
Here, some possible causes of the Xbox One system error e102 are summarized. You can take them as your reference while executing Xbox One system error e102 fixes.
- Bad network
- Bad system updates
- Corrupted files
- Previous system files interference
Based on the above possibilities, several solutions to Xbox system error e102 are provided.
Solution 1: Re-Sign the Xbox One
Re-signing the Xbox One account is a simple Xbox One system error e102 fix. You just need to sign out and then sign back. Through this operation, your customisations will be restored to the default factory settings and you will be allowed to properly use the console again.
Besides, it can help you identify if the Xbox One system error e102 happens because of corrupted files. If the issue still persists after signing back, try other solutions immediately.
Solution 2: Restart the Xbox Console
A restart will erase glitches with the console. Restarting the console also has been proven to be useful for fixing the Xbox system error e102. To restart the console, simply hold down the Xbox button and click on Restart this Xbox. Then check if the discussed error is resolved.
Read also: Fix Xbox Sync Button Not Working with Top 5 Fixes
Solution 3: Perform an Offline Update
If your onboard console flash has a newer OS version than what you have on the HDD/SSD or the recovery flash drive, you will receive the Xbox system error e102 as well. In this case, you need to get a flash drive with the latest OSU 1 version and then install it to your console.
This whole process is divided into 3 parts. To successfully perform an offline update, you should check the parts one by one and follow the given steps.
Part 1: Prepare a USB Drive with NTFS Format
Firstly, get a USB flash drive with 8GB free space at least. Then format it to the NTFS file system. You have multiple options to format the USB drive to NTFS. Before starting the format process, connect the USB drive to your computer.
Option 1: Use File Explorer
Step 1: Press Windows and E keys to open File Explorer.
Step 2: In the File Explorer window, click on This PC in the left panel and then move to the right side of the window to find the connected USB drive.
Step 3: Right-click on the USB device and click the Format option in the pop-up menu.
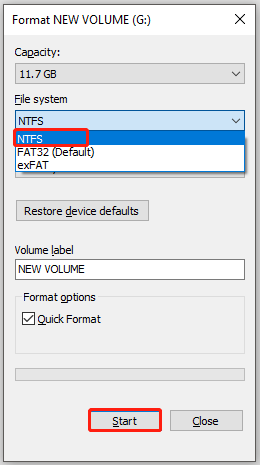
Step 4: In the Format window, choose NTFS from the drop-down menu of File System and tick the Quick Format checkbox.
Step 5: After that, click the Start button to execute the operation. If you are prompted with a warning window, click OK to confirm the operation.
Option 2: Use Disk Management
Windows built-in Disk Management utility can also format a drive to NTFS quickly. For doing that, follow these steps.
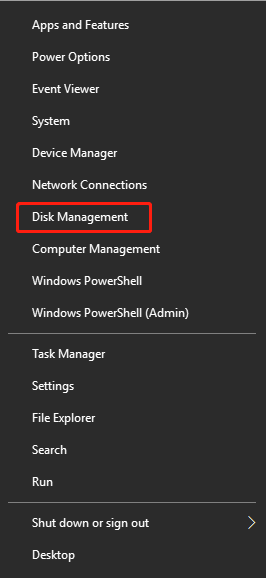
Step 1: Right-click on the Windows icon on the desktop and click Disk Management.
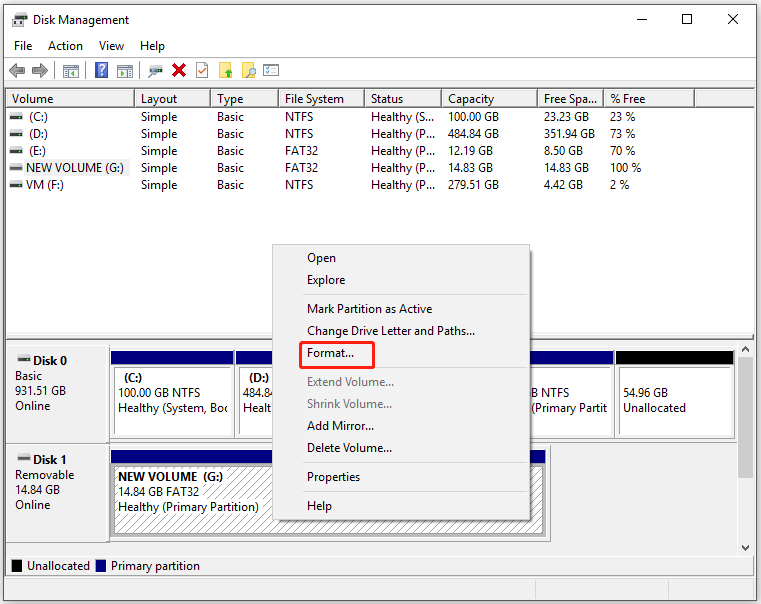
Step 2: Right-click on the USB drive and click Format.
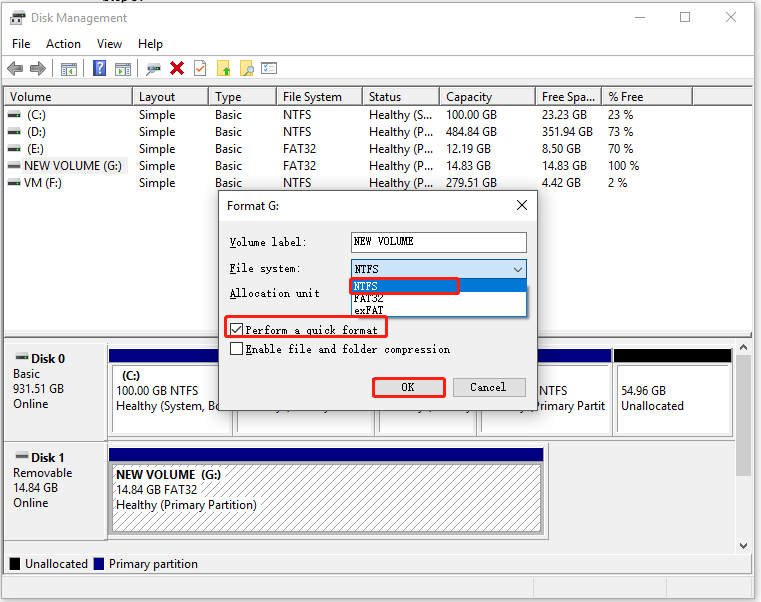
Step 3: In the elevated window, choose NTFS file system and tick the Perform a quick format checkbox. After that, click OK to carry out the operation. If a warning window pops up, allow the operation by clicking OK.
Option 3: Use MiniTool Partition Wizard
Though File Explorer and Disk Management can format the USB drive to NTFS easily, they sometimes won’t work. For instance, you may encounter issues like “Disk Management Format option grey out” and “Windows was unable to complete the format” while using the two utilities.
At this time, MiniTool Partition Wizard works. As a partition management expert, it enables you to format a disk or partition within a few clicks. Actually, it is used as an SD card formatter and USB formatter.
More importantly, if the current file system of your USB drive is FAT32, MiniTool Partition Wizard allows you to convert FAT32 to NTFS without losing data. Then you can directly convert the file system instead of formatting the USB device. By doing so, you won’t lose your data.
MiniTool Partition Wizard FreeClick to Download100%Clean & Safe
Format the USB Drive to NTFS
Step 1: Launch MiniTool Partition Wizard to enter its main interface.
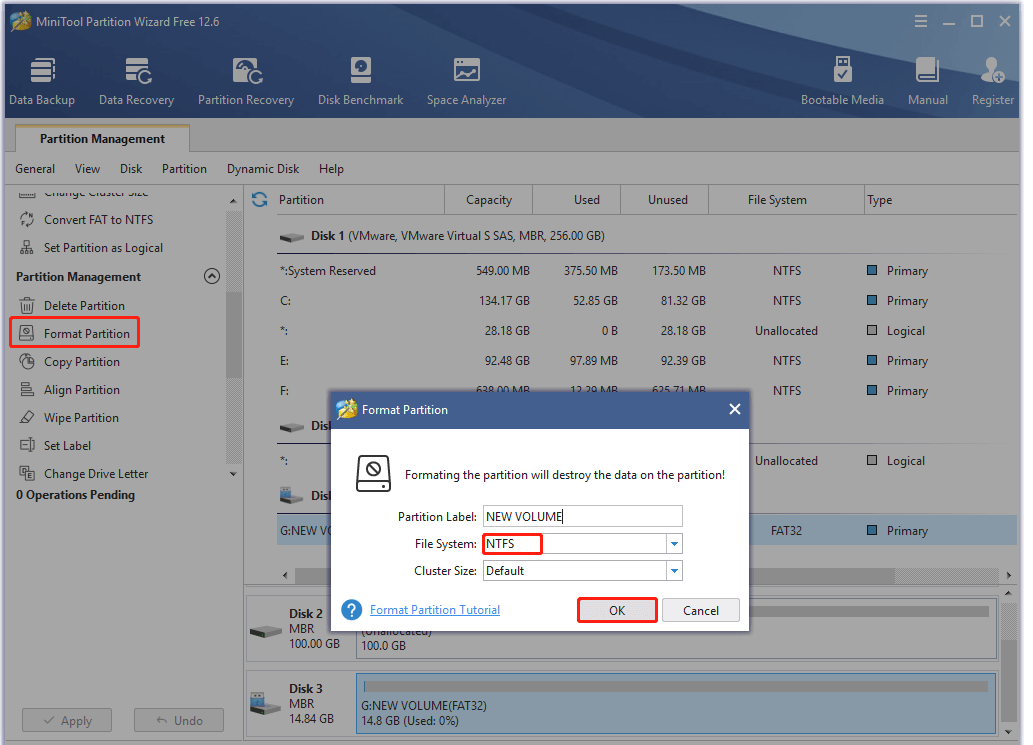
Step 2: Click on the USB drive and click the Format Partition feature.
Step 3: In the prompted Format Partition window, set parameters including partition label, file system, and cluster size. NTFS is selected by default. Hence, if you don’t have other demands, just follow the default settings and click OK to continue.
Step 4: Tap Apply to carry out the operation.
Also read: What Does Formatting a Hard Drive Do? Here Are Answers
Convert FAT32 to NTFS
If your present USB drive’s file system is FAT32, simply convert it to NTFS with MiniTool Partition Wizard. The advantage of this operation is that it won’t cause data loss.
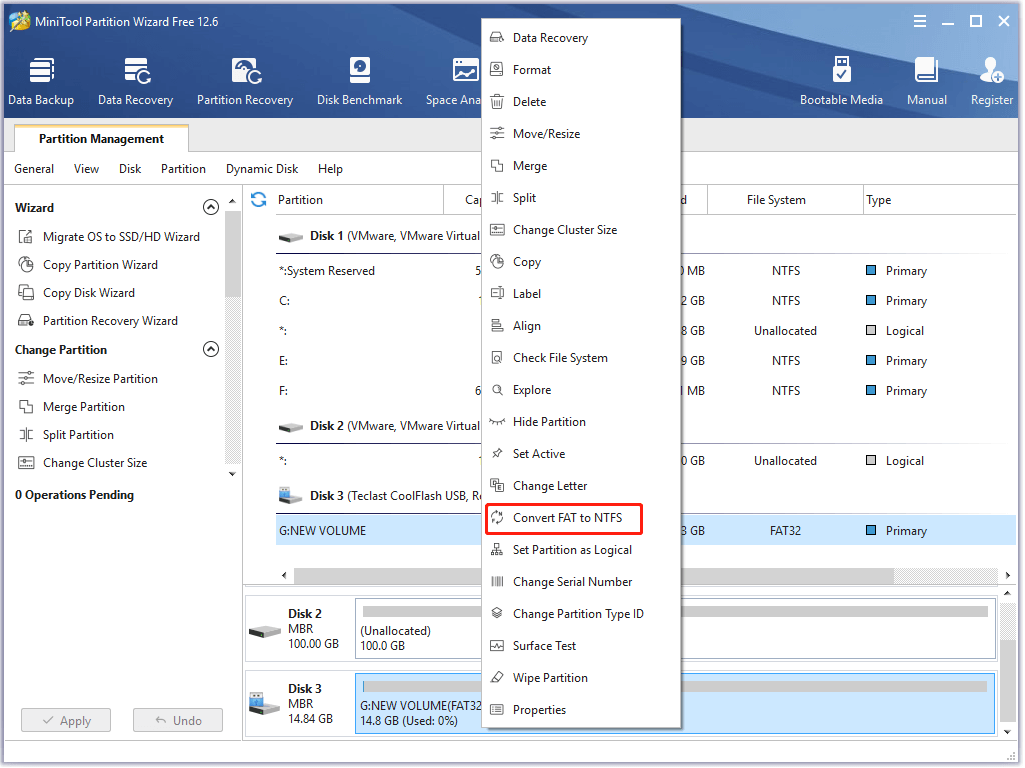
Step 1: After entering the main interface of MiniTool Partition Wizard, right-click on the USB drive and click Convert FAT to NTFS.
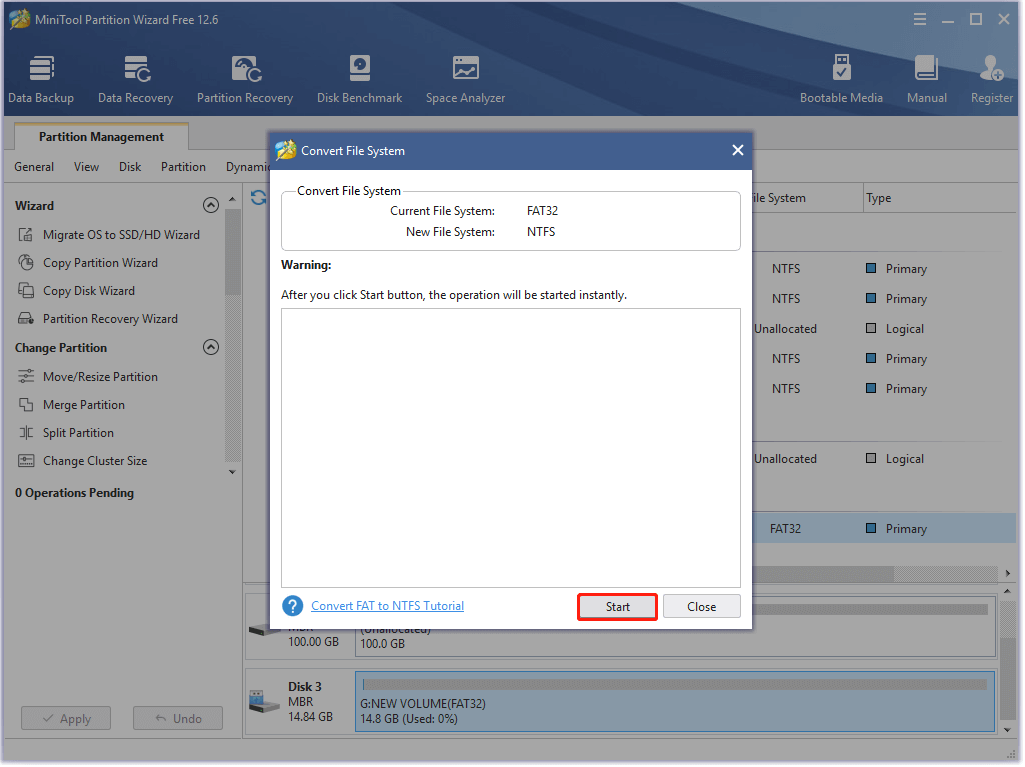
Step 2: Click Start to begin the conversion. After a while, the conversion will be completed.
Part 2: Get the OSU 1 File
After preparing a USB drive with NTFS format, it’s time to get the OSU 1 file on your USB device. For that, please refer to these steps.
Step 1: Click here to download the latest version of the Xbox One console’s OS. The download process may take you some time, so you need to wait patiently.
Step 2: After the download ends, extract the files to your USB drive.
Part 3: Insert the USB into the Xbox Console
Step 1: Turn off the Xbox One console and then connect the USB drive with the OSU 1 file included to the console.
Step 2: Hold down the Bind and Eject buttons, and then press the Xbox button.
Step 3: Release these buttons when you hear 2 power-up tones.
Step 4: Then you will see the Offline system update option in the pop-up Startup Troubleshooter screen. Choose this option by pressing X on your controller.
Step 5: Then the screen prompts you with the “Preparing console…” message. The time taken by the process depends on the read/write speed of your USB flash drive ranging from 15 minutes to 45 minutes.
Step 6: After the process finishes, your Xbox One console will restart automatically. Wait until the console is ready to boot up.
Also read: LOOT Failed Exit Code 1 Error Removal Guide
Solution 4: Reset the Console via the Xbox One Troubleshooter
Resetting the Xbox console is one of the available Xbox One system error e102 fixes. You can reset the console via the Xbox One Troubleshooter with the following steps.
Step 1: Turn off your Xbox console and then disconnect the power cords.
Step 2: Wait for 30-60 seconds.
Step 3: Hold the Bind and Eject buttons at the same time. During that, keep pressing on the Power button until you hear two power-up tones. Then you can release the Bind and Eject buttons and you will see the Xbox Startup Troubleshooter on the screen.
Step 4: Choose Reset this Xbox > Remove Everything to execute the operation.
Step 5: Wait for the finish of the process.
Bottom Line
If you receive Xbox One system error e102 or other similar error codes, you can use the given solutions to fix them. As all the detailed steps are provided, you don’t have to worry about the operation.
Do you have any thoughts about this error? Do you encounter any difficulties while using these solutions? You can leave your words in the following comment area. If you meet any issues with MiniTool Partition Wizard, directly contact us via [email protected].
User Comments :