A lot of users run into the BSOD error code 0xc0e90001 when accessing WinRE. Is it tricky to get rid of the error? Don’t worry. Partition Magic shares several proven solutions for the Windows 11 error code 0xc0e90001.
Possible Causes of the Error Code 0xc0e90001
According to user reports, the BSOD error 0xc0e90001 mainly occurs when entering WinRE with a bootable USB or resetting Windows. There are different possible reasons for the error code, including a corrupted ISO file, a faulty hard drive/USB, an outdated Windows version, and some unknown bugs.
Don’t worry. This post summarizes 5 feasible solutions for the “Windows 11 an error has occurred 0xc0e90001” error. Let’s start trying.
Fix 1. Use the Keyboard to Enter WinRE
If you encounter the BSOD error 0xc0e90001 on a Surface laptop, you can use the keyboard shortcut to enter WinRE. For that:
Step 1. Power down your Surface laptop and unplug the power cable.
Step 2. Press and hold the Volume-up button on your laptop while pressing the Power button simultaneously.
Step 3. Release the Power button until the Surface logo appears. Then hold the Volume-up button and release until the UEFI screen appears. After that, the error 0xc0e90001 in WinRE should disappear.
Fix 2. Install Windows Updates
Some users from answers.microsoft.com reported that the Windows 11 error code 0xc0e90001 has been solved in the new version of Windows 11. Here you can download the new update from Microsoft and install it manually.
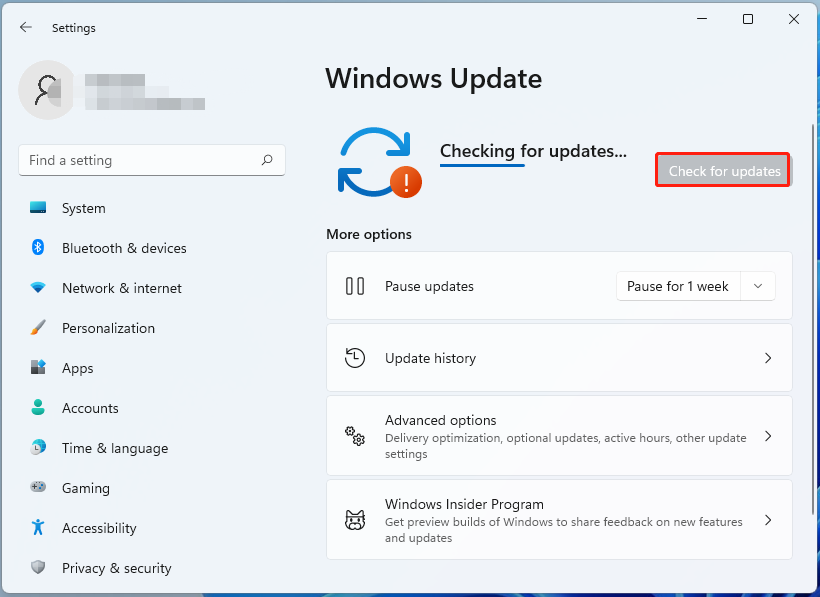
To update Windows 11 automatically, press the Win + I keys to open the Settings window, select Windows Update, and click on Check for updates, then wait for the update to complete.
Fix 3. Use the Surface Recovery Image
For some Reddit users, the BSOD error 0xc0e90001 can be solved by downloading the Surface Recovery Image and burning it to a USB drive. Then you can boot the laptop from the USB and proceed to enter WinRE, which can help repair the error code and revert your system to a normal state.
Fix 4. Perform a System Restore
If there are system restore points on your computer, you can try performing a system restore. This can revert your system to an earlier state in which the “an error has occurred 0xc0e90001” issue doesn’t appear.
Step 1. Press the Win + R keys to open the Run dialog box, type rstrui.exe in the box, and press Enter. Then it will automatically open the System Restore window and click on Next.
Step 2. In the list of all system restore points, select the Restore point where your system works fine and click on Next. Here you can tick the checkbox next to Show more restore points.
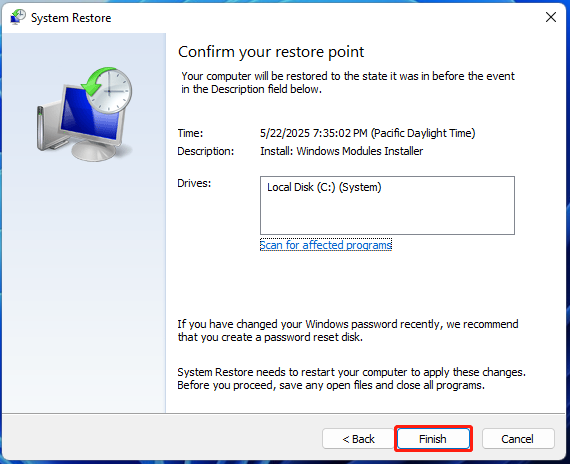
Step 3. Click Finish to confirm the restore point. Then wait for the process to finish and reboot your system.
Fix 5. Check Your Hard Disk and USB
If none of the solutions work for the Windows 11 error code 0xc0e90001, it may indicate that there is something wrong with your hard disk or USB drive. So, you’d better check them for errors using a free checker – MiniTool Partition Wizard. It allows you to check bad sectors and repair logical errors on the storage device.
MiniTool Partition Wizard FreeClick to Download100%Clean & Safe
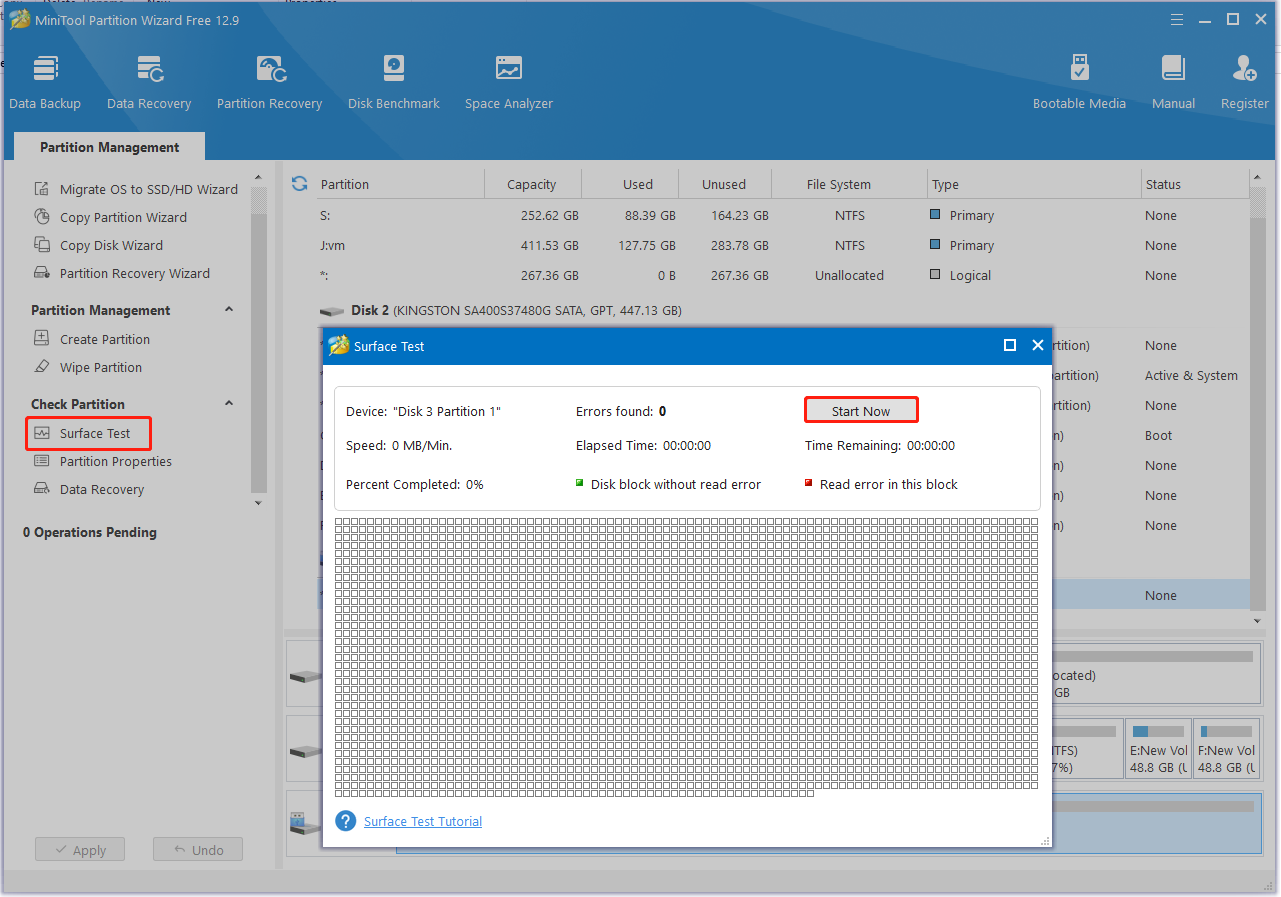
Step 1. In the main interface, select the USB drive or your hard disk, and click on Surface Test from the left panel.
Step 2. Click on Start Now and wait for the process to complete. If any blocks are marked with red color, it indicates there are physical bad blocks on the disk.
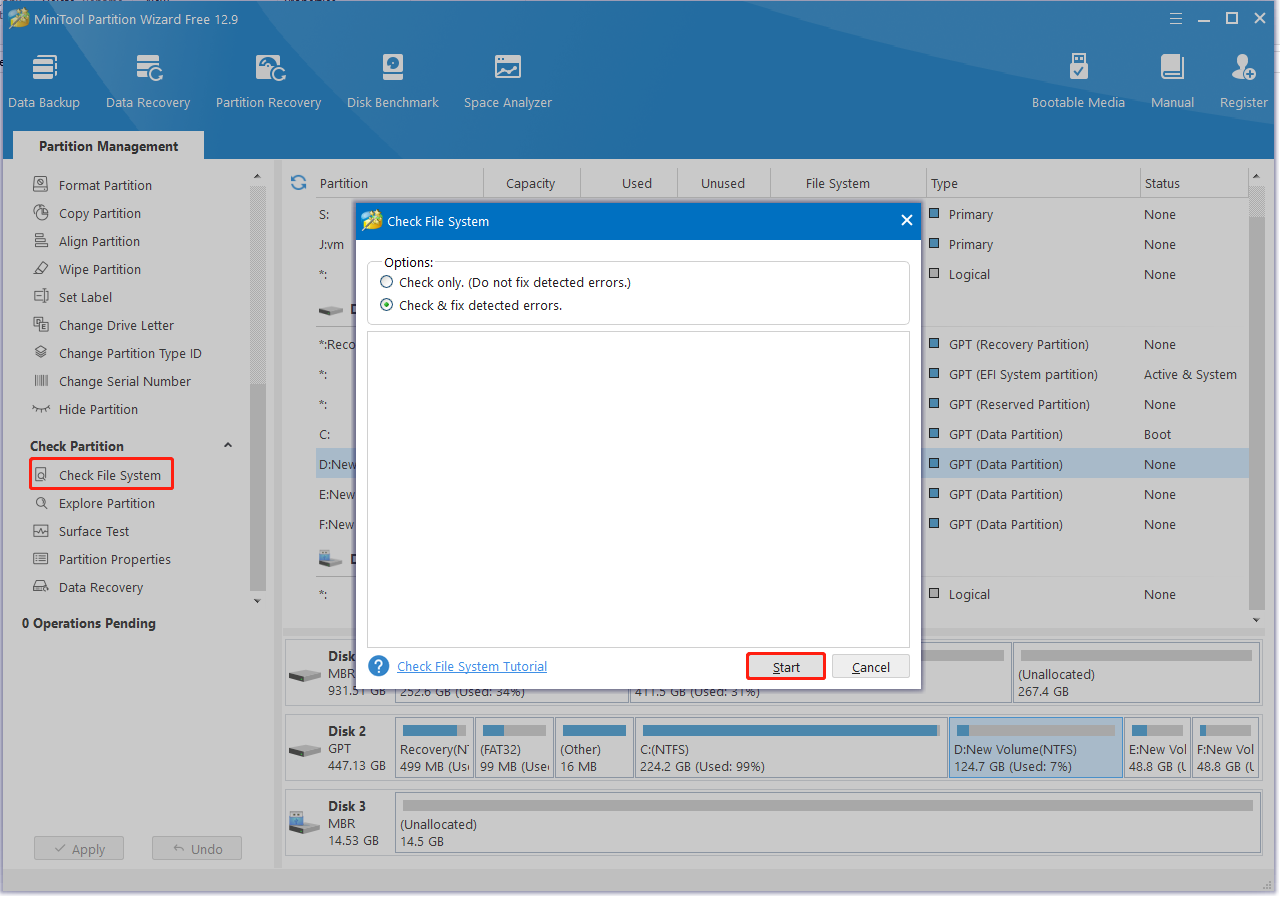
Step 3. To repair the logical errors, select the drive and click on Check File System from the left panel. Then select Check & fix detected errors in the pop-up window and click on Start to begin the repair.
Bottom Line
How to get rid of the error code 0xc0e90001 on Windows 11? I hope the above 5 methods can help you solve the problem. By the way, don’t hesitate to share this post with your companions if you enjoy it.
User Comments :