You may be curious about NVMe data recovery if you are suffering from NVMe SSD data loss. Then this post is what you need as it shows you how to recover data from NVMe SSDs in detail. Furthermore, MiniTool Partition Wizard offers you some extra information about NVMe recovery.
NVMe (non-volatile memory express), a storage access and transport protocol, is used in USB flash drives and SSDs for high throughput and fast response times. NVMe SSDs use the PCIe bus on your PC, which is faster than SATA. They are often marketed as M.2 NVMe SSDs.
Compared with regular 2.5” SSDs and HDDs, M.2 NVMe SSDs are relatively new storage technology. However, NVMe SSDs are still susceptible to data loss like other storage devices. Fortunately, it’s rare for them to fail all of a sudden. Instead, they usually show a few warning signs like slow performance and random disappearance of data before they completely stop working.
What factors can trigger the NVMe SSD data loss? Well, the next section summarizes some possible reasons. You can take them as a reference.
You might also like this: External Hard Drive Not Showing up Windows 11 [Solved]
NVMe SSD Data Loss Causes
NVMe SSDs are reliable most time. However, they will fail and lose data due to some reasons. Here, some common reasons that can lead to NVMe SSD data loss are listed below.
- Malware, viruses, or other programs delete data on the SSD.
- Logical errors happen to the NVMe SSD.
- Operating system failure results in SSD corruption.
- Although SSDs are more dependable than hard drives, they may contain bad blocks too.
- You format the NVMe SSD by accident.
- There are physical damages on the SSD. Though it is hard to get SSDs physically damaged, it is still possible. Compared with logical issues, physical damages make the recovery process more difficult.
Further reading:
If your NVMe SSD is physically damaged, get it repaired by an expert rather than doing it by yourself. For a logically corrupted NVMe SSD, try carrying out the operations below to fix it.
- Assign a drive letter or change the old one via Disk Management.
- Run CHKDSK commands to repair the SSD.
- Update or reinstall the SSD drivers.
- Make sure that your drive is malware-free. You can run a full antivirus scan on your PC.
You might like: CF Card Not Recognized/Showing up: Fix the Issue & Recover Data
Is It Possible to Recover Data from NVMe SSD
Yes, it is possible to restore data from NVMe SSDs, but the specific situation depends on multiple factors. For instance, the cause of NVMe SSD data loss is physical or logical, whether you have written data after data loss, which method you use to remove the data, and so on would influence the NVMe recovery possibility.
There are some unique challenges with NVMe recovery that you should know before starting the process. At first, NVMe storage has an extra level of complexity in SSD data recovery, so NVMe data recovery is more complex.
Besides, if a PCIe lane has a fault, NVMe storage may fail. To be specific, if there is an electronic issue in one lane, it can be circumvented by using another lane for communication. Given that fact, an expert must be competent enough to limit the amount of PCIe lanes being used.
Another available way to communicate to a failed NVMe storage device might be limiting the PCIe link speed. However, this operation requires specialized tools and experience.
What Should You Do Before Performing NVMe Data Recovery
Here are some tips that can help you improve the NVMe data recovery success rate. Check them one by one now!
Tip 1: Disable TRIM
TRIM, an Advanced Technology Attachment (ATA) command, lets the SSD erase data blocks when they are no longer in use. It can be used to boost the performance of writing data to SSDs and extend the SSD lifespan. Nevertheless, performing data recovery from TRIM-enabled NVMe SSD is pretty difficult. Therefore, you should disable TRIM before performing NVMe recovery.
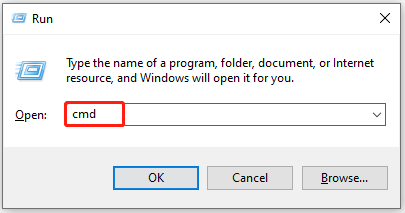
Step 1: Open the Run window by holding the Windows and R keys at the same time.
Step 2: Type cmd in the Run window and press Ctrl + Shift + Enter keys to open Command Prompt as administrator.
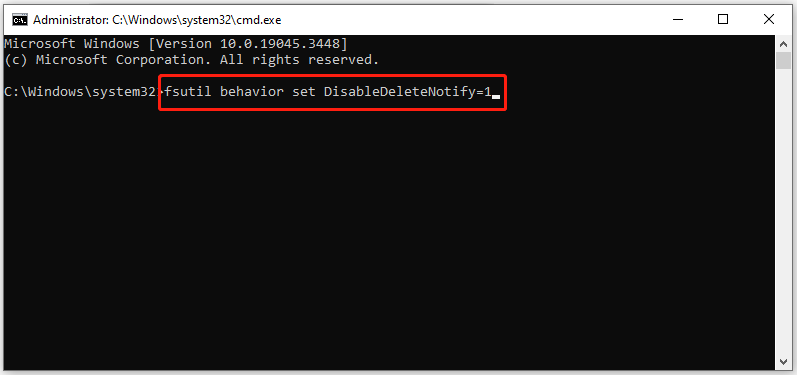
Step 3: In the Command Prompt window, type fsutil behavior set DisableDeleteNotify=1 and hit the Enter key.
Tip 2: Stop Using the NVMe SSD
After you disable TRIM, your deleted data should be safe only if you don’t write anything to the SSD. Your computer may prompt the operating system to save temporary files like logs even if you just connect your SSD to the PC. Given that fact, only connect your SSD to your PC when you are going to start the NVMe recovery process.
Also read: Should I Partition an SSD? Make a Decision After Seeing Analysis
Tip 3: Decrypt the NVMe SSD
If your NVMe SSD is BitLocker-encrypted, you should decrypt it before you perform NVMe data recovery. Otherwise, it would impact the data recovery tool’s ability to restore data from NVMe SSD.
Tip 4: Get a Reliable NVMe Recovery Utility
Last but not least, get a reliable NVMe recovery tool installed on your computer. You need to make use of a data recovery utility to recover data from NVMe SSD. You may get confused when facing various data recovery programs on the market. To choose a right data recovery tool, you should check the compatibility and performance.
To be specific, check if the tool supports your operating system, file system, and device type. Moreover, you should compare the features and ease of use, read the reviews and ratings, and consider the cost and support of these data recovery tools.
After that, choose the desired data recovery software. Here, we would like to recommend MiniTool Partition Wizard. It supports operating systems including all editions of Windows 11/10/8.1/8/7 and is compatible with FAT12/16/32, exFAT, NTFS, and Ext2/3/4 file systems.
Furthermore, it can manage storage devices such as HDDs, SSDs, SSHDs, dynamic disks, hardware RAID, external hard drives, USB flash drives, and SD cards. It allows you to recover file types of documents, archives, graphics & pictures, audio & video, e-mail, database, etc.
More importantly, MiniTool Partition Wizard enables you to preview over 70 types of files before saving the recovered files. This feature helps you find if you are saving the needed recovered files.
MiniTool Partition Wizard DemoClick to Download100%Clean & Safe
Also read: How Long Does Data Recovery Take? It Depends on Various Factors
Steps to Perform NVMe Data Recovery
To perform NVMe data recovery, you need to make use of a piece of data recovery software. MiniTool Partition Wizard is such a utility that allows you to recover data from hard drives. To be specific, you are able to do the following recovery tasks.
- D drive data recovery
- USB data recovery
- External hard drive recovery
- SSD file recovery
- Recover data from hard drives with bad sectors
In addition to recovering data, this multifunctional partition manager also allows you to clone hard drives, convert FAT to NTFS, migrate Windows 10, format SSDs, convert MBR to GPT, and perform other operations related to storage devices like HDDs, SSDs, USB flash drives, SD cards, dynamic disks, etc.
Here, we show you how to restore lost data from NVMe SSDs due to various logical reasons via MiniTool Partition Wizard. Please be aware that this data recovery tool can’t recover the lost data caused by physical damages.
Step 1: Download and install MiniTool Partition Wizard on your computer by clicking the button below.
MiniTool Partition Wizard DemoClick to Download100%Clean & Safe
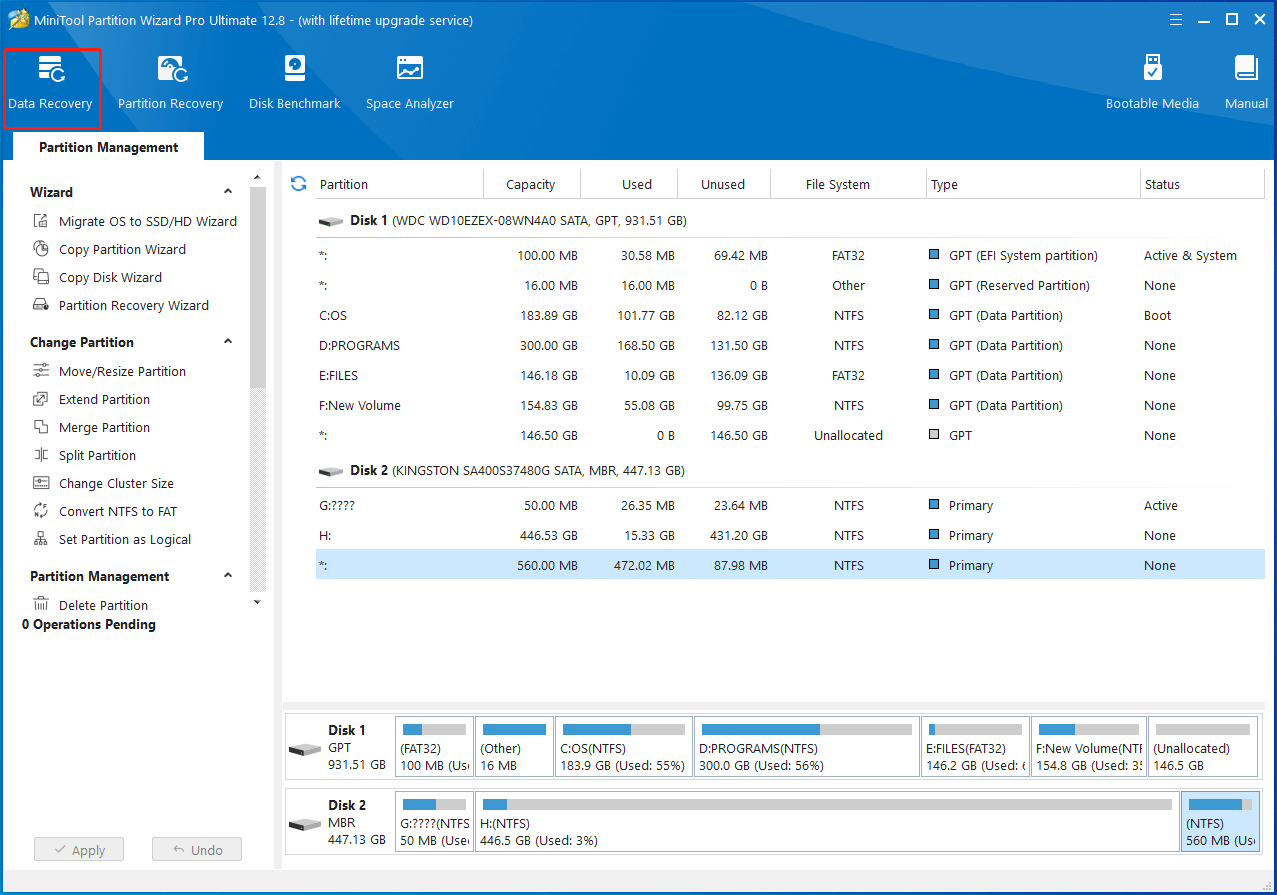
Step 2: Launch the software to enter its main interface.
Step 3: Click on Data Recovery at the upper left corner of the window.
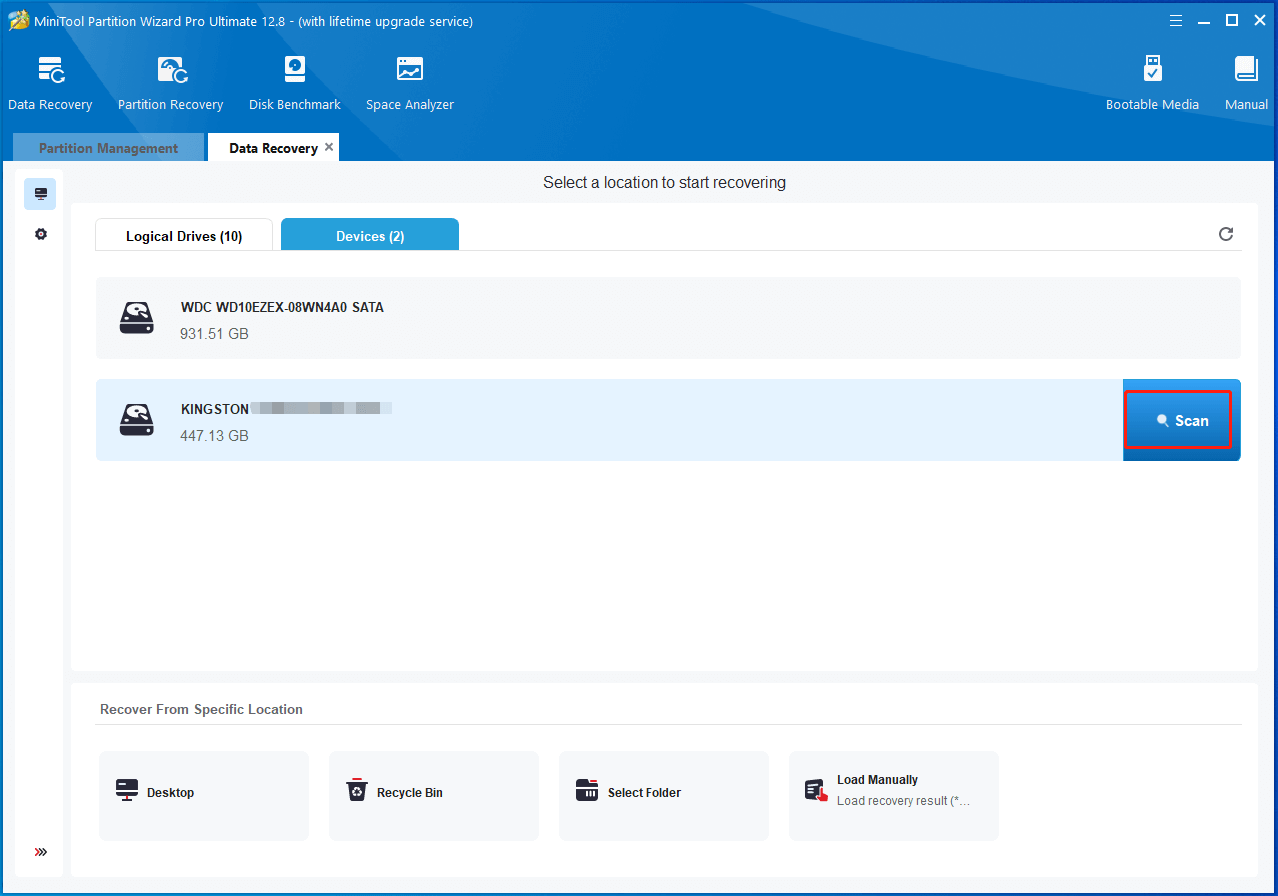
Step 4: Navigate to the Devices tab, put your cursor on the target NVMe SSD, and then click the Scan button.
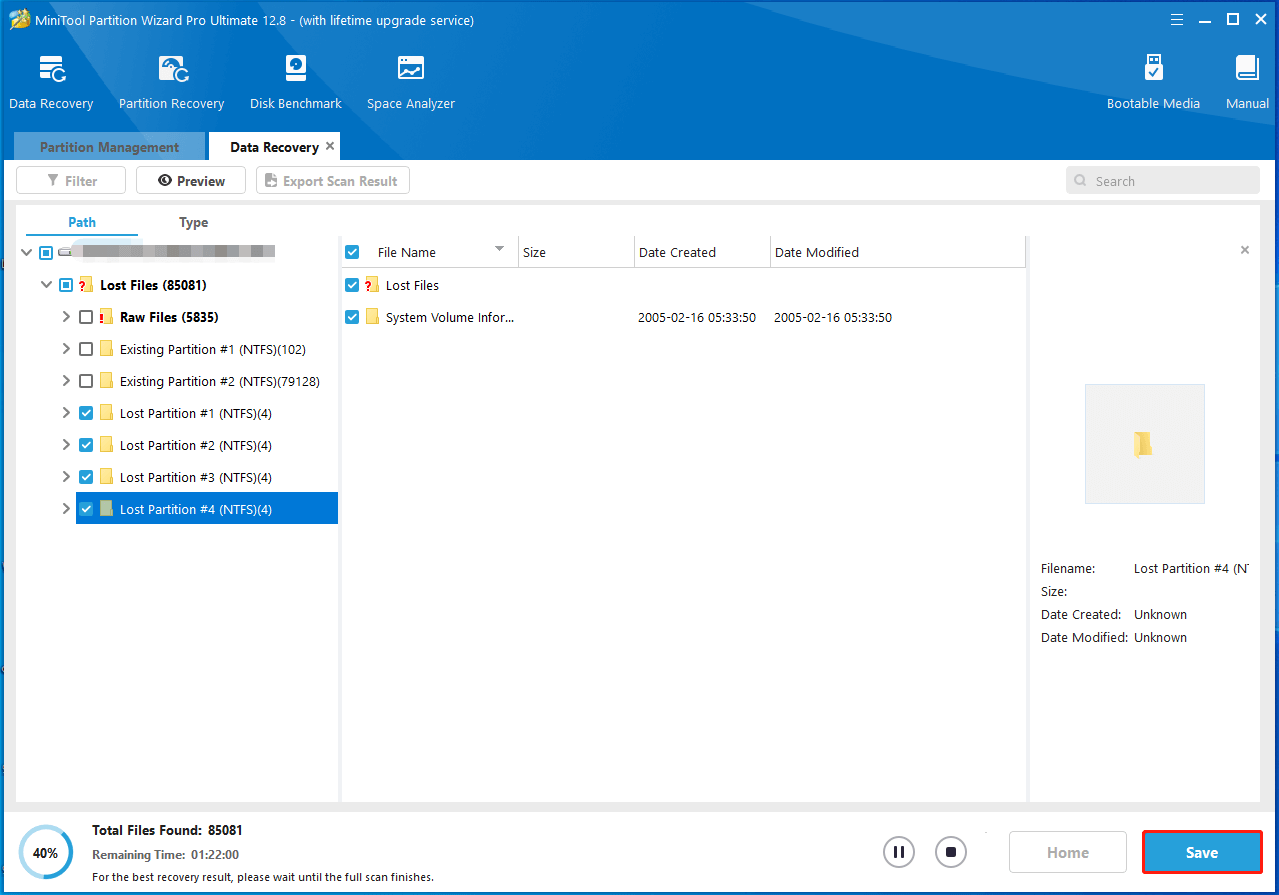
Step 5: Then view and wait for the finish of the scanning process. After the process ends, find and choose the needed files and then click on the Save button.
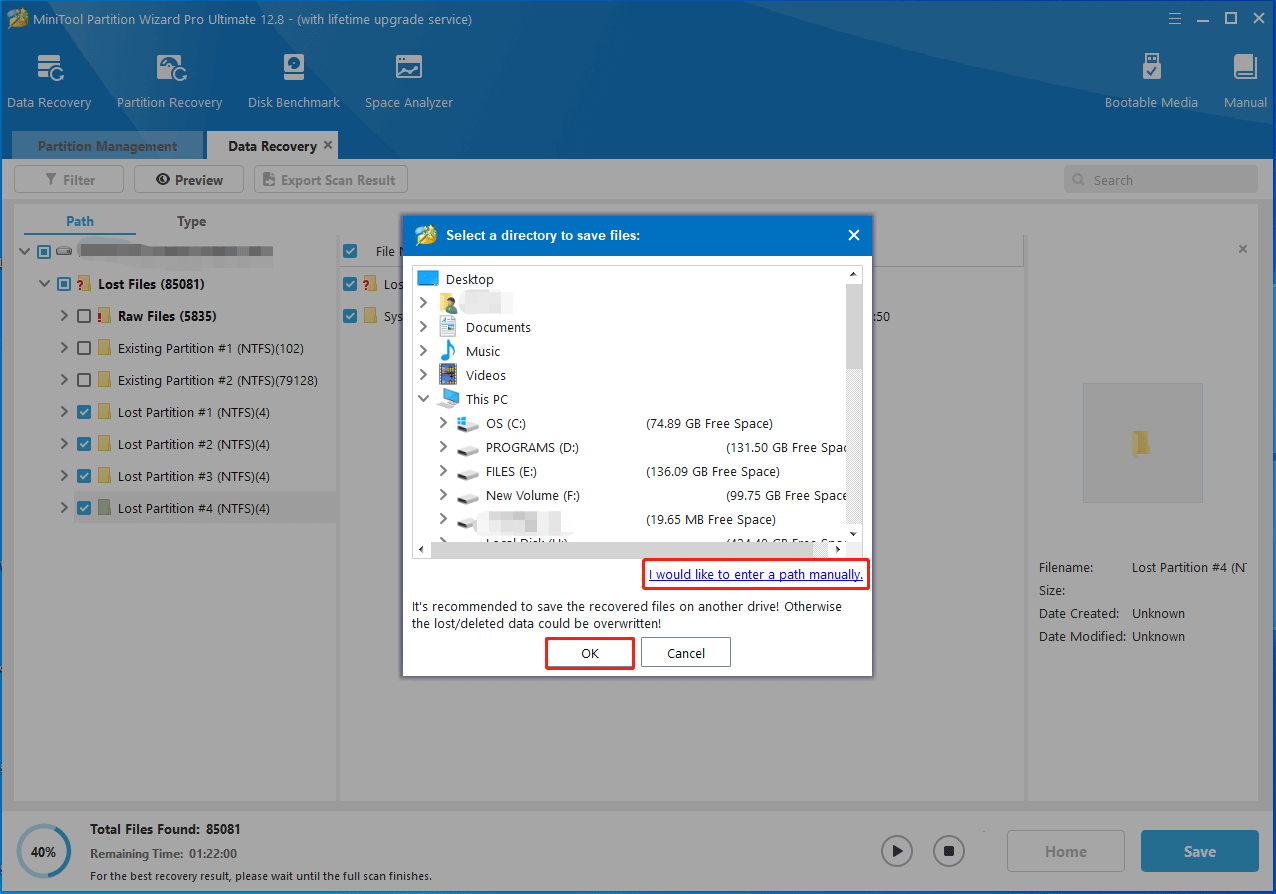
Step 6: In the pop-up window, choose a directory or manually enter a path to save the recovered files. After that, click OK to confirm the operation.
Bottom Line
Are you seeking a method to restore data from NVMe SSD? If so, this NVMe data recovery tutorial deserves your attention. It shows you all the details. During the NVMe data recovery process, you can consult us by leaving words in the comment area below. For any issues related to MiniTool Partition Wizard, directly send an email to [email protected]. We would help you work them out as soon as possible.
User Comments :