What Triggers the Error Code 0xc0000221
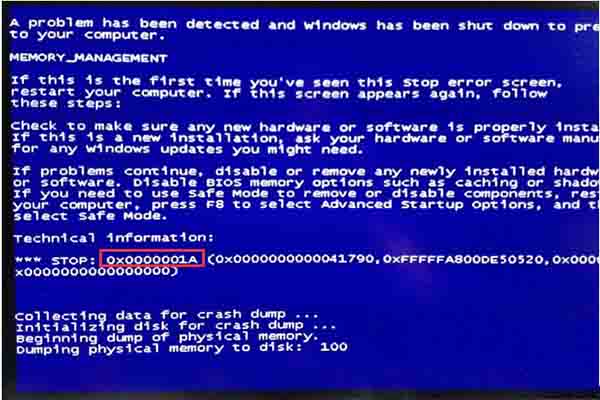
When you run a Windows OS, you may encounter various kinds of BSOD error such as Amifldrv64.sys BSOD, hal.dll BSOD, error 0x80070017, etc. Recently, numerous users complain that the blue screen error 0xc0000221 often bothers them and seek for solutions.
Once the computer fails to boot, the error code: 0xc0000221 will appear with the blue screen. What causes this issue? The error 0xc0000221 can happen due to hardware issues, damaged system files, third-party applications interruptions, secondary GPU issues, etc. In addition to that, inadequate power, faulty graphics drivers, as well as newly inserted RAM can also result in the Windows 10 error code 0xc0000221.
Other blue screen errors you might be interested in:
USB tethering causes blue screen
Blue screen when playing games on PC
Blue screen after installing drivers
Some SSDs are causing blue screen
Windows 11 blue screen when idle
Blue screen after installing new CPU or GPU
How to Fix Error 0xc0000221
The factors above are the reasons that are found up to now behind the error 0xc0000221. Now, it’s time to fix this issue. This post will offer you corresponding methods to fix BSOD error code 0xc0000221.
Solution 1: Boot Your Computer in Safe Mode
Before trying other methods to fix the error code 0xc0000221, you should boot your computer into safe mode to check if the error is initiated by any third-party programs. If you enter the safe mode that only runs a few system applications and drivers and the error disappears, it indicates that the third-party applications cause the BSOD crash.
Given to that fact, you can try uninstalling any newly installed applications on your computer to fix the issue.
Solution 2: Run SFC, DISM, and CHKDSK Commands
As the error code: 0xc0000221 can occur due to system file corruption and disk errors, you can run SFC, DISM or CHKDSK commands to solve the error. To run these commands, you should ensure that your computer can boot into the safe mode. Otherwise, you cannot run them.
You can enter the safe mode by referring to the guide above and then run these commands by following steps below.
Steps for Running SFC Command
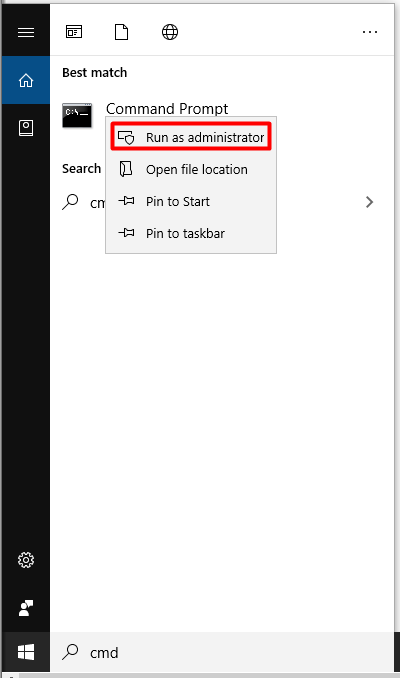
Step 1: Type cmd in the search box, and then right click on Command Prompt under the Best match list and select Run as administrator from the pop-up menu to go on.
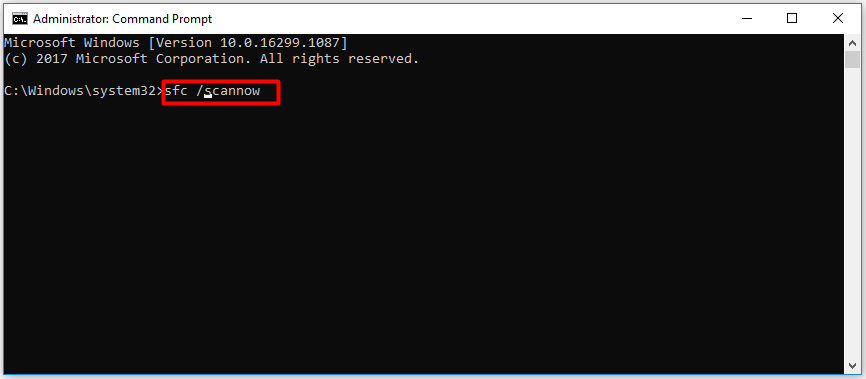
Step 2: In the elevated window, type sfc /scannow and hit Enter to execute it. In most cases, the SFC will successfully scan and repair detected system file corruption. However, it may be out of work and throw you the Windows Resource Protection Found Corrupt Files but Unable to Fix error. If so, you can try an alternative command – DISM.
Steps for Running DISM Command
Step 1: Run Command Prompt as administrator in the search box.
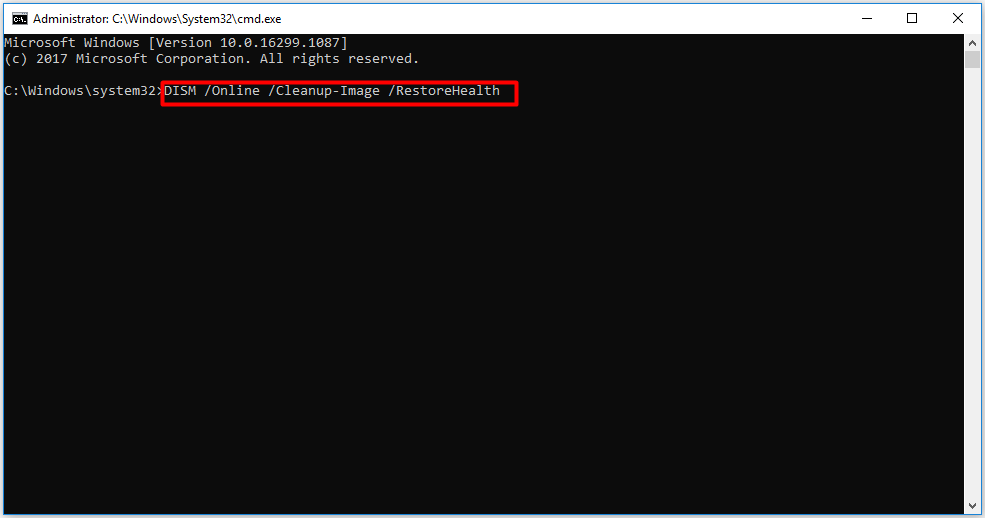
Step 2: In the next window, type DISM /Online /Cleanup-Image /RestoreHealth and press the Enter key. Then, the DISM will automatically scan and fix system file corruption on your device for you.
Steps for Running CHKDSK Command
Step 1: Similarly, run Command Prompt as administrator to start the process.
Step 2: In the pop-up window, type chkdsk e: /f /r (you should replace the e with your actual hard drive letter) and click on Enter to execute the operation.

Related articles:
- CHKDSK won’t run
- CHKDSK is not available for RAW drives
- CHKDSK write protected error
- CHKDSK not working with Vanguard installed
Solution 3: Delete Junk Files
Each time you use your PC, temporary files will be created. For example, when you open a document, Microsoft Word will create temporary files that will boost the opening speed and back up your changes on the Word. If you browse Internet, the browser will download temporary Internet files. Though these files can benefit you from time-saving, they will cause trouble if they are piled up.
These temporary files will not be needed by your system or software after a long time, but they will not be deleted automatically. Hence, they will turn into junk files. If there are too many junk files on your computer, they will trigger various issues such as computer crashes (due to BSOD error), low disk warning, computer lagging, etc.
Therefore, you should delete junk file regularly to free up disk space and improve the performance of your computer. How to do that? Here are detailed steps for you.
Step 1: Open the Run window, and then type cleanmgr and click on OK to go on.
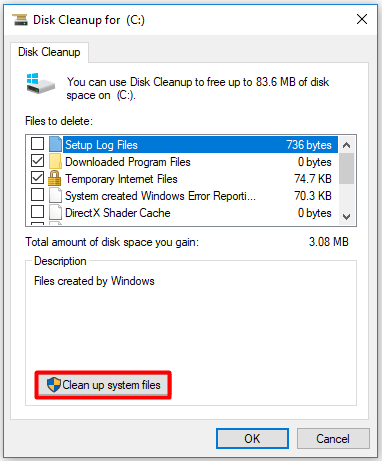
Step 2: If you are prompted with any confirm window, just follow it and navigate to the window below. Then, click on Clean up system files at the bottom left corner of the window.
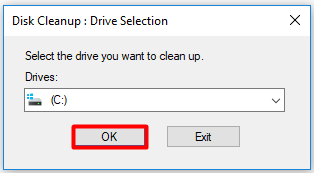
Step 3: You will be required to select a drive to clean up. Here, you just need to follow the default choice and click OK.
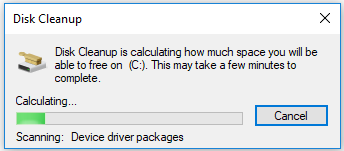
Step 4: Then, the program will calculate the amount of disk space that you can free up on the target disk.
Step 5: You will be prompted with the Disk Cleanup for window again. Click on OK and then click Delete files from the pop-up window to execute the cleanup operation.
Also read: Quickly Remove “Unable to Read from Disk – Error Code 1117”
Solution 4: Remove Any Virus or Malware on Your PC
Virus or malware on your computer can attack your system, which causes the BSOD error 0xc0000221. In order to exclude this possibility, you’d better perform a full scan for your computer and remove the virus. Here are details.
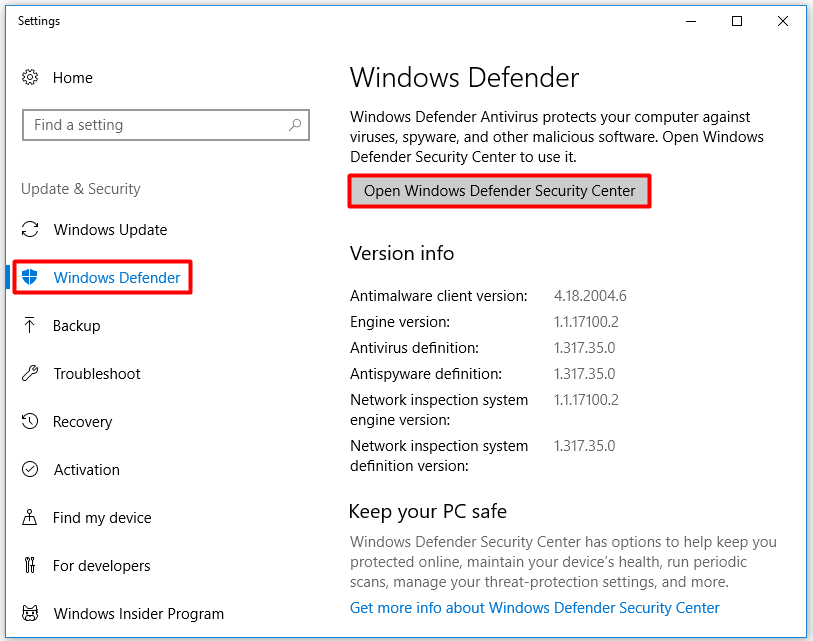
Step 1: Press Win and I keys to open the Settings window, and then navigate to the Update & Security section. After that, click on Windows Defender under the Update & Security tab, and then move to the right side of the window and click on Open Windows Defender Security Center option.
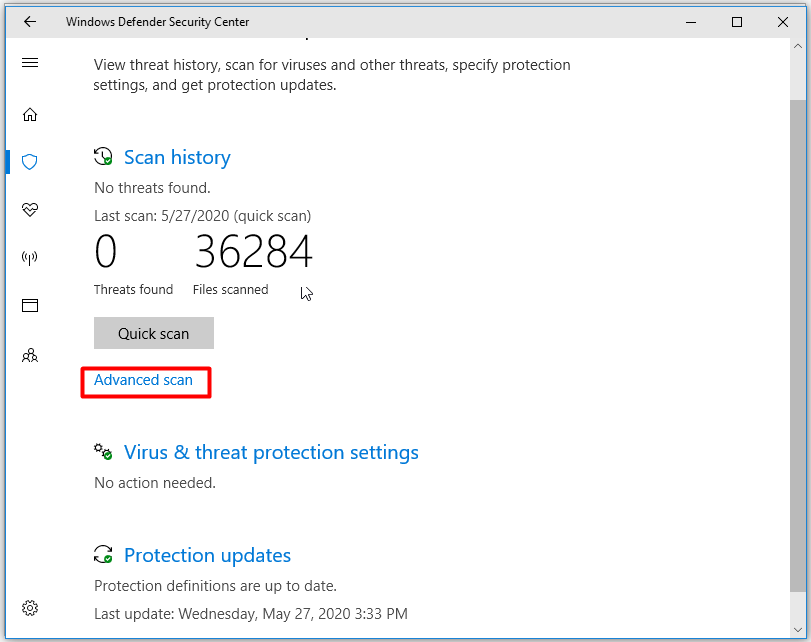
Step 2: In the elevated window, click on Advanced scan to continue.
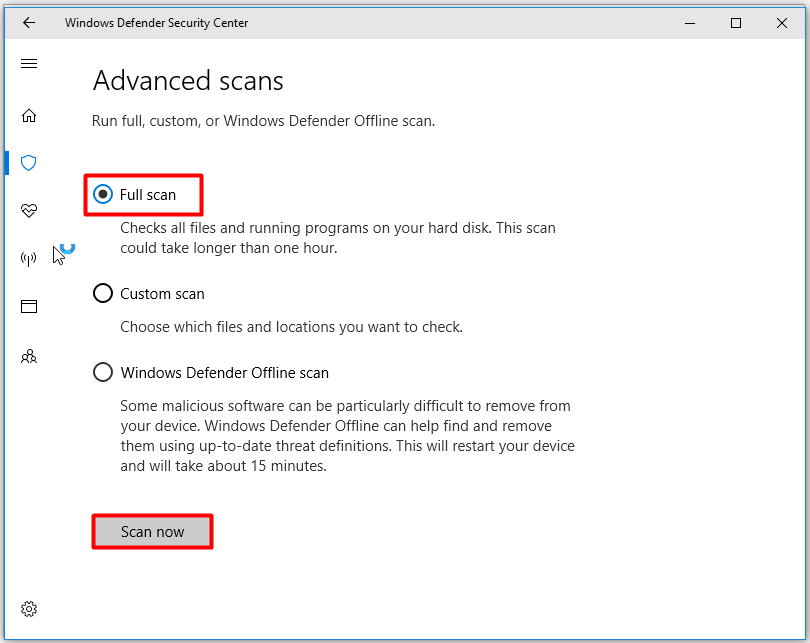
Step 3: In the next window, choose Full scan option and click the Scan now button at the bottom of the window.
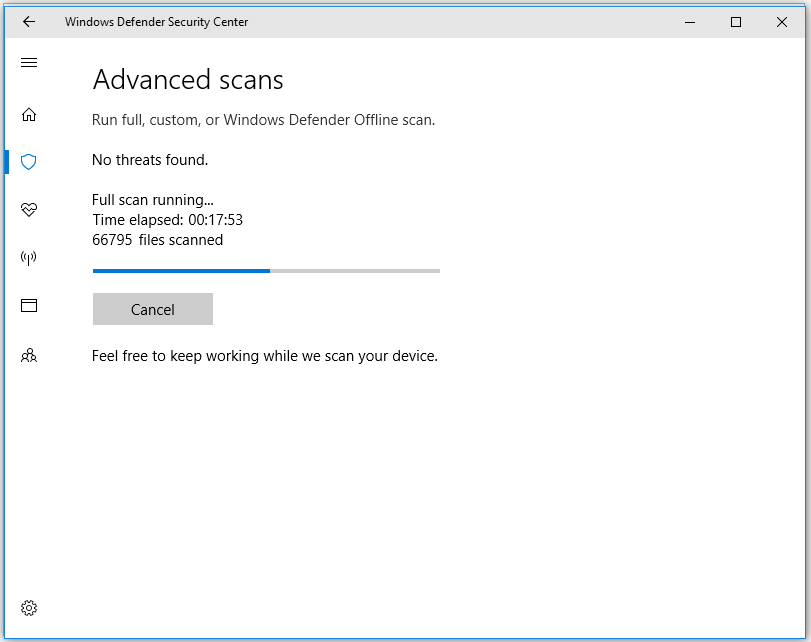
Step 4: Then, the scan will begin. As the scan process will take some time, you should wait patiently until the finish of the process.
Step 5: After finishing scanning, you will receive 3 consecutive options. Click on Select and then click Start actions to remove all the malicious components on the system.
Also read: Laptop Blue Screen When Unplugged: How to Fix and Recover Data
Solution 5: Remove Secondary GPU and External HDD or SSDS
According to user reports, the Windows 10 error code 0xc0000221 can be resolved by disconnecting all unnecessary devices that are connected to your computer. It is very likely that the issue happens because the retained power supply is not enough to sustain all connected devices.
To prove this, you can disconnect all the unnecessary devices on your PC such as secondary GPU, external hard drive, DVD optical drive, etc. After that, you can check if the error 0xc0000221 is solved by booting up your computer.
If the PC can boot up properly now, try to reconnect these devices one by one until you encounter this error again. Then, you can find the source for the error.
Top recommendation: Top 8 SSD Tools to Check SSD Health and Performance
Solution 6: Check RAM for Errors
RAM is often regarded as the culprits for the Windows 10 error code 0xc0000221. Hence, it is necessary to check your RAM for errors when you encounter the blue screen error. You can do this with the Windows built-in utility – Windows Memory Diagnostic. Here are detailed steps for running this tool.
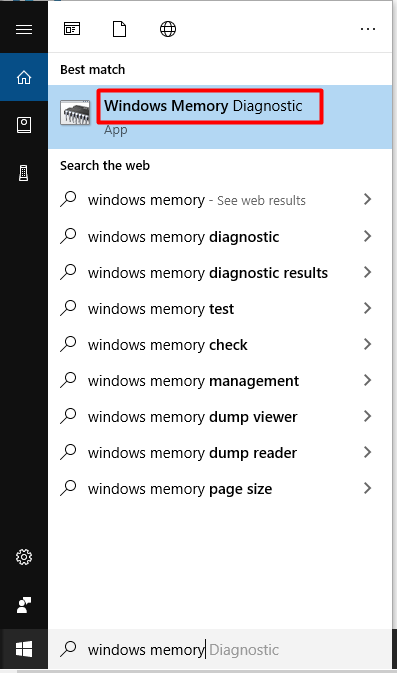
Step 1: Type windows memory and then click on Windows Memory Diagnostic under the Best match list.
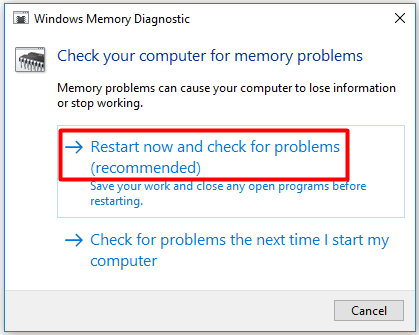
Step 2: Click the Restart now and check for problems (recommended) option from the elevated window.
Step 3: The Windows Memory Diagnostics Tool will run automatically. You can view the process of check memory problems.
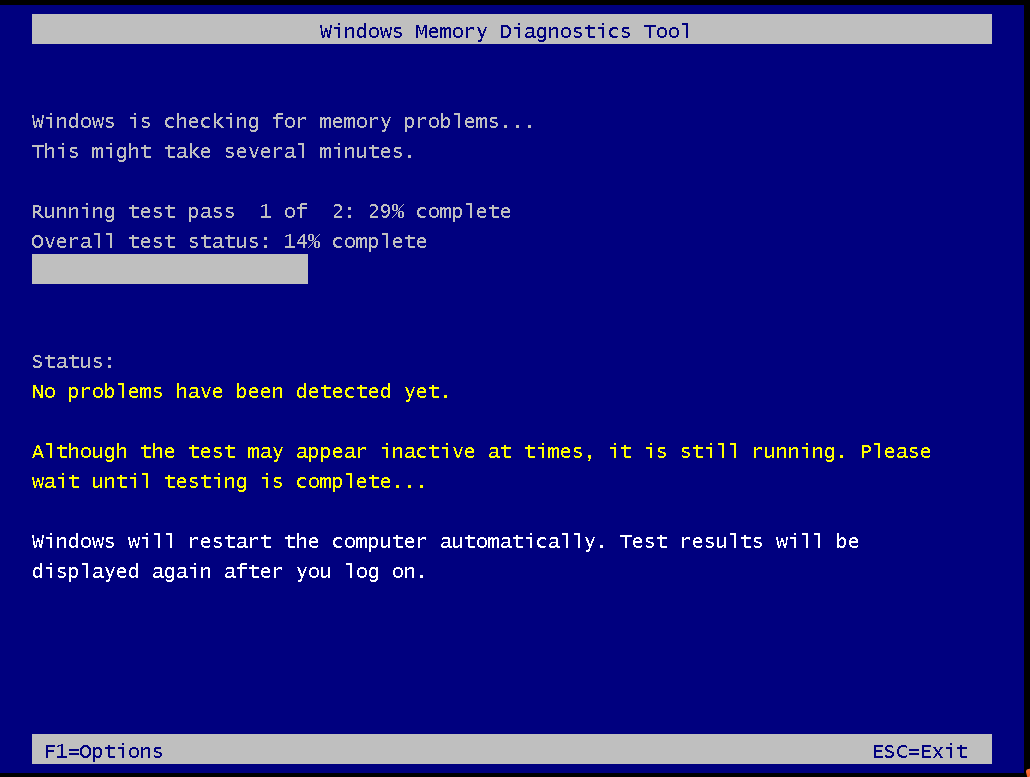
Step 4: When the testing process ends, your computer will restart automatically. You will see the test results after logging on the computer. If you cannot see it, you can follow these steps to view the results: Right click the Start menu > Event Viewer > Windows Log > System.
Solution 7: Reinstall Windows 10 System
If the error 0xc0000221 still persists after trying methods above, it’s time to reinstall your Windows operating system. This is a thorough method to fix the error. You can do this with a professional tool. MiniTool Partition Wizard is a great choice for you.
The Copy Disk and Migrate OS to SSD/HD Wizard features of this software enable you to reinstall your system easily. Besides, it also allows you to move/resize partition, convert MBR to GPT, wipe disk and scan and fix file system errors, and so on. So, it is strongly recommended that you download this program.
Recommended article: Find Causes of Error Code 0x80240004 and Solutions to It
Recover Missing Data Due to the Error 0xc0000221
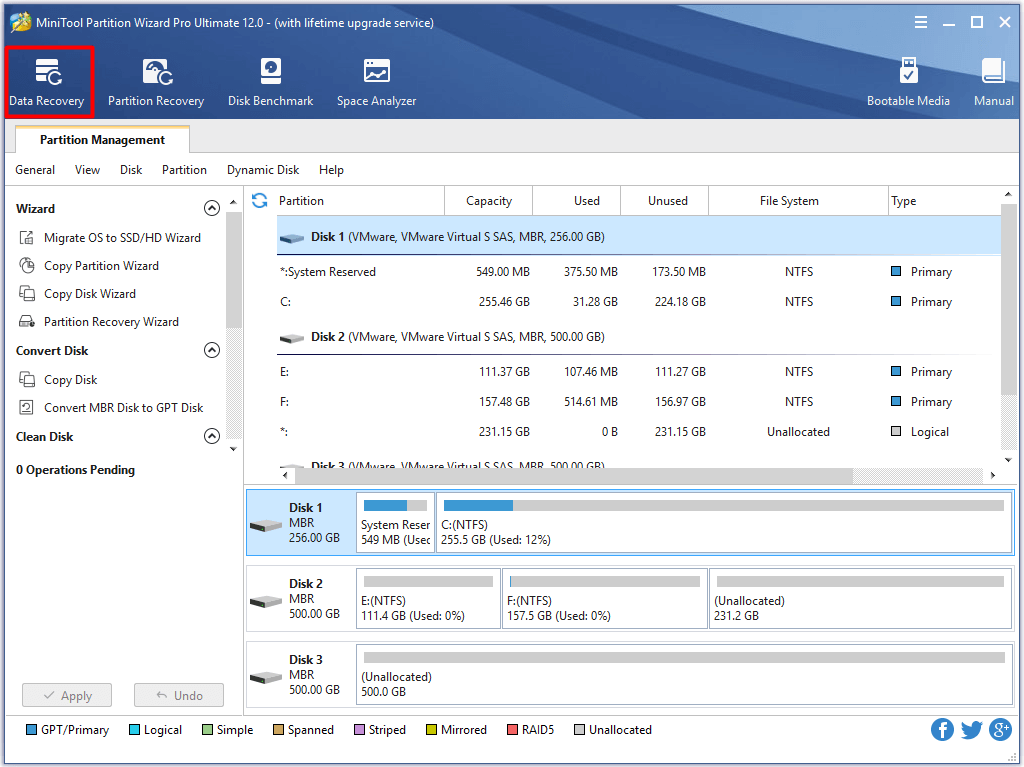
One of the most common effects of BSOD errors is that it can lead to data loss. This is terrible. Fortunately, you can recover the missing data with MiniTool Partition Wizard. The Data Recovery feature of this program allows you to recover data that is lost due to mistaken deletion, power failure and other cases.
You can download and install it by clicking the buttons below. After that, follow the given steps to recover your missing data.
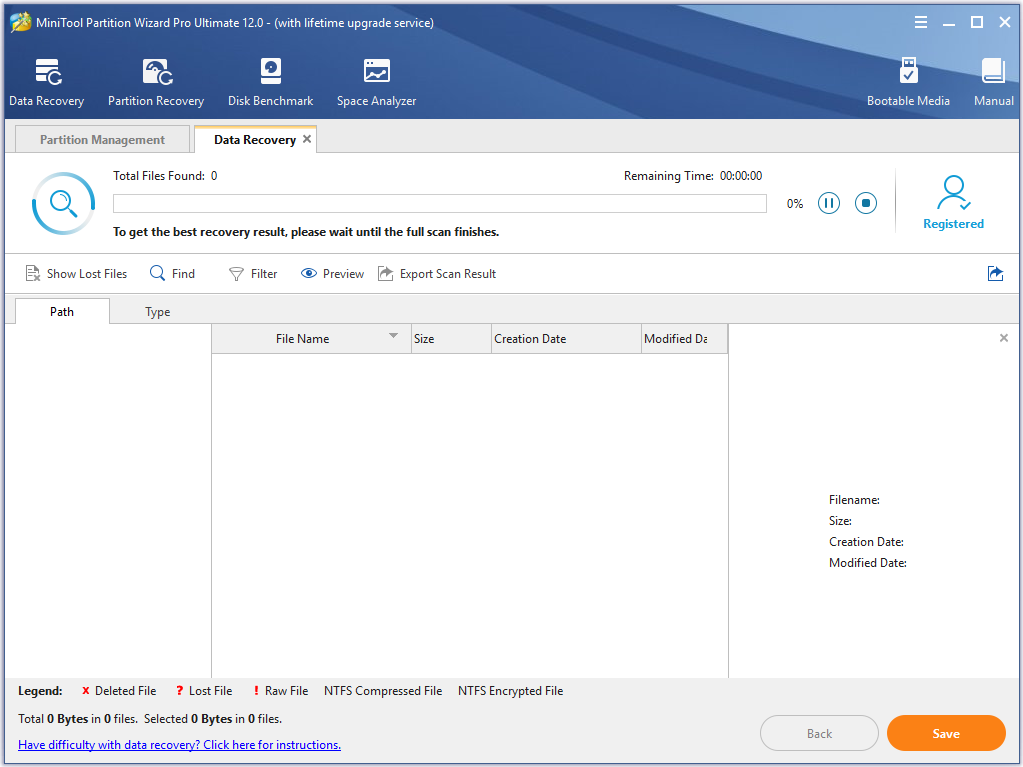
Step 1: Launch MiniTool Partition Wizard Pro Ultimate Edition to enter its main interface. Then, click on Data Recovery to start the operation.
Step 2: Next, choose the drive that you would like to recover and click on the Scan button at the bottom right corner of the window.
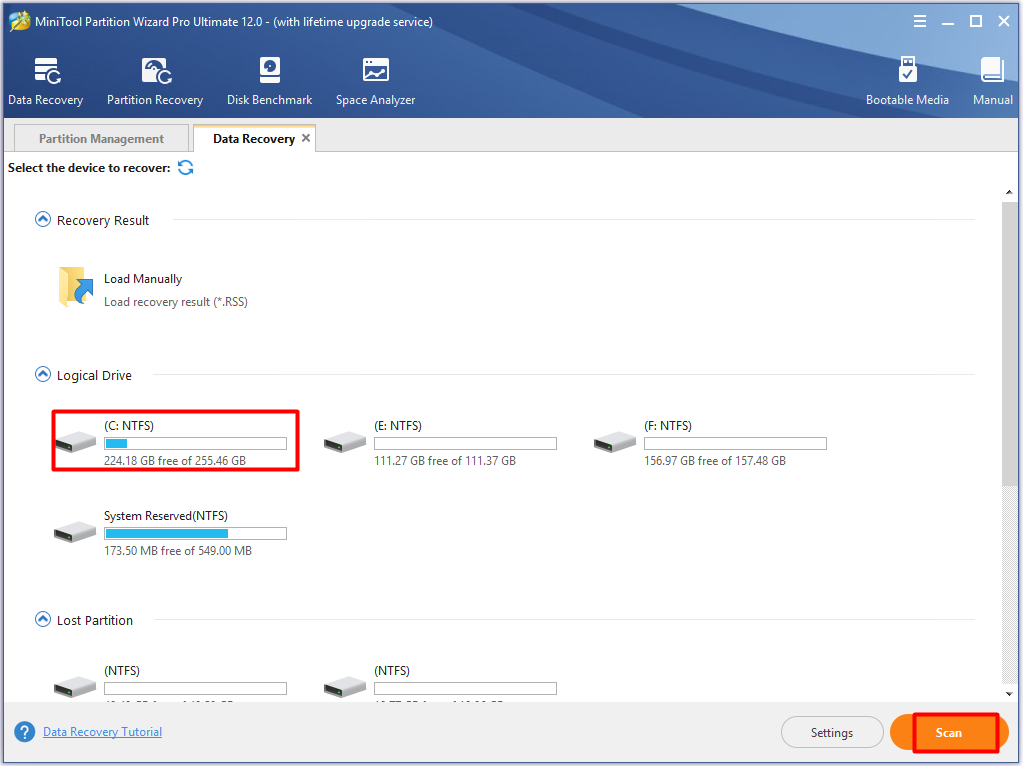
Step 3: Here, you can view the scan process.
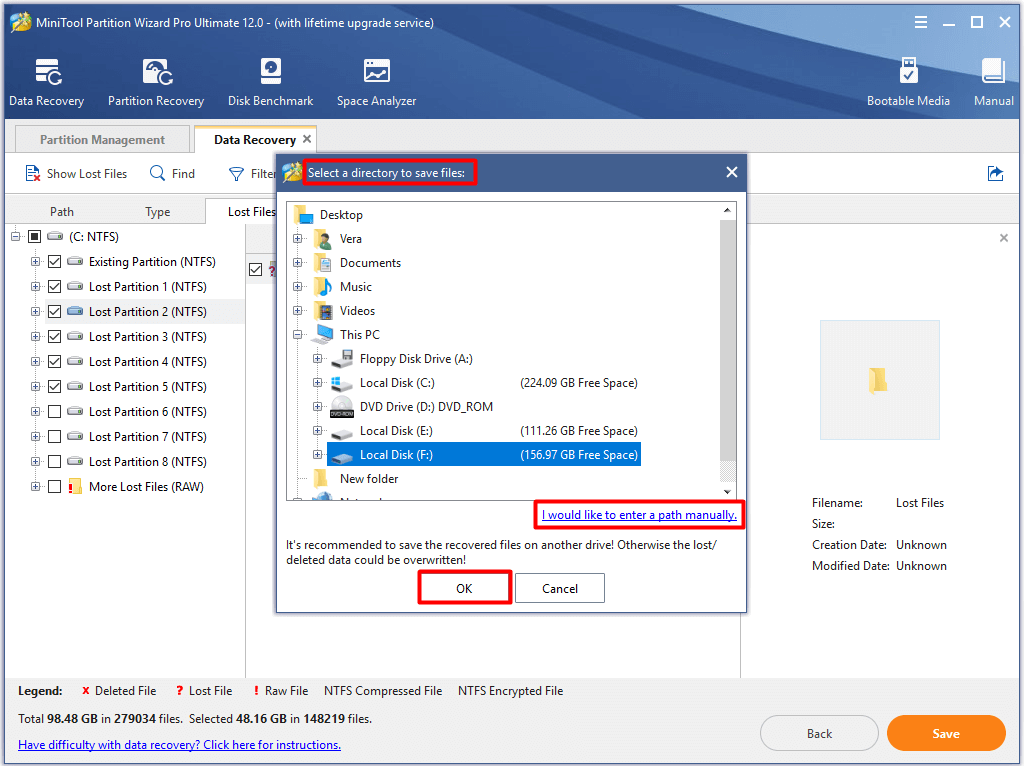
Step 4: Select the files that you would like to recover and click on the Save button.

Step 5: Choose a destination for your recovered files. You can select a drive from the given options or type the place manually. Don’t choose the original drive. Otherwise, it will cause data overwritten.
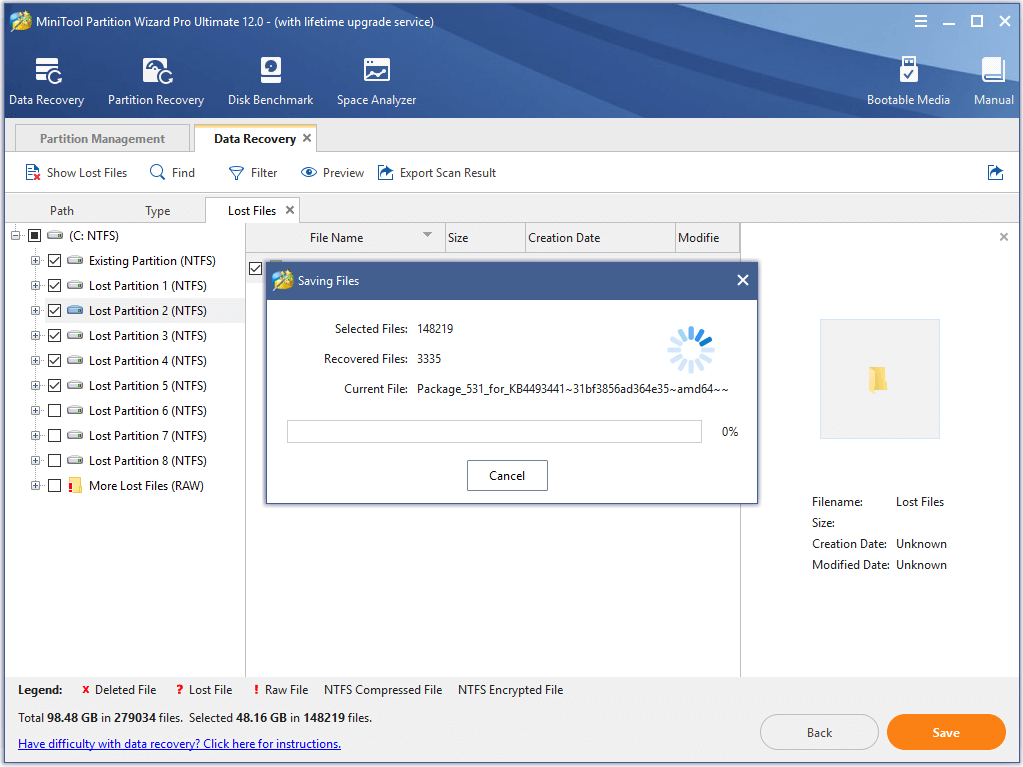
Step 6: Wait for the finish of data saving.
Top recommendation: Fixed Error: Call of Duty Modern Warfare Dev Error 6068
Conclusion
To sum up, this post introduces you the causes behind the error code 0xc0000221, its corresponding fixes, as well as the method to recover your missing data due to the BSOD error. Now, it’s your turn to pick one method to fix the Windows 10 error code 0xc0000221.
If you have any questions about MiniTool software, please contact us by sending an email via [email protected].
User Comments :