Why You Need to Shrink Volume
Before learning the reason for shrinking volume, you need to know what does shrink volume do. As its name indicates, volume shrinking is a process to make the volume smaller. After this operation, files on the volume will be automatically relocated.
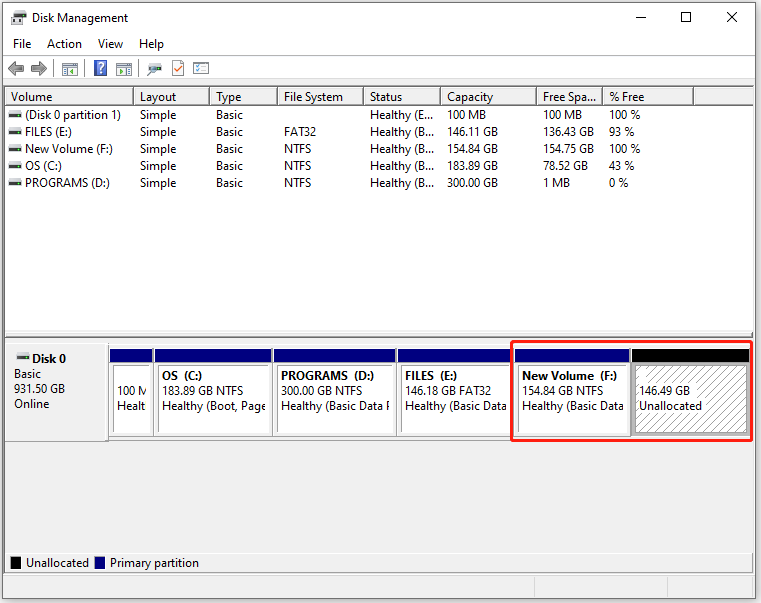
Besides, the shrunk space will become unallocated. Then you can create a new volume with the shrunk (unallocated) space. You can also extend the size of another volume with the unallocated space. If you want to do that in Disk Management, you should ensure that the unallocated space is adjacent to the partition to extend.
Additionally, the target partition should be in front of the unallocated space.
If you want to extend a partition in Disk Management, the target partition and unallocated space should be located as the picture below shows.
Therefore, you may want to shrink volume if you want to extend a partition or create a new partition but there’s no unallocated space on the hard drive.
This post tells you the difference between volume and partition on Windows OS. You can apply the given methods in the post to fix partition/volume shrinking taking forever.
How Long Does It Take to Shrink Volume
A lot of data will be moved during the volume shrinking process. However, certain types of data are unremovable such as hibernation files, pagefiles, restore points, fragmentation, etc. Due to these unremovable data, Disk Management may take a very long time to shrink volume.
Sometimes, it even fails the volume-shrinking process. Moreover, the size of the partition to be shrunk and the space being freed can also affect the shrinking time. How long does it take to shrink volume?
On average, this process may take you 15-20 minutes. It sometimes lasts for 1-20 hours. The specific time varies according to the factors we discussed earlier.
You’d better prevent any system from turning down or hard resetting during the shrinking process.
Related articles:
- How Long Does Data Recovery Take
- How Long Do Gaming PCs Last
- How Long Does It Take to Reset a PC
- How Long Does It Take to Format a Hard Drive
Fixes for Volume Shrinking Taking Forever
You can shrink volume successfully most time, but sometimes you may encounter errors and fail to do that. If you are in one of the following cases, you will experience volume-shrinking failure.
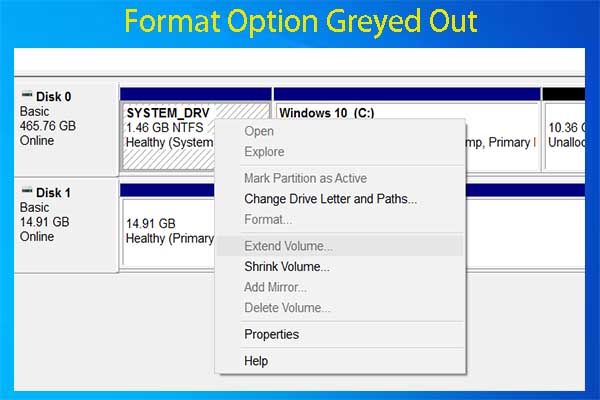
- Shrink Volume is greyed out in Disk Management
- There is not enough space available on the disk(s) to complete this operation.
- The available shrink space is much less than free space.
In addition, you might receive errors like volume shrinking taking forever. What to do if shrink volume hangs? A simple method to solve the issue is to wait patiently especially if the partition to be shrunk is too large or the freed space is too much.
If shrink volume still hangs after some time, you can take some measures to get rid of the issue. For instance, try disabling Hibernation mode, moving the pagefile to another partition, deleting system restore points, or running Disk Defragmenter.
Don’t perform a hard reset. This will take you at risk of losing data.
Method 1: Disable Hibernation Mode
Control Panel is a built-in utility in Windows that allows you to tweak many settings on the computer including disabling Hibernation mode. Here’s how to do that.
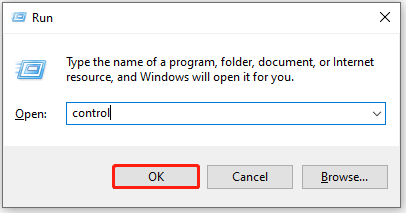
Step 1: Open the Run window by pressing Windows and R keys.
Step 2: Type control and hit Enter or click OK.
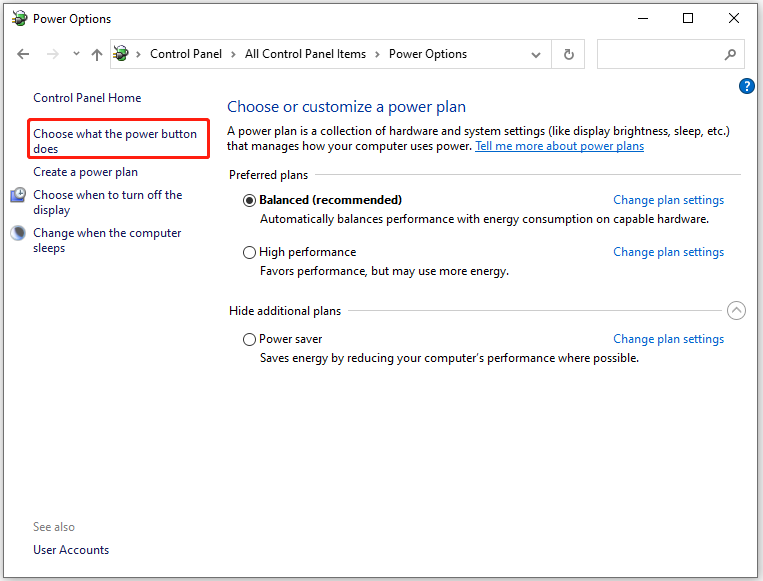
Step 3: Find and click Power Options in the main menu of Control Panel.
Step 4: In the next window, hit Choose what the power button does in the left panel.
Step 5: Click Change settings that are currently unavailable in the pop-up window.
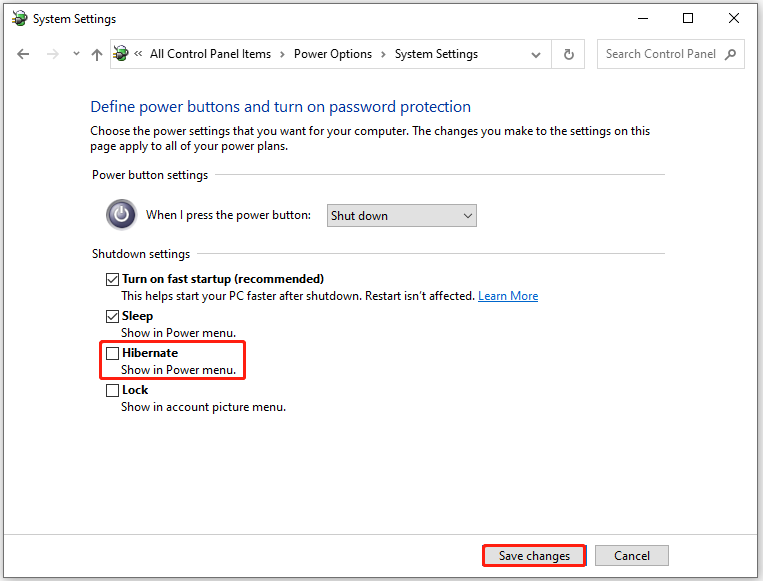
Step 6: Under the Shutdown settings section, uncheck Hibernate and click Save changes to finish the process.
Method 2: Move Pagefile to Another Place
Since unremovable data on the volume can increase the shrinking time, you can move them to another place before starting the process. The following steps show you how to move pafefile.
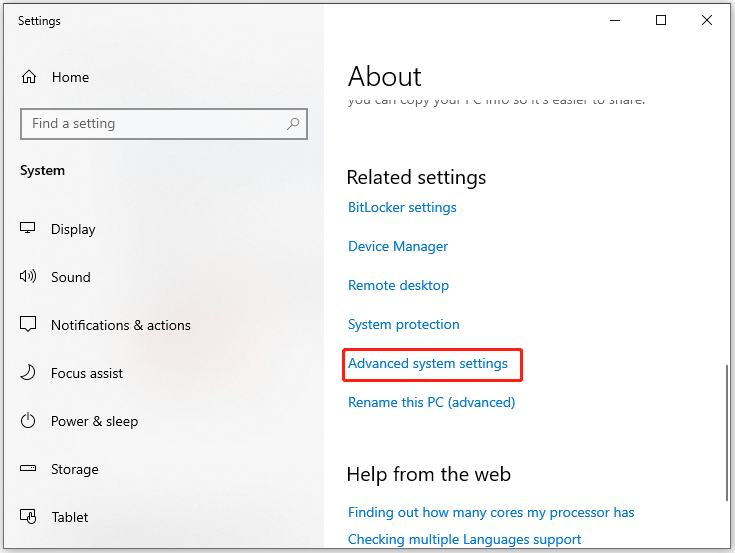
Step 1: Open Control Panel and then click System > Advanced system settings.
Step 2: Navigate to the Advanced tab and then click Settings under the Performance section.

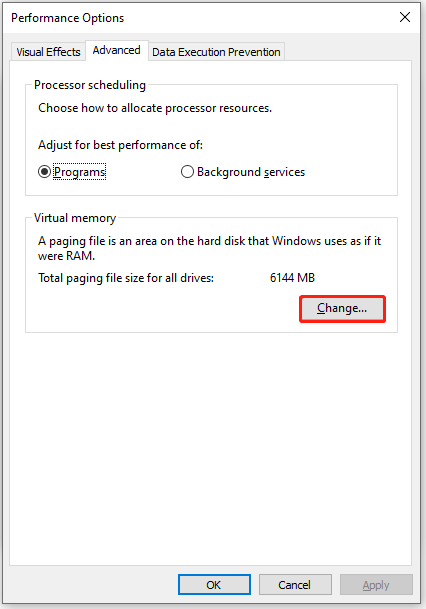
Step 3: Go to the Advanced tab and click Change.
Step 4: Uncheck the option “Automatically manage paging file size for all drives”.

Step 5: Select the drive that you want to move pagefile.sys to and check System managed size. Then click the Set button.
Step 6: Choose the drive where pagefile.sys was administrated up to now and “No paging file”.
Step 7: Restart your computer.
Method 3: Delete System Restore Points
To delete system restore points, you can follow the steps below.
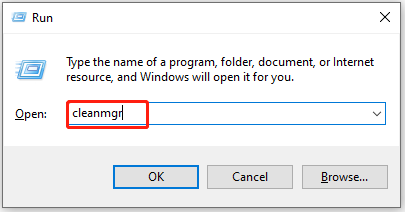
Step 1: Open the Run window, type cleanmgr, and then press the Enter key.
Step 2: In the pop-up window, select the drive where your system restore points is saved and click OK.
By default, the C drive is selected.
Step 3: Click Clean up system files to move on.
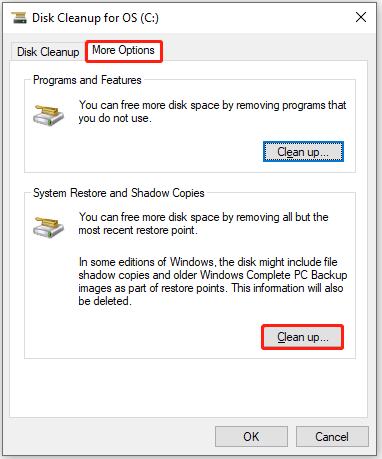
Step 4: Switch to the More Options tab and click Clean up in the System Store and Shadow Copies section.
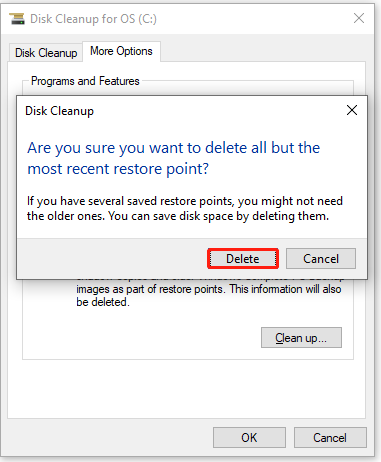
Step 5: In the prompted window, click Delete to confirm the operation.
For more information about system restore point deletion, read this post: How to Delete All System Restore Points | Step-by-Step Guide
Method 4: Run Disk Defragmenter
If shrink volume hangs due to disk fragments, you can defragment your hard drive with the following steps.
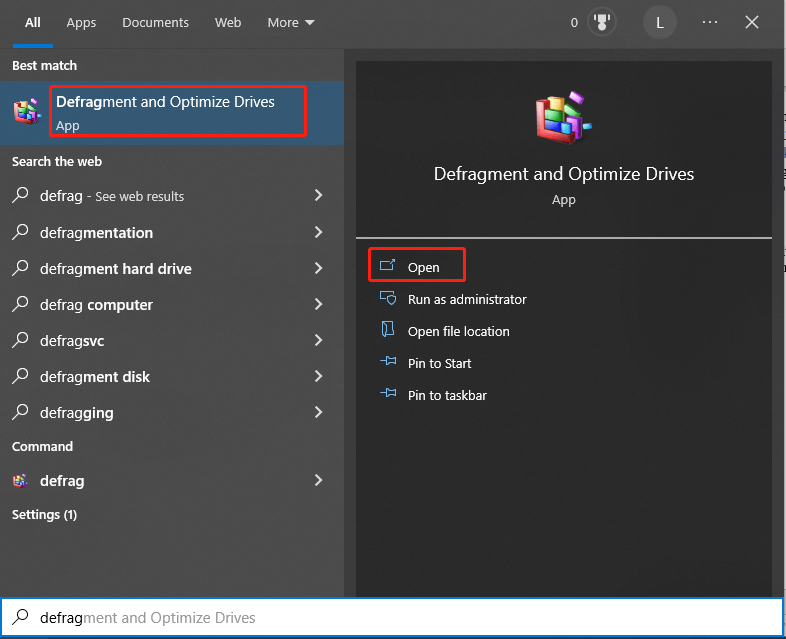
Step 1: Type defrag in the search box, and then click the Defragment and Optimize Drives app under Best match. Alternatively, you can click the Open button in the right panel.
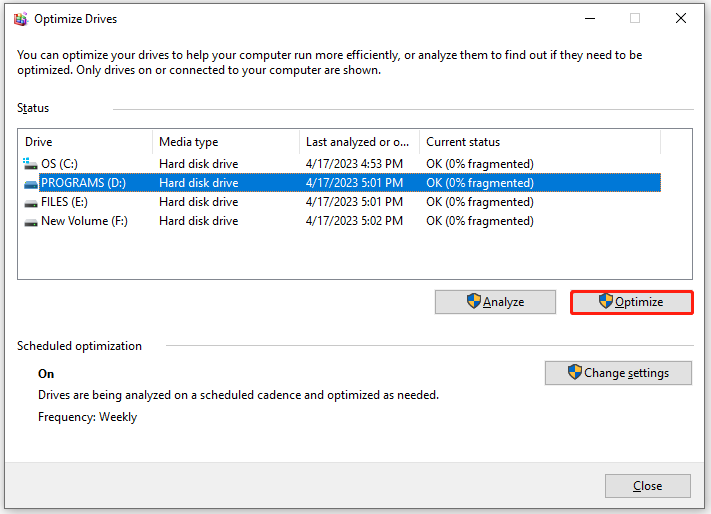
Step 2: In the prompted window, select the drive you want to shrink and click Optimize. Then the program will automatically analyze the selected drive and defragment it.
Step 3: Wait for the finish of the process.
Method 5: Shrink Volume in a Different Way
If you are stuck on the volume shrinking taking forever issue, try a different way to shrink the volume.
There are several ways to shrink partition. You just need to pick a method to complete the shrinking operation.
#1. Use Diskpart
Diskpart is a command-line tool that can help you manage drives, partitions, volumes, and virtual disks. The following steps show you how to shrink a basic volume by using command lines.
Step 1: Open Command Prompt as administrator.
Step 2: Enter the following commands in the elevated window and hit Enter after each.
- diskpart
- list volume
- select volume N (N refers to the volume number of the partition to shrink)
- shrink desired=12400 (the amount of space in megabytes you would like to shrink the target partition to)
Also read: Diskpart Clean vs Clean All: Choose a Way to Wipe Disks
#2. Use Disk Management
Disk Management is an embedded utility in Windows system, which enables you to manage hard drives easily. To shrink a volume with Disk Management, follow these steps.
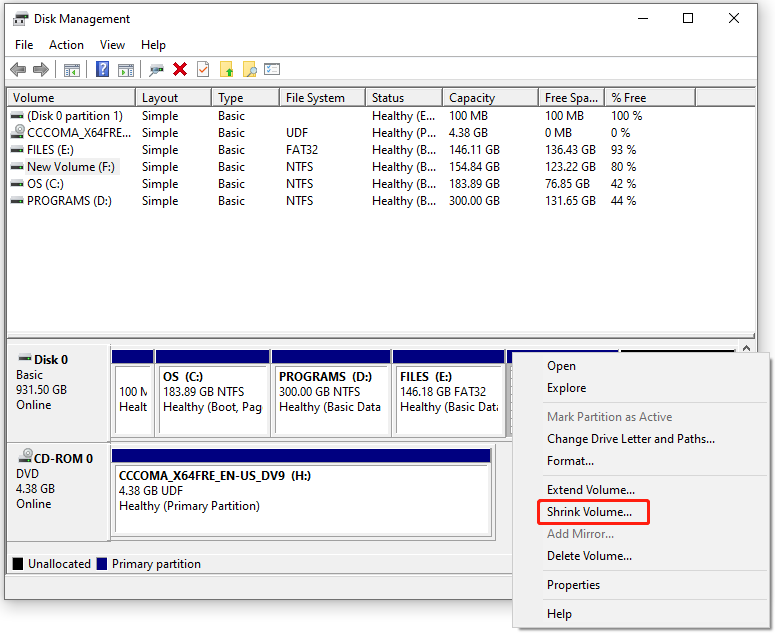
Step 1: Right-click on the Windows icon and click Disk Management.
Step 2: Right-click on the target partition and tap Shrink Volume in the elevated menu.
Disk Management can only shrink basic volumes that have no file system or use the NTFS file system. If you right-click a non-NTFS volume in this program, you will find that the “Shrink Volume” feature is greyed out in the context menu. In this case, you need to try other ways to shrink your volume.
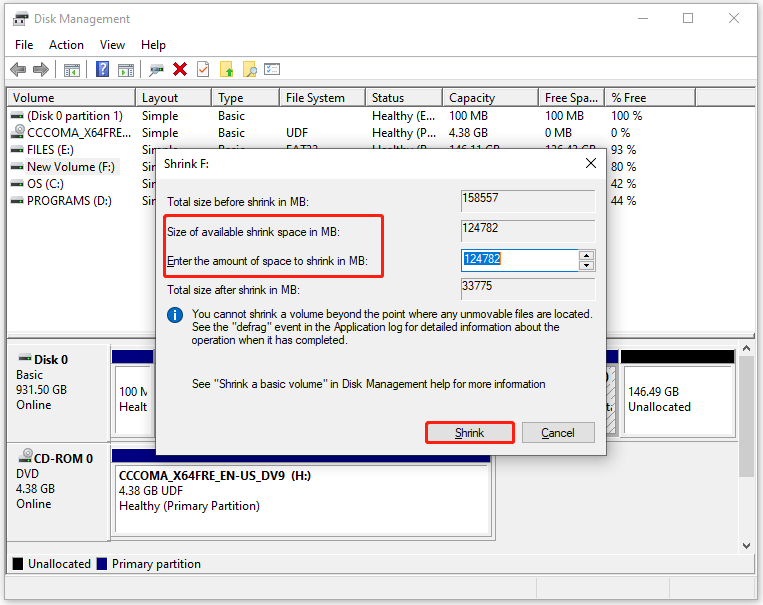
Step 3: You will see the total available shrink size in the next window. You should type the amount of space to shrink in the box and click Shrink.
#3. Use MiniTool Partition Wizard
MiniTool Partition Wizard is a powerful partition manager for Windows PC. It allows you to perform various operations on partitions and hard drives (including basic disk and dynamic disk). For example, it can create/format/extend/shrink/move/copy/delete/wipe/recover partitions, convert MBR to GPT, migrate OS to SSD/HDD, change cluster size, convert FAT to NTFS, etc.
With more advanced features, it can be used as an alternative to Disk Management. If you can’t shrink volume via Disk Management, try using MiniTool Partition Wizard to do that. Follow the steps below to finish the operation.
Step 1: Download and install MiniTool Partition Wizard on the computer.
If you shrink volumes on dynamic disks, you should get Pro or higher editions to perform the shrinking process.
MiniTool Partition Wizard DemoClick to Download100%Clean & Safe
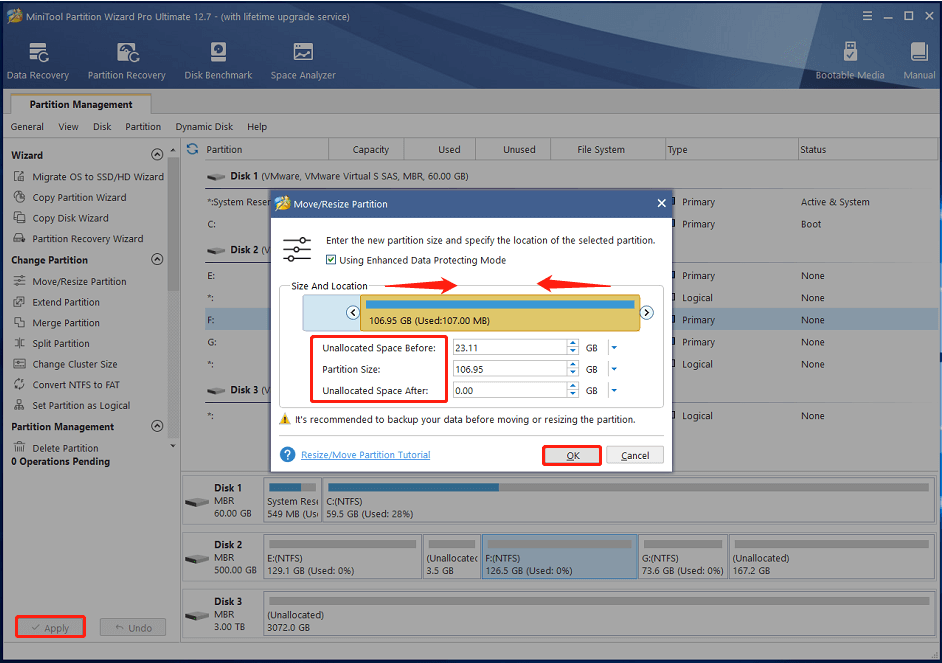
Step 2: Launch the software, right-click on the target partition, and then click Move/Resize.
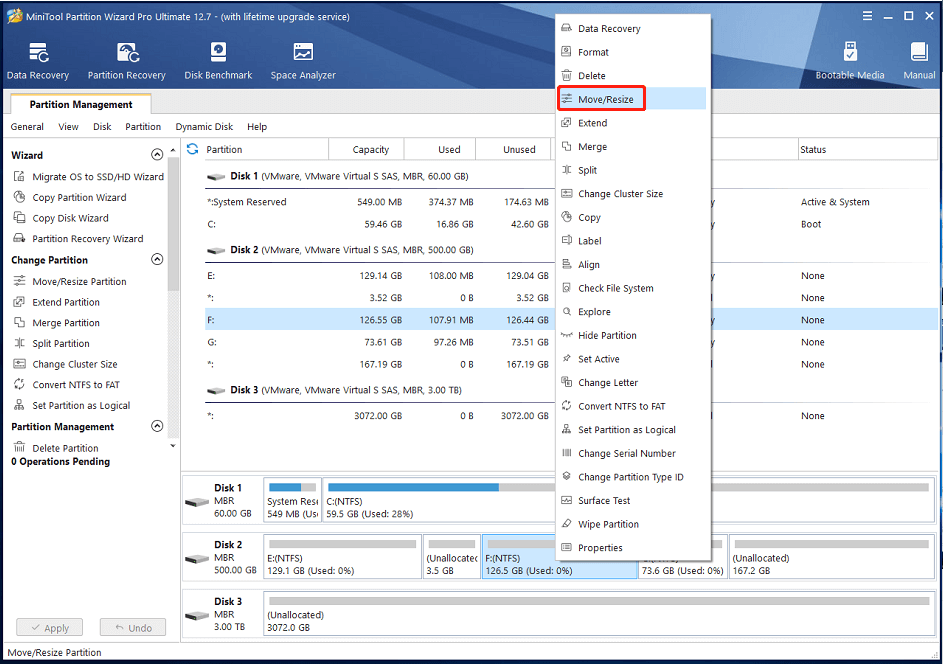
Step 3: In the next window, shrink the partition in one of the following ways. After that, click OK to save changes.
According to your demands, you can change the location of the partition by moving the partition block to the desired position.
- Drag the arrow icon leftward or rightward.
- Type the exact unallocated space before or after the partition in the corresponding field.
Step 4: Finally, click Apply to execute the pending operation.
Also read: 2 Easy and Effective Ways to Shrink Volume with Unmovable Files
Bottom Line
This post discusses why you need to shrink volume, how long does it take to shrink volume, and what if shrink volume hangs. In a word, it is a comprehensive guide on volume shrinking. If you encounter any annoying errors while shrinking partitions, tell us in the following comment area. We would try our best to help you work them out.
Please feel free to contact us for any questions that occur when you use MiniTool Partition Wizard. Simply send an email to us via [email protected]. We will make a reply as soon as possible.
User Comments :