According to user reports, the random disk usage spikes problem often occurs on Windows 10/11 PCs. Many users complain that their disk usage randomly surges from 0% to 100%, slowing down and even freezing their computers. Here’s a true example from the answers.microsoft.com forum:
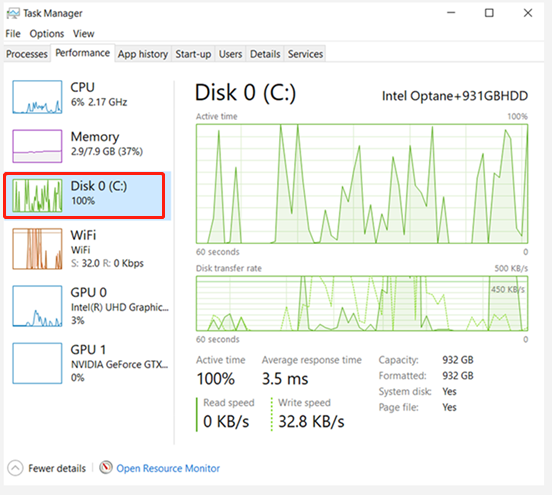
Hey, now for 3 days my Disk Usage goes randomly from 0 to 100 and then 0 %, I already tried the tips given from all other forums or websites but nothing helped. And it’s getting Annoying it freezes my computer and something more I don’t understand why my Hard drive is that fast at 100% Usage because I got a 1 TB Hard drive with a 128 MB cache.
https://answers.microsoft.com/en-us/windows/forum/all/windows-10-random-disk-usage-spikes/6eb71dcf-90f6-47b6-9d6b-9703a1e299a5?page=2
Why does My Disk Usage Spike Randomly
Why does my disk usage spike on Windows 11/10? After analyzing extensive user reports from different forums and communities, we find the random disk usage spikes Windows 11/10 issue is often related to drive fragmentation. If you have used a traditional HDD drive for a long time, the drive could get fragmented and start running into various issues like disk usage spikes.
In addition, this problem can be caused by many other factors, including third-party software interference, faulty hard drives, Windows security glitch, outdated drivers, corrupt system files, and some disk-hogging services and features.
How to Fix Random Disk Usage Spikes on Windows 11/10
Here we summarize 10 corresponding ways to fix Windows 11/10 random disk usage spikes according to the possible causes. Let’s start trying.
# 1. Optimize the Hard Drive
If you are using an older HDD drive and have disabled the Defragment optimization feature, you may experience the “disk spikes to 100 Windows 10/11” issue. In this case, you can follow the steps below to optimize the hard drive.
To optimize a hard drive on Windows 11, you can refer to this guide “How to Defrag Windows 11 Hard Drive to Improve Performance”.
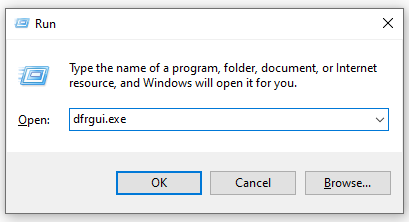
Step 1. Press the Win + R keys to open the Run dialog box, and then type dfrgui.exe in it and hit Enter.
Step 2. In the Optimize Drives window, select the C drive or system drive and click on Optimize. Then click on Yes if you are prompted by the User Account Control menu.
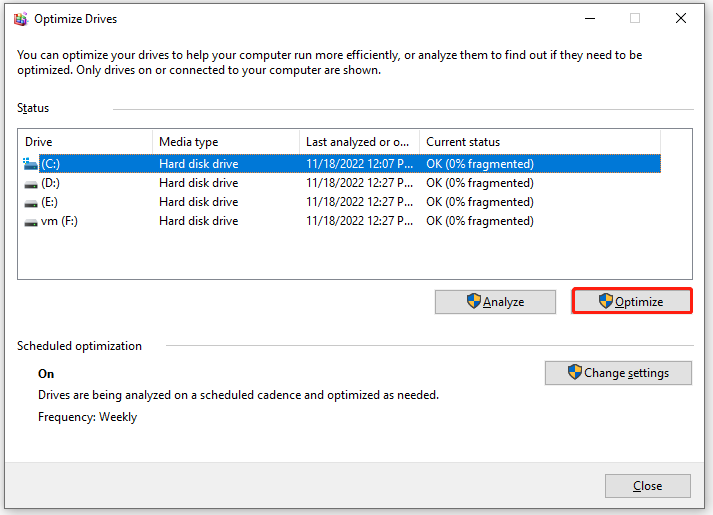
Step 3. This process may take you a while to complete. Wait for it to complete patiently and don’t force stop it.
Once done, restart your computer and check if the Windows 10 random disk usage spikes issue disappears.
# 2. Perform a Clean Boot
Sometimes, random disk usage spikes Windows 11/10 can occur due to third-party software interference. To rule out the conflicting software, we recommend you perform a clean boot. Once found, you can uninstall/disable the software and see if it can get rid of the disk spikes.
How to Clean Boot Windows 10 and Why You Need to Do So?
How To Perform A Clean Boot On Your Windows 11 PC
# 3. Check the Hard Drive for Errors
Another common reason for the random disk usage spikes on Windows 10/11 is the hard drive itself. So, it’s important to check if the hard drive gets faulty. There are 2 methods to check the hard drive for errors. For that:
Method 1. Use CHKDSK
CHKDSK is a command tool that can help you check and repair hard drive errors in Command Prompt. Here you can use it to check bad sectors on the hard disk.
Step 1. Type cmd in the search bar, and then right-click the Command Prompt app and select Run as administrator from the context menu. Then click on Yes to confirm it.
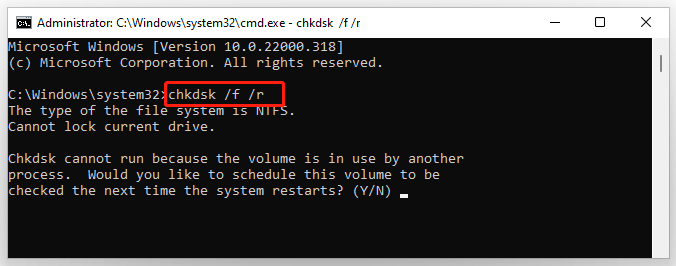
Step 2. In the elevated window, type the following command and hit Enter. Then type Y to schedule the hard drive check next time restart. This command will check and shield the bad sectors on the hard disk.
chkdsk /f /r
Method 2. Use MiniTool Partition Wizard
Although CHKDSK can be used to check the hard drive, this tool often runs into various issues like CHKDSK write-protected, CHKDSK getting stuck, etc. So, we highly recommend you use a professional tool like MiniTool Partition Wizard. It can help you check disk errors quickly.
MiniTool Partition Wizard is a reliable partition manager that can help you do many works such as converting MBR to GPT, converting FAT to NTFS, formatting hard drives, performing disk benchmarks, migrating OS to SSD/HD, etc.
MiniTool Partition Wizard FreeClick to Download100%Clean & Safe
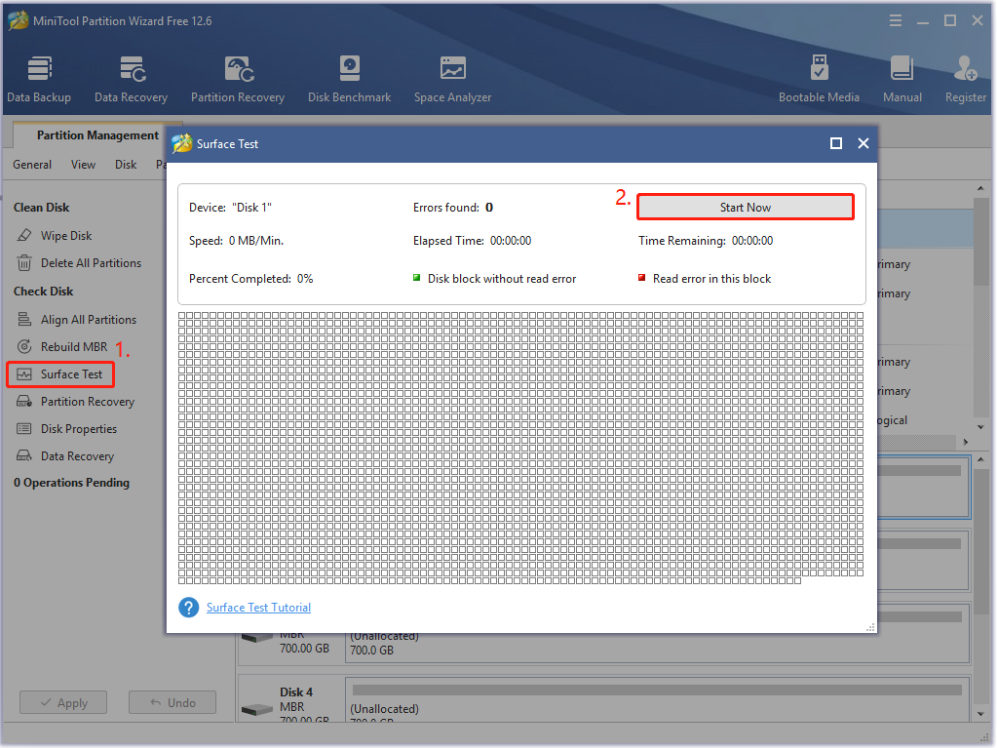
Step 1. Launch the MiniTool software to get its main interface, and then select the problematic hard drive and click on Surface Test from the left action pane.
Step 2. Click on the Start now button in the pop-up window. After that, this tool will scan the whole disk immediately and show you the test result.
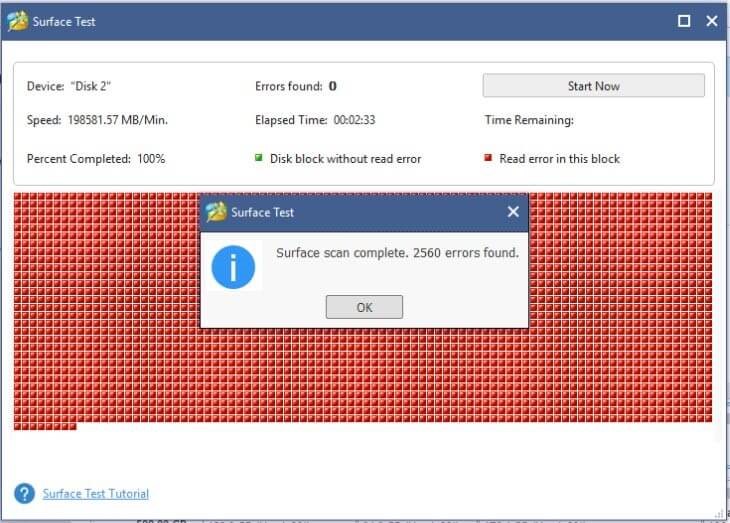
Step 3. If any blocks are marked with red color like the following picture, it indicates that your hard drive is getting failing. In this case, you may consider replacing the hard drive with a new one.
# 4. Upgrade to the Latest Version of Windows 11/10
Some users reported that the random disk usage spikes Windows 11/10 problem gets fixed after upgrading to the latest Windows version. So, we recommend you check the current version of Windows and see if it is the latest build. If not, follow the steps below to update it.
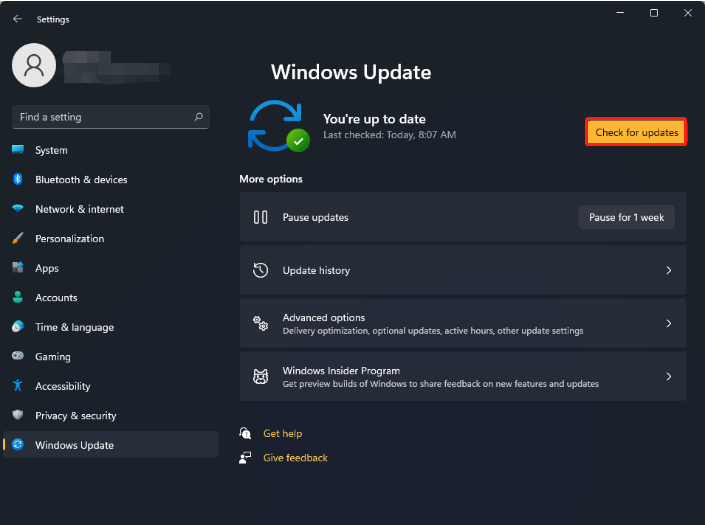
Step 1. Press the Win + I keys to open the Settings window and select Windows Update.
Step 2. Click on Check for updates from the right panel and Windows will automatically check for available latest updates for your PC.
Once updated, you can restart your PC and check if the “disk spikes to 100 Windows 10/11” issue gets solved. In addition, outdated or corrupted device drivers can trigger random disk spikes issues as well. So, make sure you install the latest optional device driver updates too.
# 5. Check the Windows Security Glitch
Many users also found that disk spikes to 100 Windows 10/11 when Windows security downloads a new virus definition. To get rid of this Windows security glitch, you can try disabling Windows Firewall temporarily and re-enabling it after a restart.
Step 1. Open the Run dialog box, and then type ms-settings:windowsdefender and hit Enter. Then click on Yes in the UAC window.
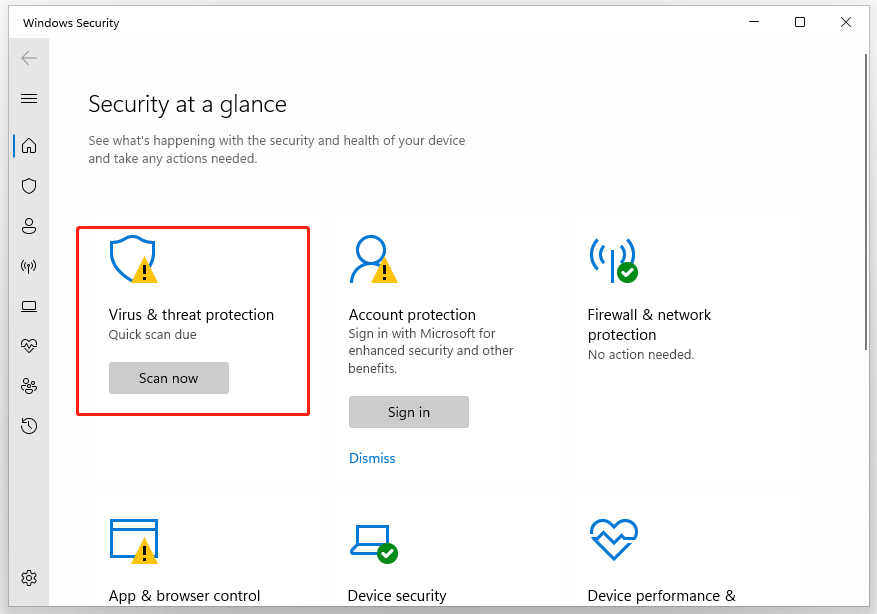
Step 2. In the pop-up window, click on Open Windows Security from the right panel.
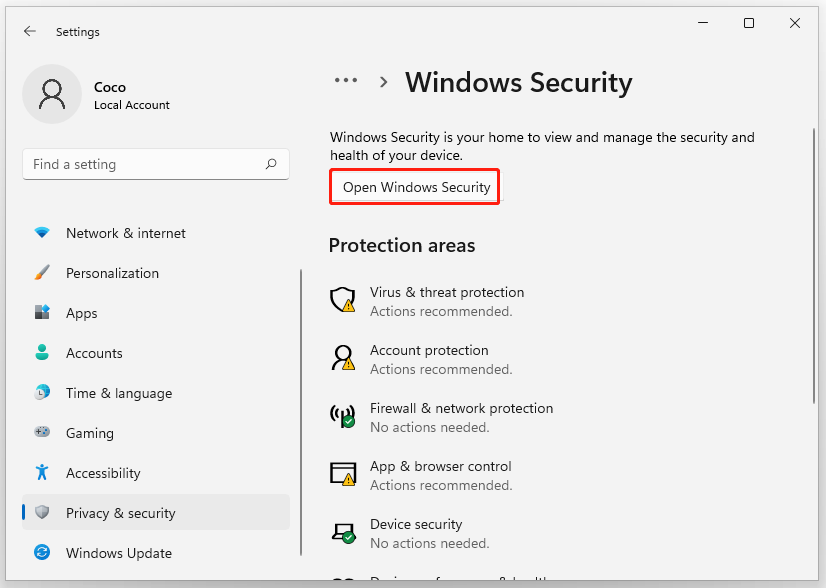
Step 3. Select Virus & threat protection to open the dedicated menu and click on Manage settings.
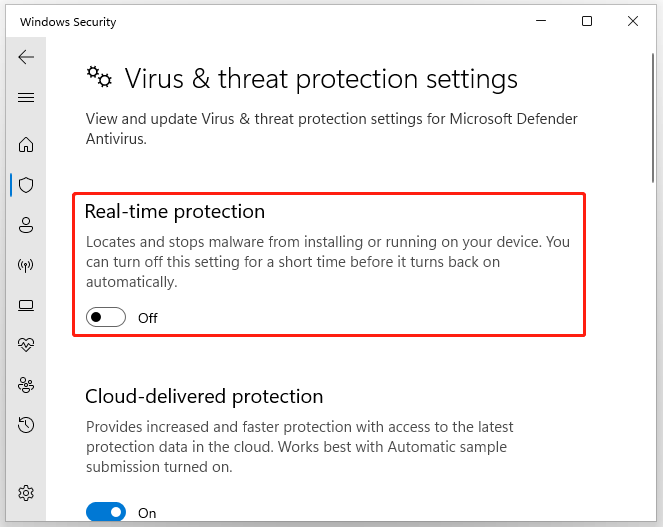
Step 4. Scroll down and toggle off the switch next to Real-time protection. Then click on Yes in the UAC window to confirm it.
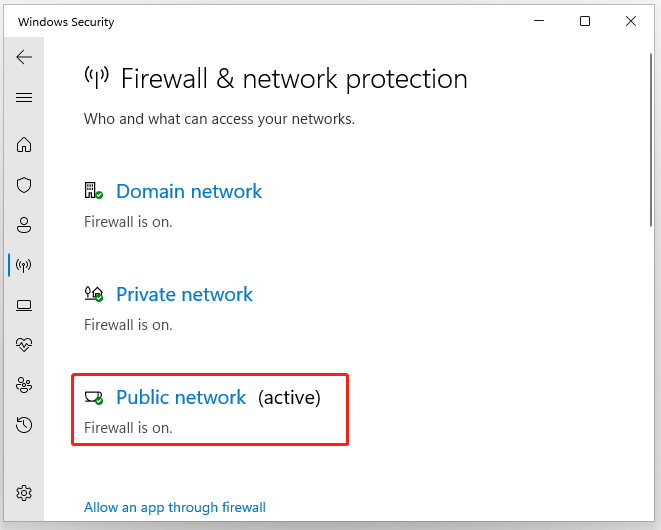
Step 5. Come back to the Windows Security settings menu and click on Firewall & network and select your currently active network (Domain, Private, and Public).
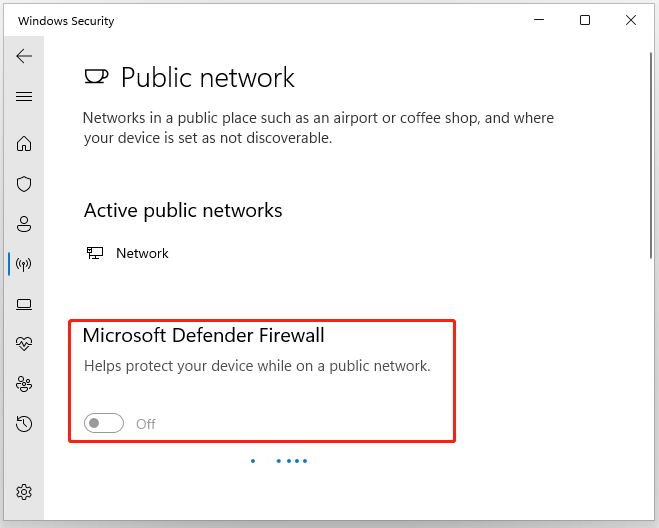
Step 6. Toggle off the switch associated with Microsoft Defender Firewall.
Step 7. Once done, restart your computer and check if the random disk usage spikes Windows 10/11 problem gets fixed. If not, reverse the steps above to re-enable the real-time protection and Windows Defender Firewall.
# 6. Run an SFC or DISM Scan
If some important system files get broken or missing, you may encounter Windows 11 random disk usage spikes. In this case, the System File Checker and DISM tools can help you repair corrupted system files. Here’s how:
Step 1. Type cmd in the search box, and then right-click Command Prompt and select Run as administrator option.
Step 2. Type the sfc /scannow command in the elevated command prompt and hit Enter. After that, the SFC tool will scan and try to repair the corrupted system files automatically.

Step 3. If the SFC tool fails to work, you can try using the DISM tool. Type the following commands in the elevated command prompt and hit Enter after each one.
- DISM.exe /Online /Cleanup-image /Scanhealth
- DISM.exe /Online /Cleanup-image /Restorehealth
# 7. Disable CompatTellRunner.exe
Some users from the answersmicrosoft.com forum found that the CompatTellRunner.exe service can trigger the random disk usage spikes Windows 10/11 problem. Here you can try disabling this process and see if it works.
Step 1. Open the Run box again, and then type regedit in it and hit Enter.
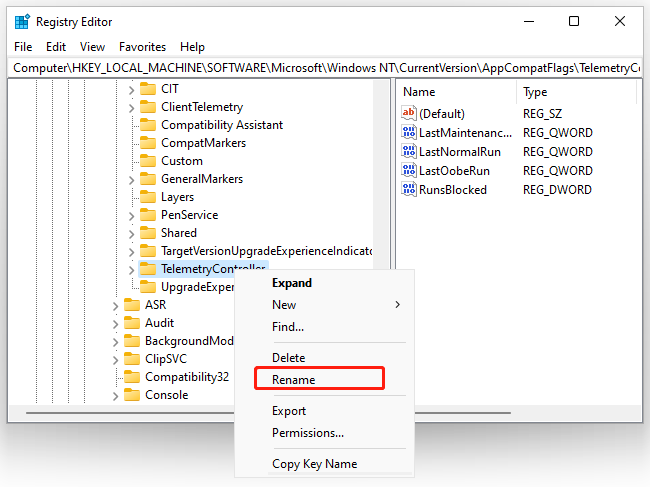
Step 2. In the Registry Editor window, go to the following path via the left navigation bar.
HKEY_LOCAL_MACHINESOFTWAREMicrosoftWindows NTCurrentVersionAppCompatFlagsTelemetryController
Step 3. Right the TelemetryController folder and select Rename.
Step 4. Rename the TelemetryController to TelemetryControllerX, which can you’re your system to disregard these registry keys completely.
Step 5. Now, you can reboot your computer and check if the Windows 11 random disk usage spikes issue persists.
# 8. Disable Windows Search Indexing Service
Windows Search Indexing is a service that can help you search for files, email messages, and other content on the PC. However, some users find that this service can trigger Windows 11 and Windows 10 random disk usage spikes as well. Here you can try disabling this service.
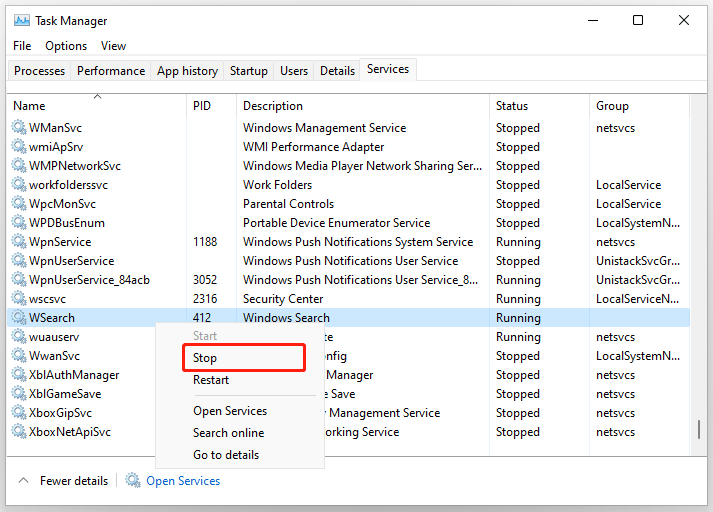
Step 1. Press Ctrl + Shift + Enter keys altogether to open Task Manager.
Step 2. Navigate to the Service tab, scroll down the list of services to find, right-click the WSearch service, and select Stop.
Step 3. Navigate to the Performance tab and see if the disk usage goes down.
# 9. Disable Link Power Management
Link State Power Management is a power management mechanism that is used for PCIe devices to get power savings while in a fully active state. However, some users find that this service can trigger random disk usage spikes Windows 11/10. To fix the problem, you can try disabling this feature.
Step 1. Press Win + I to open the Settings window and navigate to the System section.
Step 2. In the Settings window, select Power & sleep from the left side and click on Additional power settings.
Step 3. Click on Change plan settings next to your preferred plan.
Step 4. In the Edit Plan Settings window, click on Change advanced power settings.
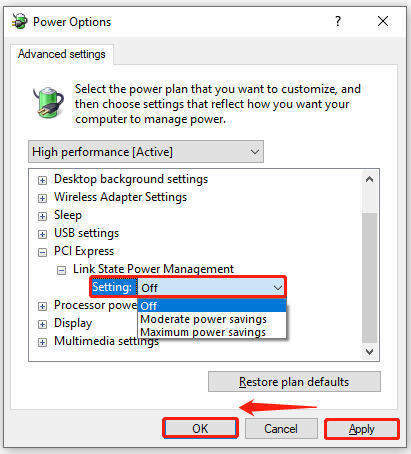
Step 5. Expand the PCI Express > Link State Power Management categories, click on Settings and select Off from the drop-down menu.
Step 6. Click on Apply and OK to save the change.
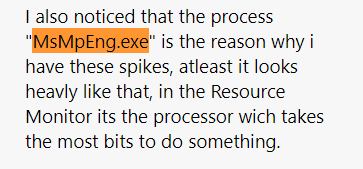
# 10. Disable MsMpEng.exe
MsMpEng.exe is a core process of Windows Defender that is always running in the background. This process enables Windows Defender to monitor potential threats to your computer and provide real-time protection against malware.
Many users from the Microsoft forum noticed that the MsMpEng.exe service can cause the disk spikes issue. Here you can try disabling this process and check if it works.
Have a Try Now
How to fix random disk usage spikes on Windows 10/11? The top 10 solutions have been illustrated in the post. If you have any better troubleshooting methods for this problem, please share them with us in the following comment zone.
Also, you can send us an email via [email protected] if you have questions or suggestions about MiniTool Partition Wizard.
User Comments :