Cases to Restore the System or Boot Drive Letter
Generally speaking, it is not recommended to change the system/boot drive letter, especially if the drive letter is the same as when Windows was installed. You only need to do that when the drive letters get changed without any user intervention.
This situation may occur when you break a mirror volume or there’s a drive configuration change. In cases like that, you should restore the system or boot drive letter to match the initial installation. How to restore the system or boot drive letter? Detailed steps are shown as follows!
MiniTool Partition Wizard DemoClick to Download100%Clean & Safe
Further reading:
If your computer is unbootable due to drive letter chaos or missing, you need to boot it from a bootable USB drive and then restore the boot drive letter.
How to Restore the System or Boot Drive Letter
If you are going to restore the system or boot drive letter, pay attention to this section. It offers a full tutorial to change the system/boot drive letter.
Step 1: Sign in as an administrator.
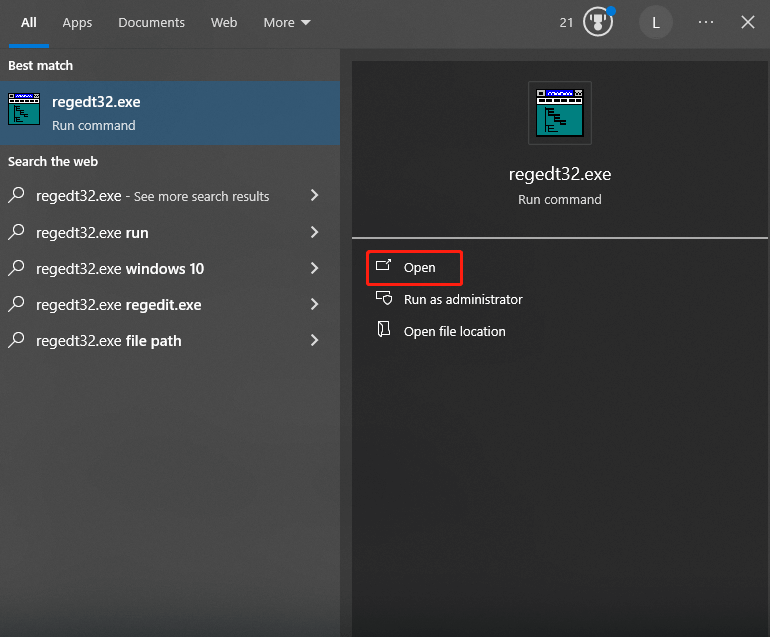
Step 2: Type regedt32.exe in the search box and then click the Open option under the
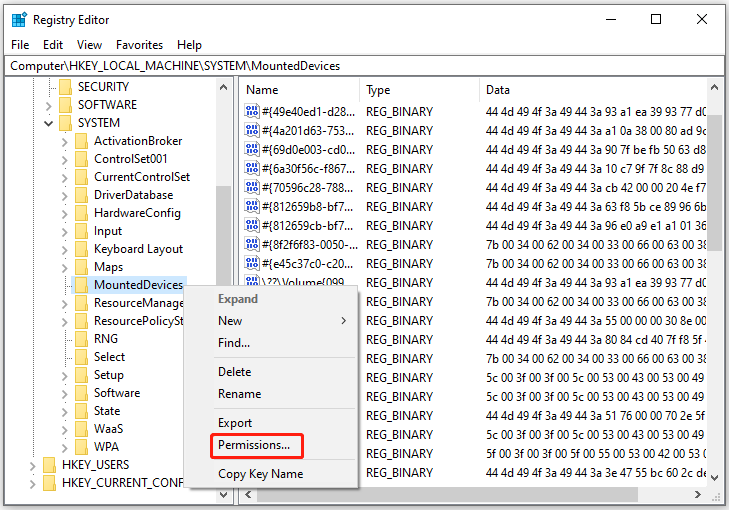
Step 3: In the left panel of the Registry Editor window, follow the path below to locate the Registry key.
Computer\HKEY_LOCAL_MACHINE\SYSTEM\MountedDevices
Step 4: Right-click on the MountedDevices key and choose Permissions.
Step 5: Make sure that Administrators have full control and save the changes.
Step 6: Close Regedt32.exe and open Regedit.exe from the search box. Then navigate to the MountedDevices key again.
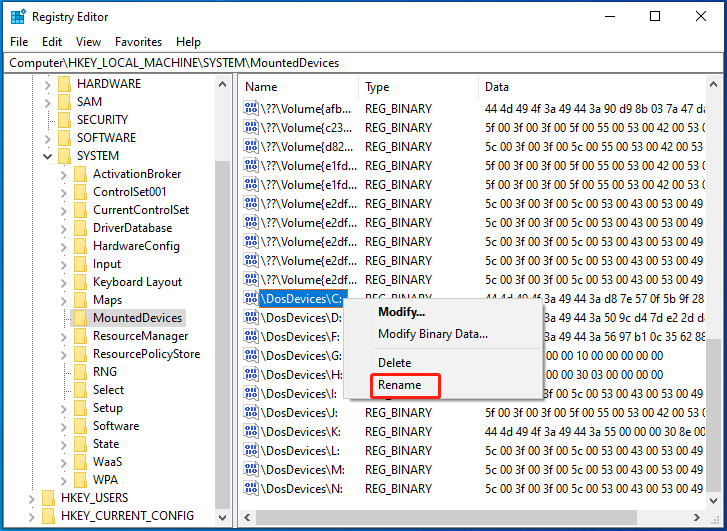
Step 7: Find the drive letter to change on the right side of the window. In this scenario, we select “\DosDevices\C:”.
Step 8: Right-click “\DosDevices\C:”and hit Rename.
Step 9: Rename it to an unused drive letter like “\DosDevices\Z:”. By doing so, you can free up the drive letter C.
Step 10: Find the drive letter you want to change like “\DosDevices\D:”. Highlight it and rename it to the “\DosDevices\C:”.
Step 11: Then highlight “\DosDevices\Z:”and rename it to “\DosDevices\D:”.
Step 12: Close Regedit and start Regedt32. Then restore the permissions to the previous setting for Administrators. It should be Read Only.
Step 13: Restart the computer.
How to restore the system or boot drive letter? Simply follow the above steps to perform the operation.
Related articles:
Files with random numbers and letters in C drive
Lenovo SYSTEM_DRV partition issues
Remove/recover drive space indicator bar
Configure a low disk space alert
Up to now, steps to restore the boot drive letter have been shown to you. If you need to change the system/boot drive letter safely, follow the given steps in the post.
User Comments :