Do you receive the error message “An unexpected error occurred in Dell SupportAssist” while updating drivers with SupportAssist? If so, this post is what you need. Here, Partition Magic collects some fixes for the issue.
An Unexpected Error Occurred in Dell SupportAssist
Dell SupportAssist is a preinstalled utility on Dell computers. It can protect your computer and boost PC performance as it is capable of removing viruses/unwanted files, optimizing settings, detecting hardware issues, updating drivers, scanning for updates, etc.
MiniTool Partition Wizard FreeClick to Download100%Clean & Safe
However, sometimes it prompts you errors like “Another scan is in progress error in Dell SupportAssist” and “An unexpected error occurred in Dell SupportAssist” during driver update process. In this post, I will focus on the unexpected error that bothers a lot of users.
A user shared his experience on Dell community.
When trying to update drivers using the SupportAssist app, it's stops after the validating step with the message “An unexpected error occurred”. Any ideas?-https://www.dell.com/community/en/conversations/xps/supportassist-an-unexpected-error-occurred/647f8bb8f4ccf8a8debdc6b4
If you are troubled by the error too, take a look at this post. Here are some feasible solutions for you.
Fix 1: Clear Dell SupportAssist Cache
Once SupportAssist temporary files and cache data get corrupted, they can lead to unexpected errors. Hence, you’d better clear Dell SupportAssist cache when you receive the error. Here’s how to do that.
Step 1: Open File Explorer by pressing Windows and E keys simultaneously.
Step 2: Navigate to the target folder by following this path: C:\ProgramData\Dell\SupportAssist\Cache.
Step 3: Select all files and folders within the Cache directory, right-click on them, and choose Delete.
Step 4: After that, restart SupportAssist to see if it works normally.
Fix 2: Check the Status of Dell SupportAssist Services
As SupportAssist relies on specific background services to run properly, you should ensure all these services are running. You can check the status of these Dell SupportAssist services in Services with the steps below.
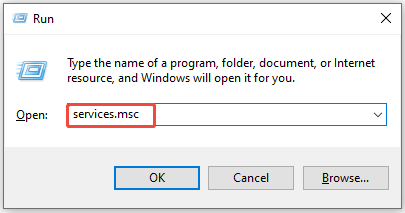
Step 1: Right-click the Start icon to open the Quick Link menu.
Step 2: Tap on the Run option.
Step 3: In the Run dialog window, type services.msc and hit Enter.
Step 4: In the Services window, find these services and check their status under the Status column.
- Dell Client Management Service
- Dell SupportAssist
- Dell SupportAssist Remediation
- Dell TechHub
Step 5: If these services are disabled, right-click them and choose Start.
Fix 3: Update Dell SupportAssist to the Latest Version
Like other programs, developers of Dell SupportAssist also release new updates for the utility. They provide bug patches and add new features in the new updates. Hence, updating Dell SupportAssist to the latest version is an available solution for the unexpected error.
How to update Dell SupportAssist? Here’s the tutorial for you.
Step 1: Run the Dell SupportAssist utility on your PC.
Step 2: Head to Settings or About section and check for updates.
Step 3: Follow the on-screen instructions.
Alternatively, go to the official download page of Dell to download the latest version and install it by following the prompted instructions. Once done, restart your computer.
Fix 4: Repair or Reinstall SupportAssist
If updating SupportAssist doesn’t work, try repairing or reinstall SupportAssist from scratch. The following steps show you how to do that.
Step 1: Open Settings by holding Windows and I keys.
Step 2: Tap on Apps > Apps & Features.
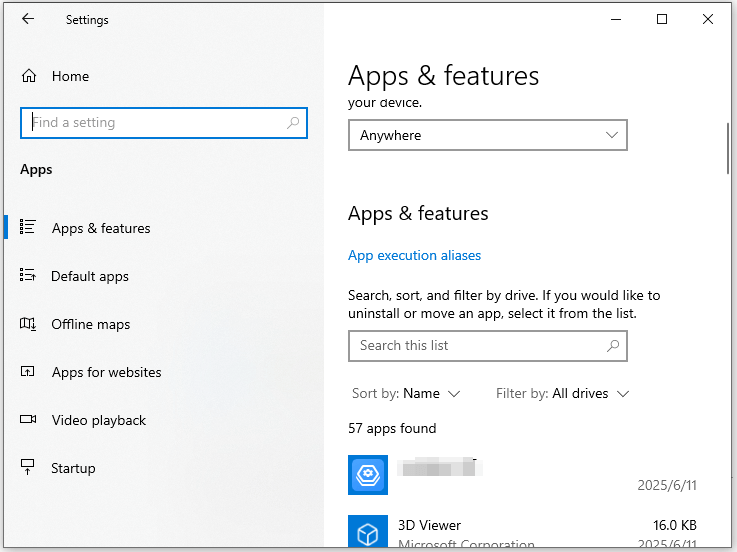
Step 3: Scroll down the list to locate Dell SupportAssist.
Step 4: Click on Dell SupportAssist and hit the Modify button.
Step 5: In the User Account Control window, click Yes to allow the operation.
Step 6: Click the Repair or Uninstall button based on your need.
Step 7: Follow the on-screen instructions to complete the repair or uninstallation. After the uninstallation process ends, download SupportAssist on the official website of Dell and install it manually.
Fix 5: Seek Help from Dell Support
If “Dell SupportAssist an unexpected error occurred” persists, contact Dell’s technical support to seek help. Send any error logs or screenshots to them and describe the process that error happened. They can diagnose the problem and offer you some advice.
Wrap Things Up
To sump up, this post provides you with 5 methods for “an unexpected error occurred in Dell SupportAssist”.
User Comments :