Are you facing the error message “Your PC ran into a problem and needs to restart” with the stop code wdf_violation? The reasons for WDF_VIOLATION could be various, but don’t worry. MiniTool Solution can help you learn what the error is and how to fix it easily.
What is WDF_VIOLATION
Many users have reported that they encountered WDF_VIOLATION error message after installing the latest Windows 10 updates. They said that they tried to boot their PC but it showed that Your PC ran into a problem and needs to restart and the stop code was wdf_violation.
Do you know what WDF_VIOLATION is and why it appears?
WDF stands for Windows Driver Frameworks, a set of Microsoft tools and libraries that aid in the creation of device drivers for Windows 2000 and later versions of Windows. The message WDF_VIOLATION indicates that Windows found an error in a framework-based driver.
Actually, the blue screen stop code wdf_violation is mostly seen in HP PCs, and the reasons could be various.
According to the investigation, the WDF_VIOLATION blue screen error is mainly caused by a faulty HP keyboard driver, HpqKbFiltr.sys (version 11.0.3.1), which is incompatible with Windows 10 version 1803 and Windows 10 version 1809 on HP computers.
Besides, this blue screen error is gradually seen on the other brand of computers due to the following reasons:
- Something wrong with USB peripherals
- Bluetoothdriver and other driver issues
- Corrupted systemfiles
- Virus attack
How to fix WDF_VIOLATION blue screen of death problem on your Windows 10? You can try the following solutions one by one.
Solution 1: Remove the Faulty HP Keyboard Driver
As it is mentioned, the faulty HpqKbFiltr.sys driver is a reason for the WDF_VIOLATION BSOD error. To address this issue, you need to remove or rename this faulty driver. If you are a HP user, you’d better try this solution.
Step 1: Enter the Windows Recovery Environment (WinRE).
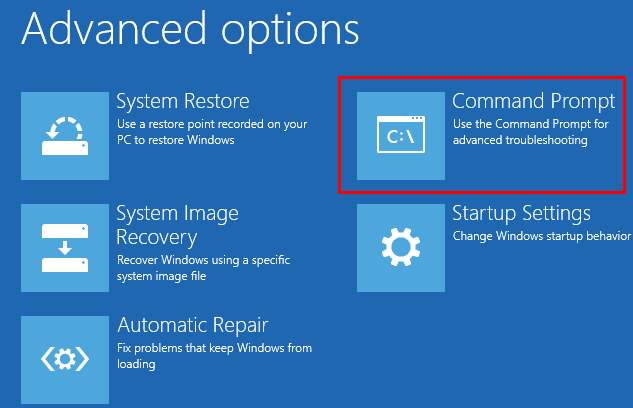
Step 2: Go to Troubleshoot > Advanced options > Command Prompt.
Step 3: Input the command below according to your version of Windows and press Enter to remove HpqKbFiltr.sys driver.
- 32-bit version of Windows: dism /Image:C /Remove-Driver /Driver: C:WindowsSystem32DriverStoreFileRepositoryhpqkbfiltr.inf_x86_f1527018cecbb8c2HpqKbFiltr.inf
- 64-bit version of Windows: dism /Image:C: /Remove-Driver/Driver: c:WindowsSystem32driverstoreFileRepositoryhpqkbfiltr.inf_amd64_714aca0508a80e9aHpqKbFiltr.inf
Step 4: Exit WinRE and reboot your computer to check whether wdf violation error has been fixed.
Solution 2: Disconnect All USB Peripherals
The wdf violation error could also be caused by some USB peripherals. Therefore, you can try disconnecting all USB peripherals from your computer to fix this error, including the mouse, camera, microphone and so on.
If it’s not working, you can disable USB ports in BIOS with the following steps.
Step 1: Restart your computer and keep pressing F2 or Del to enter BIOS.
Step 2: In BIOS, navigate to Advanced Tab > Miscellaneous Devices > External USB Ports, and then disable External USB ports.
Step 3: Save and exit the BIOS.
Once it’s done, restart your computer and see if WDF_VIOLATION is solved.
Solution 3: Uninstall Bluetooth Driver in Safe Mode
Some users have reported that they successfully removed the stop code wdf_violation by uninstalling Bluetooth driver. You can run Windows in Safe Mode and then remove the problematic driver if the first two methods are not effective for you.
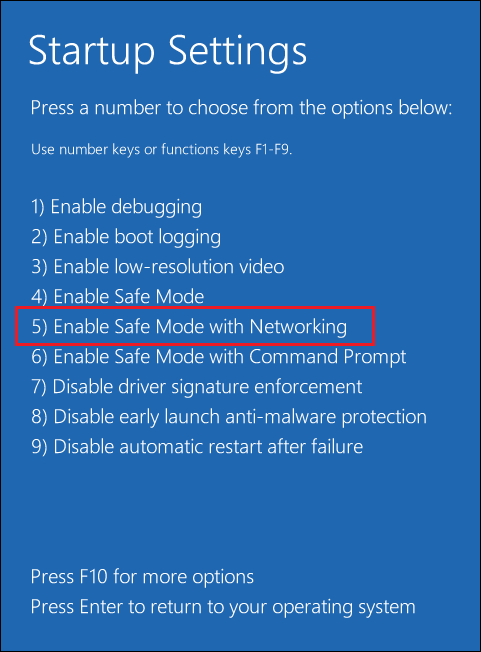
Step 1: Enter WinRE and click Troubleshoot > Advanced options > Startup Settings > Restart to open Startup Settings.
Step 2: Press F5 to select Enable Safe Mode with Networking to run your computer in Safe Mode.
Step 3: Press Win + X and choose Device Manager from the list.
Step 4: Now locate your Bluetooth driver and right-click it. Then choose Uninstall device from the menu.
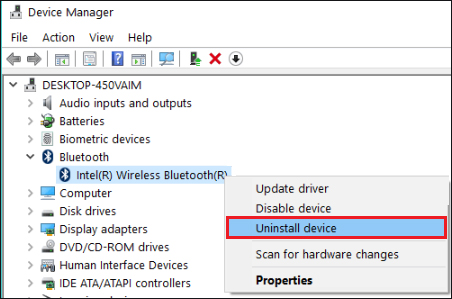
Step 5: In the pop-up window, check Delete the driver software for this device and click Uninstall.
Then you can restart your PC and check if it works well.
Solution 5: Run Startup Repair
If you cannot enter Windows Safe Mode, Starup Repair is a good choice to solve the issue.
You are able to find Startup Repair in WinRE, or you can use a Windows installation disk to boot your PC, and then click Repair your computer.
After that, go to Troubleshoot > Advanced Options > Startup Repair. Choose the target operating system to fix and Windows will find the problems, fix them and then restart your computer.
Solution 6: Perform a System Restore
There is another way to solve WDF_VIOLATION: Perform a system restore. System Restore can help fix problems that make your computer run slowly or stop responding by getting Windows back to previous status.
If you have created a restore point before, you can use it to restore your system and fix WDF_VIOLATION error. Try these steps:
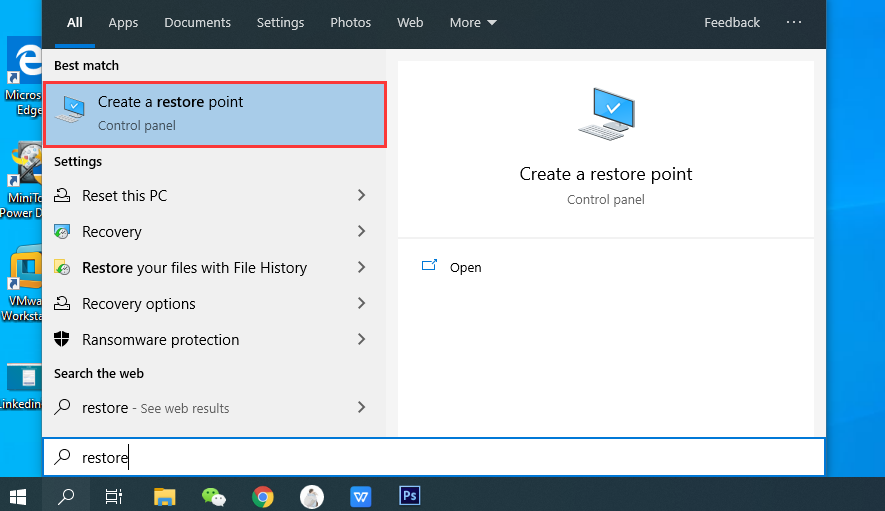
Step 1: In Safe Mode, press Win + S to open Search. Then input restore in the box and choose Create a restore point from the results.
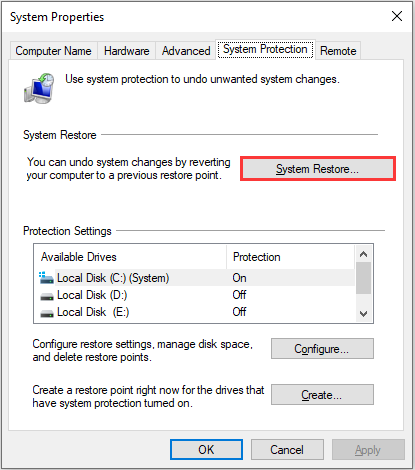
Step 2: Go to System Protection tab and click System Restore.
Step 3: Click Next when System Restore window opens.
Step 4: Select the restore point you want to use and click Next to proceed.
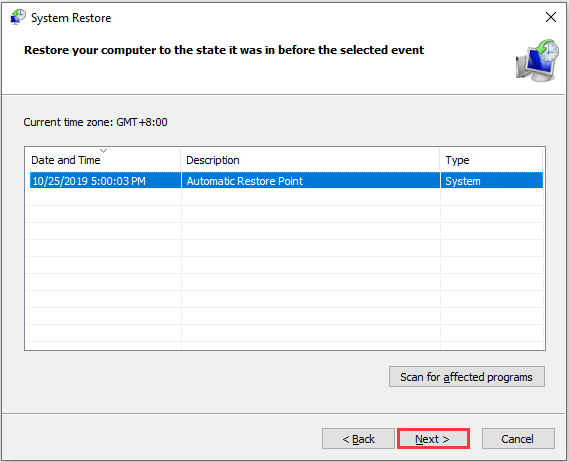
Step 5: Follow the instructions on the screen to finish the process.
Solution 7: Run System File Checker
Corrupted system file could also be responsible for WDF_VIOLATION blue screen error. To fix the problem, you can run System File Checker (SFC) in Windows 10 Safe Mode.
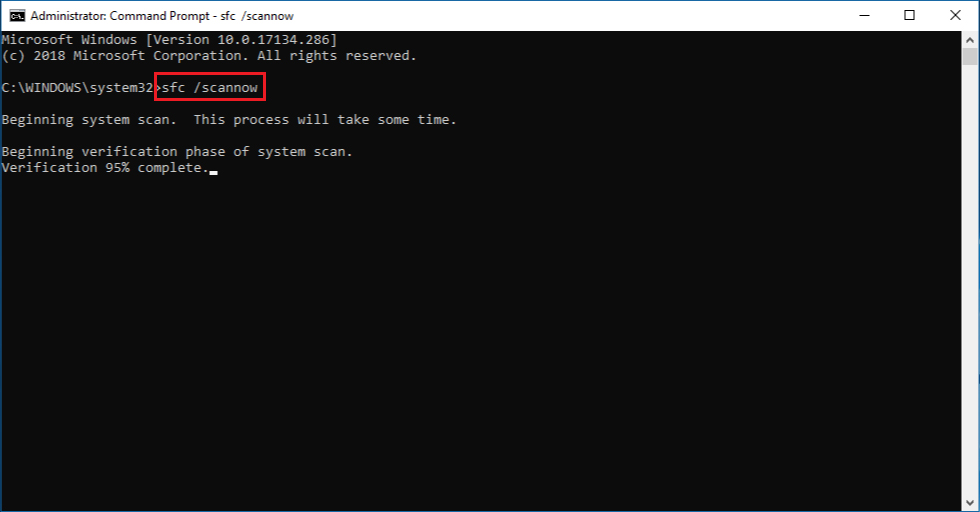
Step 1: Run command prompt as administrator in Safe Mode.
Step 2: Input the command sfc /scannow and press Enter key. Then wait until the System File Check finish and then reboot your computer to see whether WDF_VIOLATION appears.
Solution 8: Reset or Reinstall Windows
If you still have WDF_VIOLATION blue screen issue after you tried the solutions above, you can reset or reinstall Windows to fix it.
Let’s see how to do it.
Just in case, you need to recover and backup important files before you reset or reinstall Windows as thees operations will clean the original system partition.
- If your operating system works well, you just need to back up your disk.
- If the computer fails toboot, you can use MiniTool Partition Wizard to perform data recovery.
Here is the guide on how to recover data when your PC cannot boot.
Step 1: Click the following button to download and install MiniTool Partition Wizard.
Step 2: Launch it and create boot CD/DVD discs or boot flash drive with bootable media builder.
Step 3: Connect the bootable media to your PC on which WDF_VIOLATION appears, and configure the BIOS settings to boot from the media.
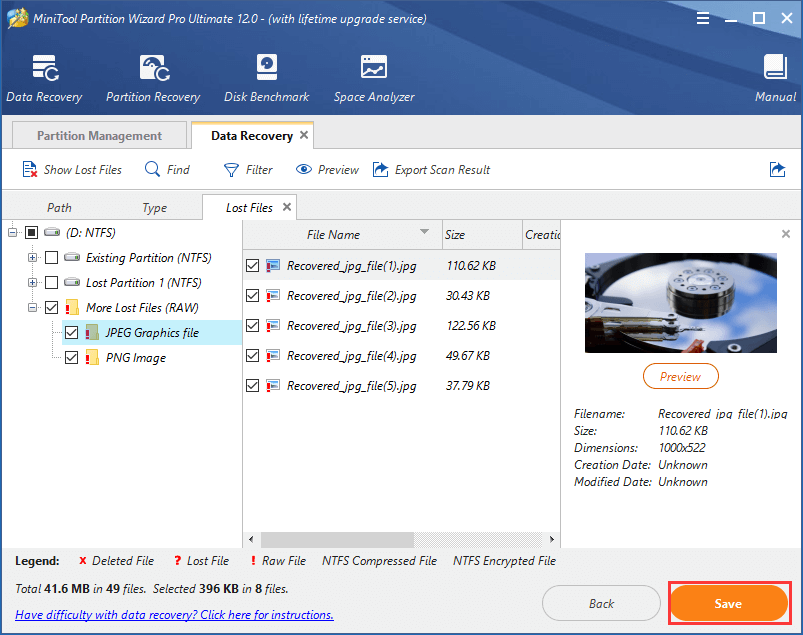
Step 4: Right-click your system partition and choose Data Recovery.
Step 5: After scanning, check the files you need and then click Save.
Now you can reset or reinstall Windows to fix WDF_VIOLATION and there is no need to worry about data loss.
To reset Windows, you just need to enter WinRE and go to Troubleshoot > Rest this PC, and then follow the instructions to finish the process.
Back up Your Windows
Now you must have removed WDF_VIOLATION blue screen error and boot your computer successfully. To avoid the similar system error in the next days, I recommend you to back up your disk so that you don’t need to spend much time on recovering your computer.
You can use MiniTool Partition Wizard Pro Ultimate. It is capable of copying all partitions and data from your system disk to another disk, and you can boot your PC from the copy. Click the button below to get the program if you haven’t installed it.
Step 1: Launch MiniTool Partition Wizard.
Step 2: Click Copy Disk Wizard from the action panel.
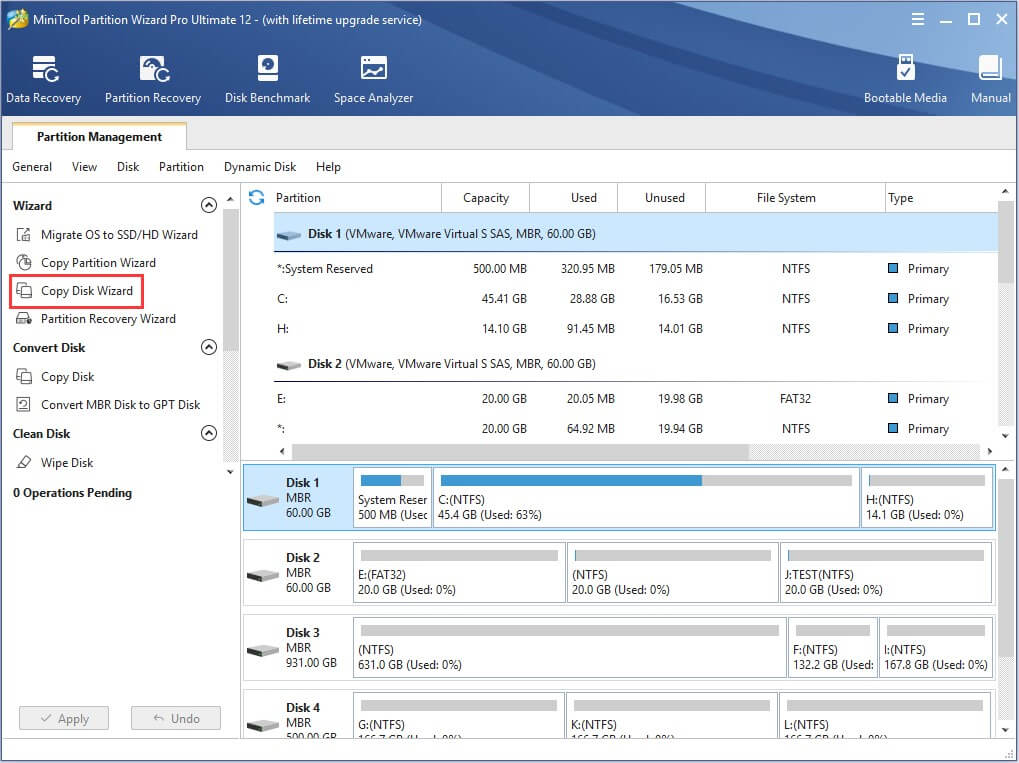
Step 3: Choose the disk you want to back up and follow the wizard to complete the backup process.
Bottom Line
This article introduces the information about the error message “Your PC ran into a problem and needs to restart” with the stop code sdf_violation. You can find 8 ways to solve the problem and you’d better back up your disk so that you can boot the computer from the copy of the source disk once your PC run into a problem or crash.
If you have more ideas about how to fix WDF_VIOLATION blue screen error, please let us know by posting them in the comment section below. For any questions towards MiniTool Partition Wizard, you can contact us via [email protected] and you will get reply very soon.
WDF_VIOLATION FAQ
- Open Run window and input msconfig. Then click OK to access System Configuration.
- Choose Boot tab, and uncheck the Safe boot option.
- Hit Apply and then click OK.
User Comments :