Are you using an HP laptop? Do you want to check its hardware failures? HP hardware diagnostics tool may be what you need. In this post, MiniTool introduces the HP PC hardware diagnostics in detail and some extra useful tips to you.
When it comes to HP hardware failures or other problems like HP black screen, lots of people may want to use the HP hardware diagnostics tool. However, many of them are unclear about the HP UEFI diagnostics or encounter some issues while using it.
If you are also troubled by these questions, you come to the right place. We will explain the definition and provide a download/install/use guide for this tool.
![Notepad++ Download/Install for Windows 10/8/7 [32-bit & 64-bit]](https://images.minitool.com/partitionwizard.com/images/uploads/2022/08/notepad-plus-plus-download-install-thumbnail.jpg)
What Is HP Hardware Diagnostics
As its name implies, HP PC hardware diagnostics is a hardware test tool that can identify, diagnose, and troubleshoot possible hardware issues with HP personal computers. This tool allows you to test many types of devices, including battery, processor, system board, hard drive, memory, wireless module, video memory, etc.
In addition, the HP UEFI diagnostics version can run outside the operating system. So, it can isolate hardware failures from issues that are triggered by the operating system or other software components.
The HP diagnostics tool comes in 2 versions: HP PC hardware diagnostics Windows and HP PC hardware diagnostics UEFI. You can perform different types of tests with the Windows version, while the HP PC hardware diagnostics UEFI version allows you to check hardware failures even when you cannot boot into Windows.
In a word, HP PC hardware diagnostics is a practical and comprehensive hardware diagnostics tool that provides customized test options according to users’ demands. There are 4 main test options in this tool, including:
- System Fast Test: This option helps you identify hardware issues quickly and make sure the main components functioning properly. It’s divided into a 1st pass and 2nd pass and each pass can run multiple tests.
- System Extensive Test: If no system component failed during the Fast Test, you can run this test. But it may take 2 or more hours to complete.
- Component Test: It checks the hardware subsystems to ensure they are functioning properly.
- Symptom Test: This test is only available for the HP PC hardware diagnostics UEFI version. It can be used to identify the root causes of the hardware issues.
The above 3 options are both available for HP hardware diagnostics Windows and UEFI versions, while the last option is only available for the UEFI version.
How to Download & Install HP PC Hardware Diagnostics
As mentioned above, the HP diagnostics tool comes in 2 versions – the Windows version and the UEFI version. Here you can choose the following download/install guide according to your needs.
#1. Install the HP PC Hardware Diagnostics Windows Version
If your computer can boot normally, we recommend you download/install the HP PC hardware diagnostics Windows version.
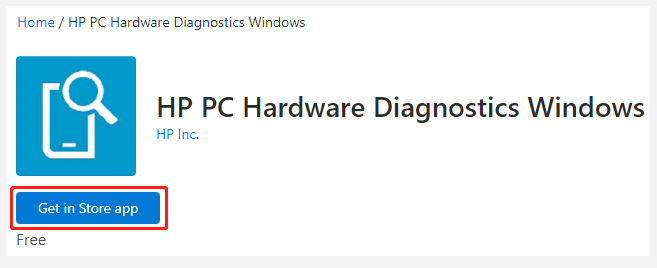
Click here to open the HP PC hardware diagnostics Windows download webpage and click on Get in Store app. Then it will open the Microsoft Store app and download and install this tool automatically. Alternatively, you can directly search for the HP diagnostics tool in Microsoft Store and then download/install it.
#2. Install the HP PC Hardware Diagnostics UEFI Version
As mentioned above, the HP UEFI diagnostics tool works like bootable media when your system doesn’t boot. So, you need to install it on an EFI partition or a USB drive. Here’s how to do that:
We recommend you use another computer to create the bootable USB drive in case you cannot access Windows. Besides, make sure you disable the Secure Boot beforehand so that you can install the HP UEFI diagnostics tool smoothly.
Step 1. Visit the official HP Hardware Diagnostics website and download the HP diagnostics tool UEFI version.
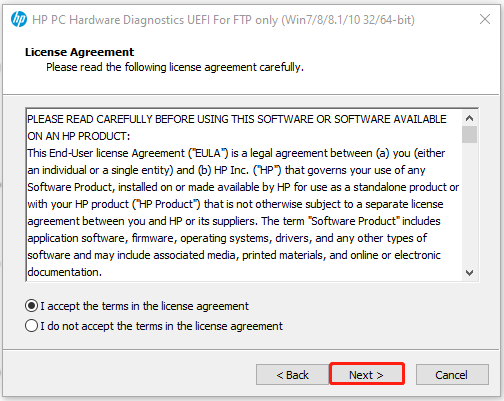
Step 2. Once downloaded, run the executable file, click Next and accept the license agreement.
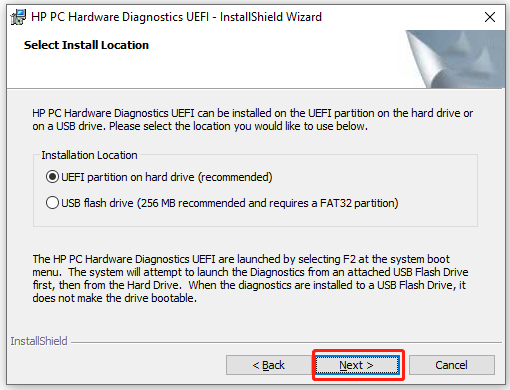
Step 3. In the installation location, select the UEFI partition on your hard drive or a USB drive for the HP PC hardware diagnostics tool, and click on Next.
If you want to install the HP diagnostics tool on USB, make sure the drive is formatted to FAT32.
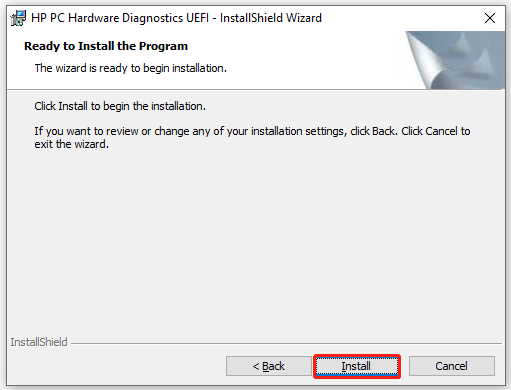
Step 4. Click on Install and then on Yes to create the HP-Tools partition on the selected drive.
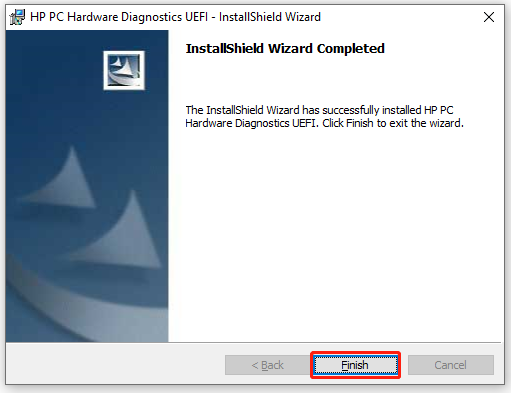
Step 5. Wait for the installation to complete and click on Finish to exit the wizard.
Now, you should have installed this tool successfully. Let’s see how to use it for hardware diagnostics on Windows 10.
How to Use HP PC Hardware Diagnostics
Similarly, we will show you how to use the HP PC hardware diagnostics Windows and UEFI version separately. Select one guide according to your situation.
# 1. How to Run the HP PC Hardware Diagnostics Windows
As discussed above, the HP PC hardware diagnostics Windows edition mainly offers 3 test options – Fast Test, Component Test, and Extensive Test. Here’s how to run these tests to check your hardware failures.
You cannot use your computer during these tests. The Fast test may take you 3 to 5 minutes and the Extensive test may take 2 hours depending on your system configuration. You can cancel this process at any time by pressing the Esc key.
How to Run HP PC Hardware Diagnostics System Fast Test:
1. Run the HP diagnostics tool Windows app to get into its main interface.
2. Select System Tests from the left action panel, and then go to the System Fast Test tab and click on Run.
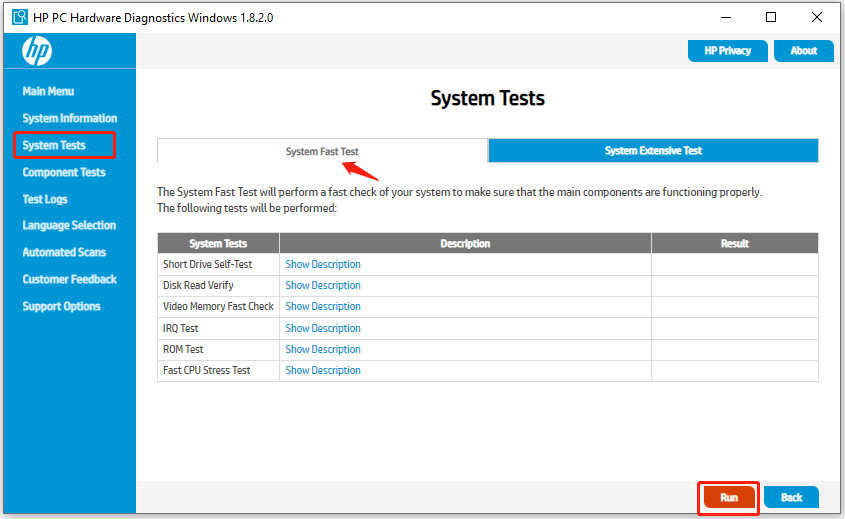
3. Wait for the process to complete and it will show test results for each component.
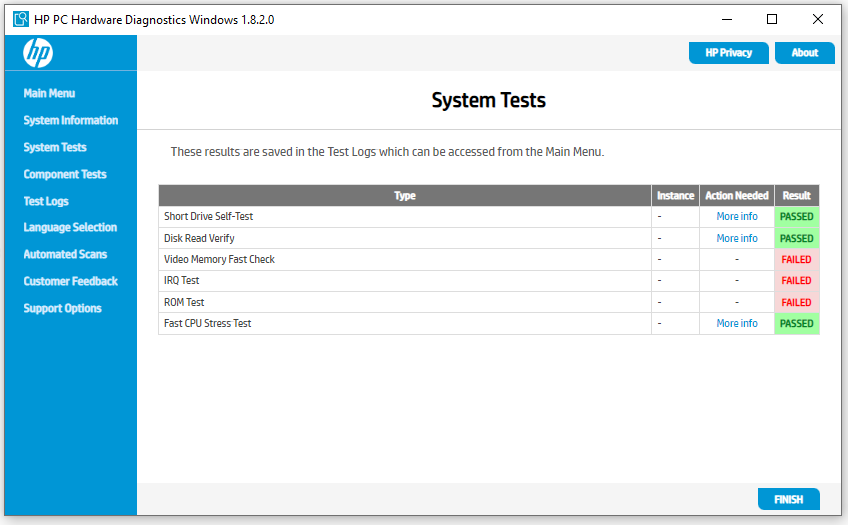
4. If any component fails are found, you can click on Troubleshoot and follow the on-screen instructions to solve the problem. If no problems are found, click on Run Once to run the 2nd pass of this test.
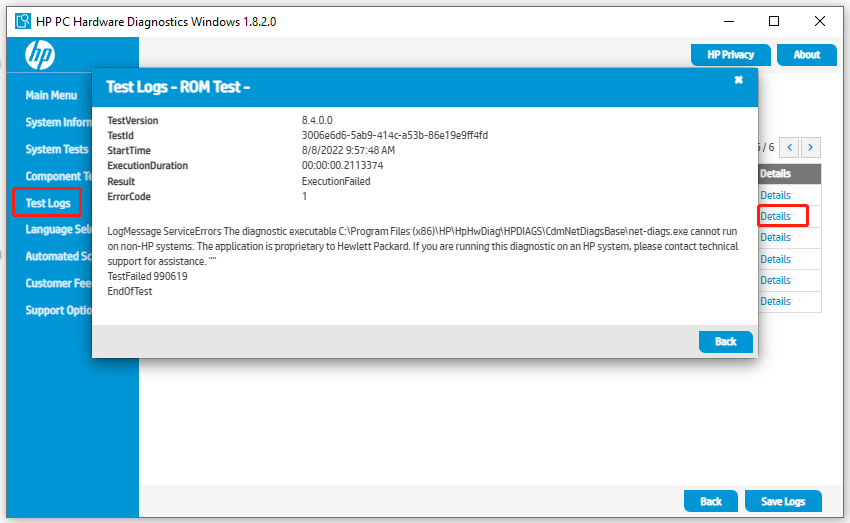
5. If the problem cannot be fixed, click on Yes to contact HP Customer Support. When you contact HP Customer Support, write down the failure ID and Product ID. The information can be found in Test Logs from the main interface.
If no system component failures are detected, follow the guide below to run the Extensive test.
How to Run HP PC Hardware Diagnostics System Extensive Test:
1. In the main interface, select System Tests from the left panel again and go to the System Extensive Test
2. Click on Run. This process may take you a while and please wait for it to complete patiently.
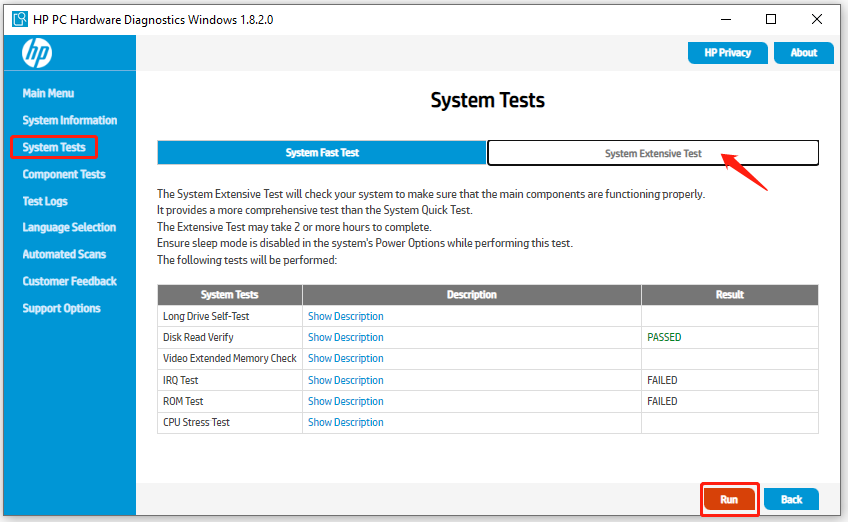
3. If any fails are detected, click on Troubleshoot to repair them or click on Yes to contact Customer Support.
If the Extensive Test doesn’t still detect a hardware failure, you can try running the components tests.
How to Run HP PC Hardware Diagnostics Component Test:
1. In the main menu, select Component Tests from the left panel.
2. Expand each hardware category and tick the component that you want to check, and click on Run.
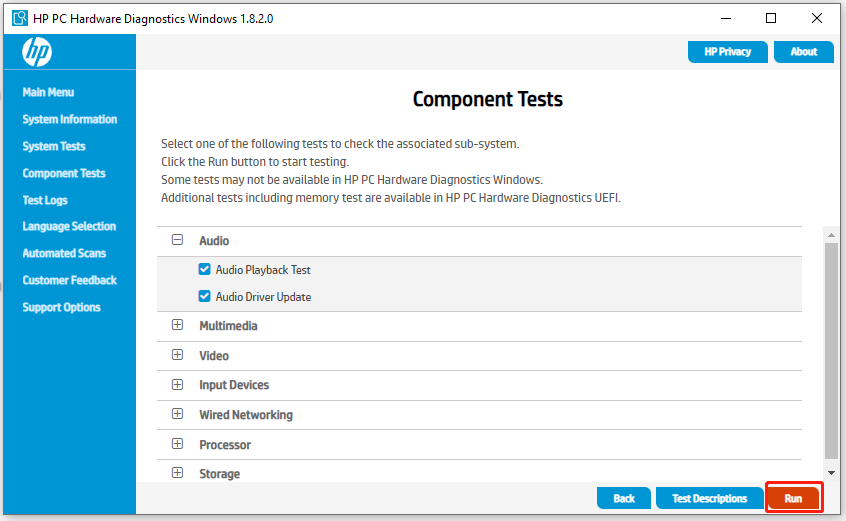
3. Wait for the test to complete. Then you also can check the failure ID from the Test Logs and try fixing the issue.
#2. How to Run the HP PC Hardware Diagnostics UEFI on Startup
Sometimes, however, Windows may fail to boot normally. In this case, you can use the HP PC hardware diagnostics UEFI on startup. Here we will show you run the tool with a USB drive and perform the hardware tests.
How to Run HP PC Hardware Diagnostics UEFI on PC:
- Hold the Power button for about 5 seconds to power off your computer.
- Power on your computer and press the ESC key at once repeatedly during the startup. Then press the F2 key to enter the HP PC Hardware UEFI main menu.
How to Run HP PC Hardware Diagnostics UEFI with a USB Drive:
If the diagnostics tool is not available on the computer, you can run it from a USB drive.
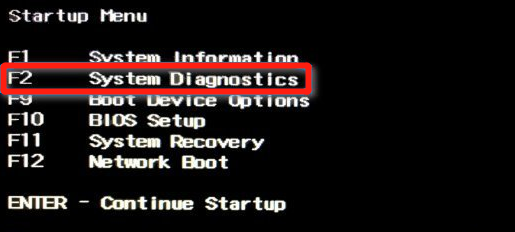
1. Insert your USB drive where the HP PC Diagnostics UEFI is installed into the machine, and then power on your computer and press the Esc key repeatedly until the Startup menu displays.
2. Press F2 to select System Diagnostics. Then it will launch the HP PC UEFI diagnostics tool.
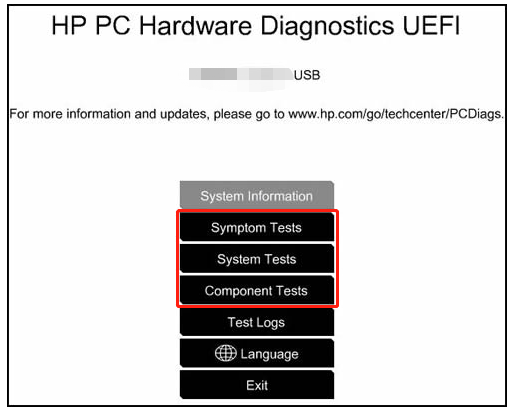
3. In the HP diagnostics UEFI menu, you can select a test option to check your hardware. Since the procedure is similar to the process using the Windows version, you can refer to the on-screen prompts to complete the test.
How to Fix HP PC Hardware Diagnostics UEFI No Hard Drive Installed
Many users encounter the HP PC hardware diagnostics UEFI no hard drive installed error. If you are troubled by this issue, you can try the following quick guide below to fix it.
Step 1. Make sure your hard drive is connected/installed problem and no drive cable issues are here.
Step 2. Make sure the related drivers are updated. Also, you can try running the Hardware troubleshooter to check the hard drive.
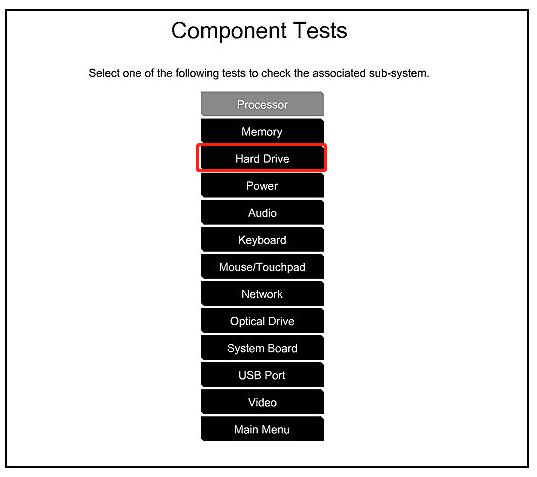
Step 3. Enter the HP PC Diagnostics UEFI menu as we explain above and select Component Tests.
Step 4. In the Component Tests menu, select Hard Drive to initiate a test and check what causes the error.
If the HP diagnostic tool still can’t run the hard drive test, you may consider using another disk test tool like MiniTool Partition Wizard.
Bonus Tip: Alternative Tool to HP Hardware Diagnostics
In addition to the HP PC hardware diagnostics UEFI no hard drive installed error, some users reported that they encounter the black screen issue while using this tool. Under these situations, you may need a professional hard disk test tool. MiniTool Partition Wizard is such a tool that can check bad sectors but also repair logical disk errors and measure disk performance.
MiniTool Partition Wizard FreeClick to Download100%Clean & Safe
#1. Check Bad Sectors on Hard Drive
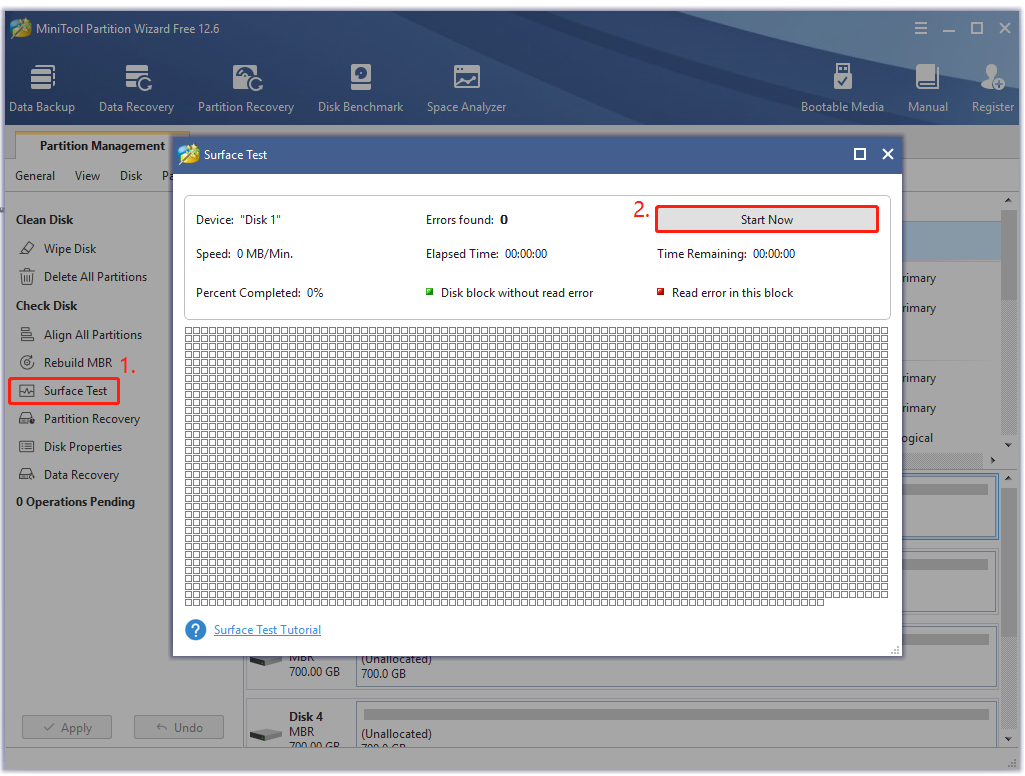
Step 1. Launch the MiniTool software to enter its main interface, select the target drive and click on the Surface Test from the left pane.
Step 2. Click on the Start now button in the pop-up window. After that, this tool will scan the whole disk immediately and show you the test result.
#2. Check File System on Hard Drive
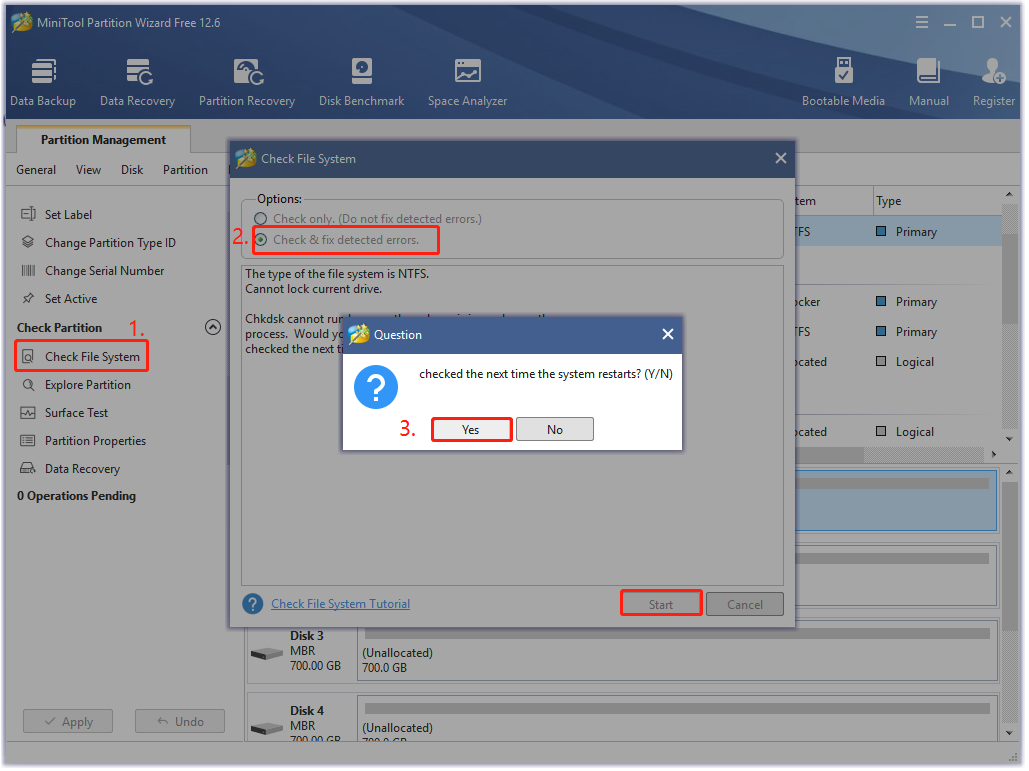
Step 1. In the main interface, select the drive that you want to check and click on Check File System from the left action panel.
Step 2. In the pop-up wizard, select the Check & fix detected errors option and click on Start. Then the program will start scanning for file system errors and try repairing them. If you want to repair a system drive, you need to click on Yes and check that next time your system restarts.
#3. Measure Your Hard Drive Performance
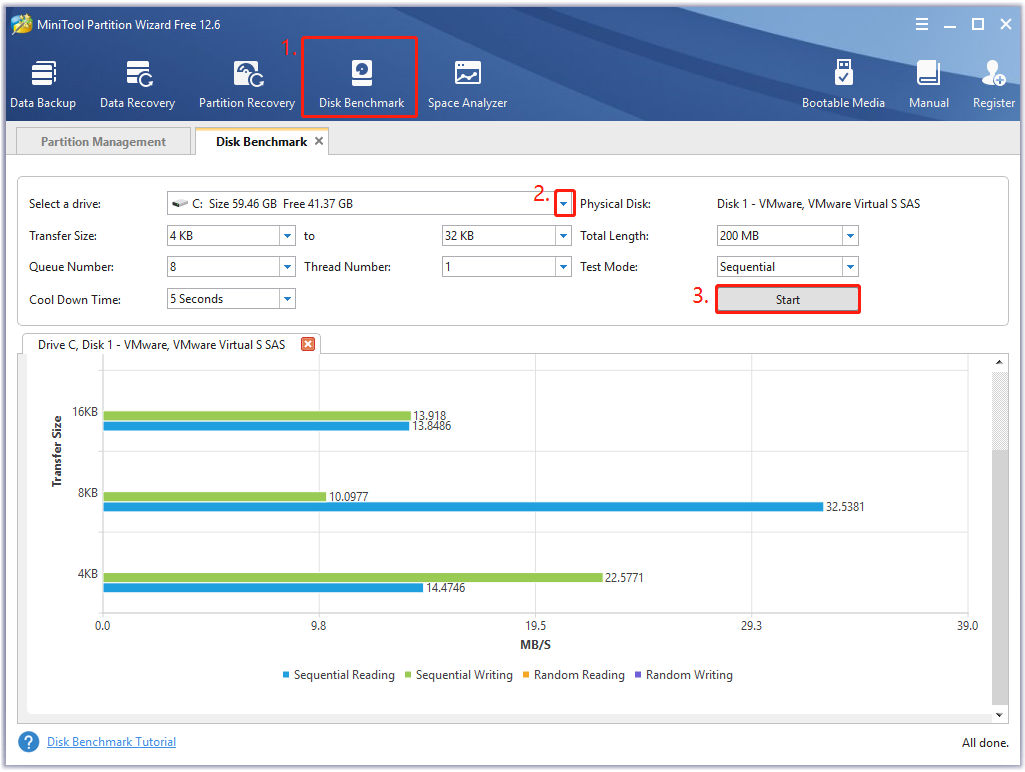
Step 1. In the main interface, click on Disk Benchmark from the top toolbar.
Step 2. Select the drive letter that you want to check from the drop-down menu and click on the Start button to test the disk performance.
Step 3. Wait for the disk benchmark to complete. Then you can view the data speed, including transfer size, random sequential read and write speed, etc.
Bottom Line
This post focuses on what the HP hardware diagnostics tool is and introduces the install/use guide. In addition, we provide fixes to the HP diagnostics UEFI no hard drive installed issue.
If you have other opinions about this subject, write them down in the comment area. Also, you can directly contact us via [email protected] if you have problems with MiniTool Partition Wizard.
User Comments :