Are you having trouble with the “cannot delete files on NTFS file system” problem when you want to delete files on the NTFS file system drive? If so, you come to the right place. This article from MiniTool Partition Wizard will explain why it happens but also show the solutions according to different causes.
Case 1: File using ACL
The “cannot delete file and folder on NTFS file system” problem would appear if it uses an Access Control List (ACL). To resolve this issue, change the permissions of the file. You may have to take ownership of the file to change permissions, permit yourself to delete the file, then delete the file.
Case 2: File Is Being Used
A file cannot be deleted if it is in use. To resolve this “can’t delete files on NTFS file system” issue, identify the process with open handles and close that process. To do that, please follow the steps below.
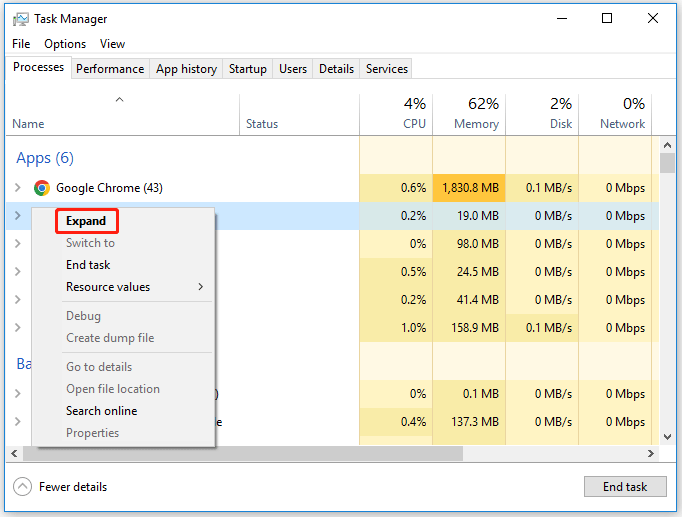
Step 1: Right-click on the Start button in the taskbar and select Task Manager to open it. Click on More details if there are show a few details.
Step 2: Right-click on the running application and select End task. Repeat this step to close all running apps.
After closing all running applications, you can go to delete files on the NTFS file system to see if the error goes away.
Case 3: File System Error Prevents Access to Files
If the file system is corrupted, the file cannot be deleted. To resolve this “cannot delete files on NTFS file system” issue, you can run the CHKDSK utility or MiniTool Partition Wizard to check for errors.
Method 1: Use CHKDSK
CHKDSK is a disk error checking and repair utility built into Windows. It scans hard drive partitions for internal errors and repairs them at the same time. To do that, follow these steps:
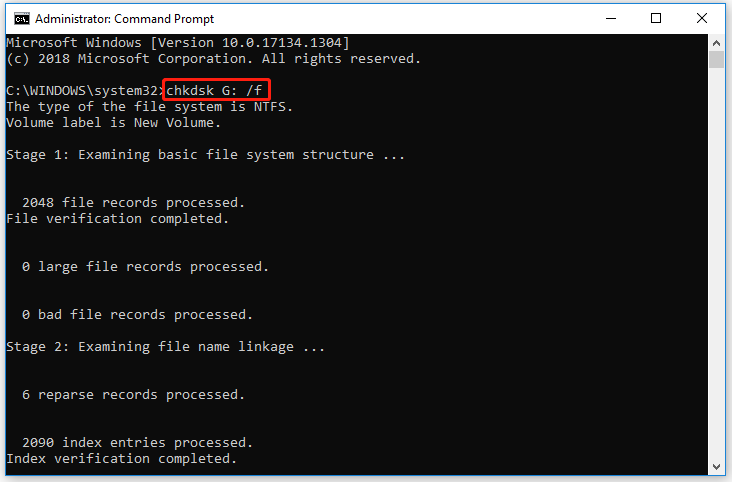
Step 1: Type cmd in the Search box. Then right-click on Command Prompt and select the Run as administrator option to open Command Prompt as administrator. Then click Yes to get Admin access.
Step 2: In the Command Prompt window, type the chkdsk G: /f command and press Enter.
Method 2: Use MiniTool Partition Wizard
Although CHKDSK can be used to check the hard drive for errors, this tool often runs into various issues like CHKDSK being write-protected, CHKDSK getting stuck, etc. So, it’s highly recommended you use a powerful disk manager – MiniTool Partition Wizard. It can help you check bad sectors but also repair file system errors easily and quickly.
MiniTool Partition Wizard FreeClick to Download100%Clean & Safe
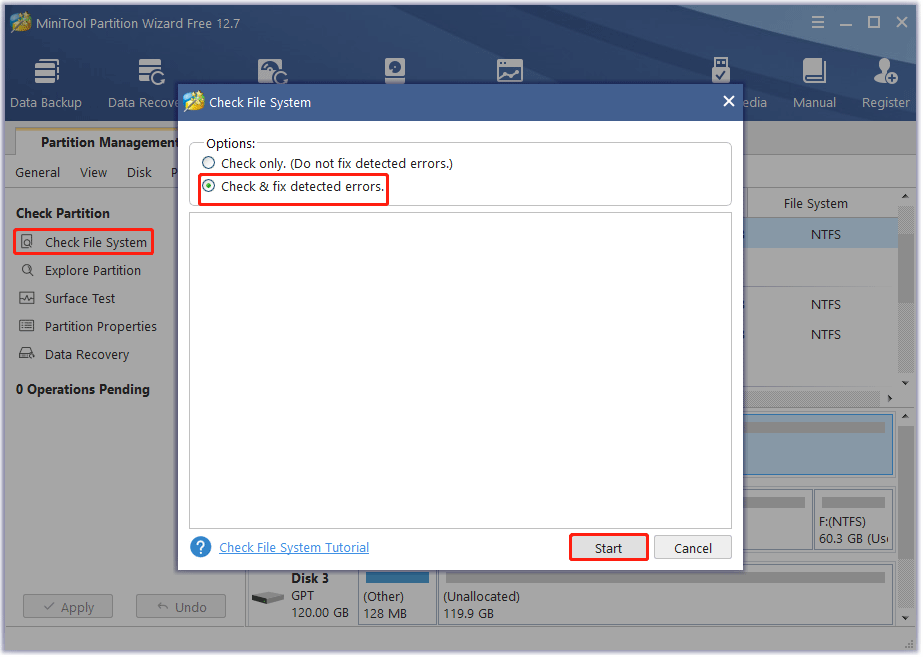
Step 1: Launch the MiniTool software to get its main interface, and then select the target drive and click on Check File System from the left action panel.
Step 2: Select Check & fix detected errors and click on the Start button. This tool will check and repair file system errors immediately.
Step 3:In the main interface, select the drive again and click on Surface Test from the left pane.
Step 4:Click on the Start Now button in the pop-up window. After that, this tool will scan the whole external drive immediately and show you the test result.
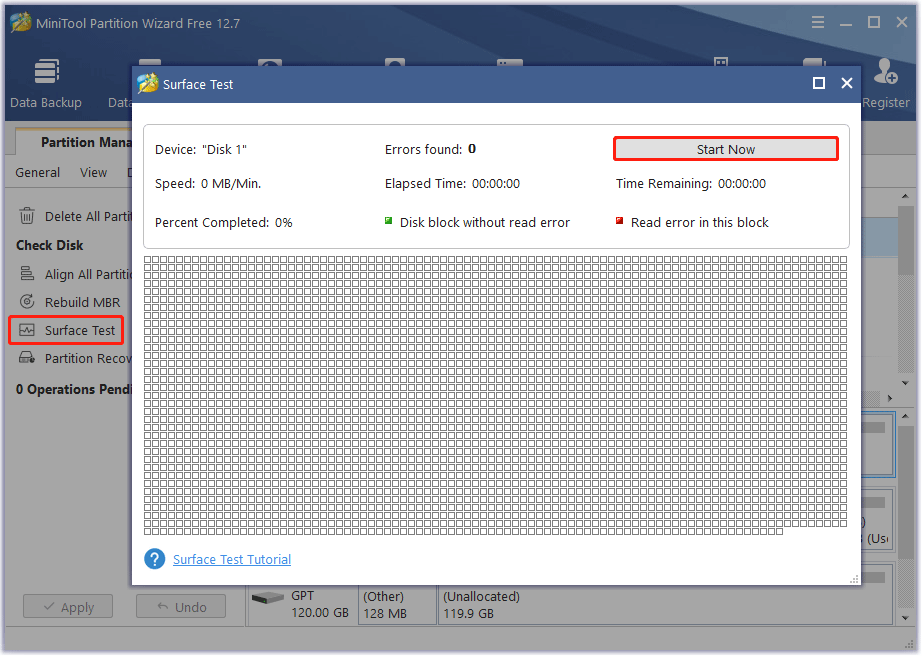
Step 5: When the hard drive error test process is finished, the bad sectors on the hard drive will be marked with red color. In this case, you can either use this bad sector repair guide or consider replacing it with a new one.
About The Author

Position: Columnist
Vega enjoys helping people with computer problems, including disk management, data recovery, data backup, and more. She is constantly expanding her knowledge in related fields. And she will continue to bring more easy-to-understand professional articles to help people solve various problems on the PC.
User Comments :