Is C drive not showing up in the navigation pane of File Explorer? Here, Partition Magic provides you with 3 options to add drives to Windows File Explorer navigation pane. Add C drive to left pane in File Explorer using these methods now!
Reasons for C Drive Not Showing up in the Navigation Pane
After you open File Explorer, multiple drives are displayed under This PC. Then you can quickly access the content of a drive by double-clicking it. However, you sometimes may find that C drive is not showing up in the navigation pane of File Explorer.
Why other drives like D and E drive show up but C not? Well, it’s likely that Windows sees certain drives as removable. If Windows detects drives as removable, it will automatically place them in the left pane under This PC.
As the C drive is treated as part of the PC’s system, C drive not showing up in the navigation pane issue prompts. Fortunately, you can manually add C drive to left pane in File Explorer. How to do that? This post collects 3 ways for you.
Add C Drive to Left Pane in File Explorer
In this section, I collect 3 available methods to add drives to Windows File Explorer navigation pane. You can add C or other drives like D, E, F to left pane in File Explorer with these methods.
Option 1: Pin the C Drive to Quick Access
A simple way to add C drive to left pane in File Explorer is to pin the C drive to Quick Access. Though this method doesn’t put the C drive under This PC, it lets you find the C drive in the navigation pane easier.
Step 1: Press the Windows and E keys to open File Explorer.
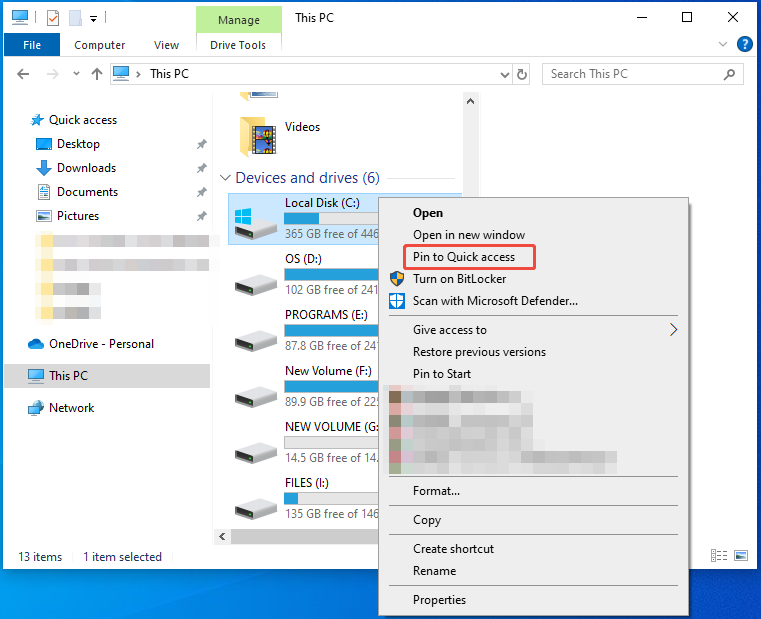
Step 2: Click This PC in the left pane.
Step 3: Right-click the C drive and choose Pin to Quick access.
Once done, the C drive will be displayed under This PC in the left pane. If the C drive is invisible, tap on the View tab, click Navigation pane, and choose Show Libraries or Show all folders from the drop-down menu to show the drive.


Option 2: Modify Registry Editor
Modifying Registry Editor is also an available way to add drives to Windows File Explorer navigation pane. It’s risky, so you’d better back up Registry before proceeding. To safeguard your computer, you can back up Windows by using MiniTool Partition Wizard.
MiniTool Partition Wizard DemoClick to Download100%Clean & Safe
If you are ready, go through the operation with the steps below.
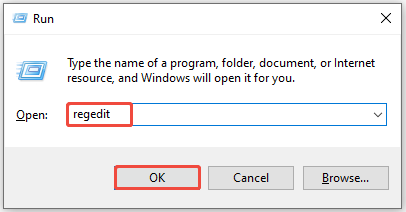
Step 1: Open the Run window, type regedit, and click OK.
Step 2: In the User Account Control (UAC) window, click Yes to move on.
Step 3: Navigate to the target Registry key by following the path below.
Computer\HKEY_LOCAL_MACHINE\SOFTWARE\Microsoft\Windows\CurrentVersion\Explorer\Desktop\NameSpace
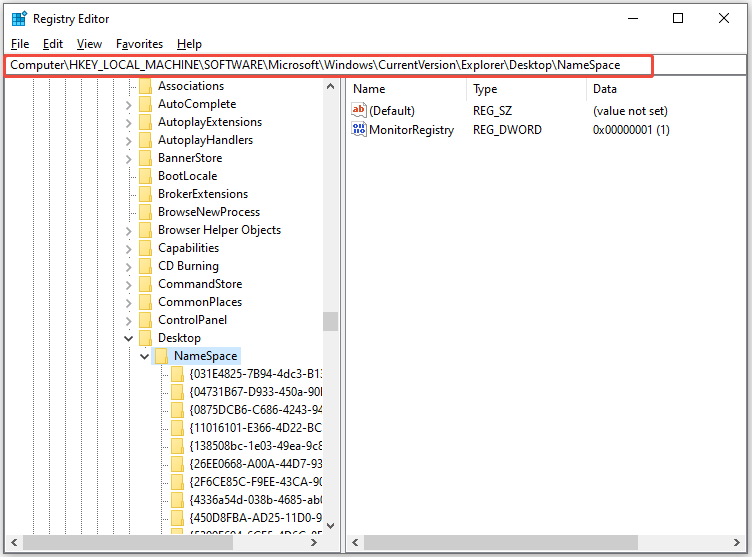
Step 4: Find {20D04FE0-3AEA-1069-A2D8-08002B30309D} under NameSpace.
Step 5: Click on that key, move to the right pane, right-click the blank area, and choose New > Key. Then name it {F5FB2C42-FE7D-41D7-8A13-F92791D7DD50}.
Step 6: Right-click in the right pane of the newly created key, choose New > String Value, and name it Default.
Step 7: Double-click Default and change its value to Local Disk (C:). Save changes and close Registry.
Step 8: Re-open File Explorer or restart the computer.
Option 3: Use Winaero Tweaker
Alternatively, you can use a third-party tool like Winaero Tweaker to add drives to Windows File Explorer navigation pane. It’s worth noting that this tool also helps you add special folders to the left panel of File Explorer.
Step 1: Go to the official website of Winaero Tweaker and click on the DOWNLOAD button.

Step 2: Unzip the downloaded file, and then run the setup file and follow the prompted instructions to install it.
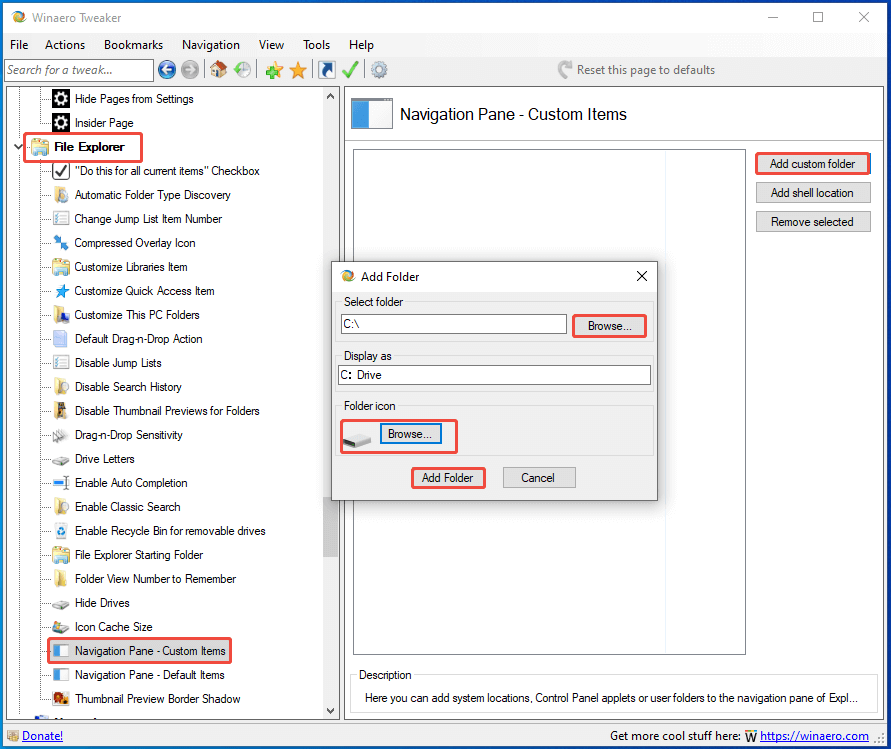
Step 3: Run the software, locate the File Explorer section, click Navigation Pane – Custom Items.
Step 4: Hit Add custom folder on the right pane, click Browse to choose the C drive. Type C: Drive in the Display as field, click Browse under Folder icon to set the icon, and then click Add Folder.
Then C drive will appear in the left pane of the File Explorer. You can access it quickly.
The End
This post explains the reason for C drive not showing up in the navigation pane issues. After that, it lists 3 available methods to add drives to Windows File Explorer navigation pane. Here, you can apply these methods to add C drive to navigation pane of File Explorer.
User Comments :