Ntoskrnl.exe BSOD refers to BSOD caused by failed ntoskrnl.exe. This post shows you how to solve this issue and recommends you to recover data using MiniTool Partition Wizard when the issue can’t be solved and needs to reinstall Windows.
Ntoskrnl.exe is the core foundational kernel of the Microsoft Windows operating system, responsible for crucial, low-level system services such as hardware virtualization, process and thread management, and memory management. When ntoskrnl.exe failed, BSOD will occur.
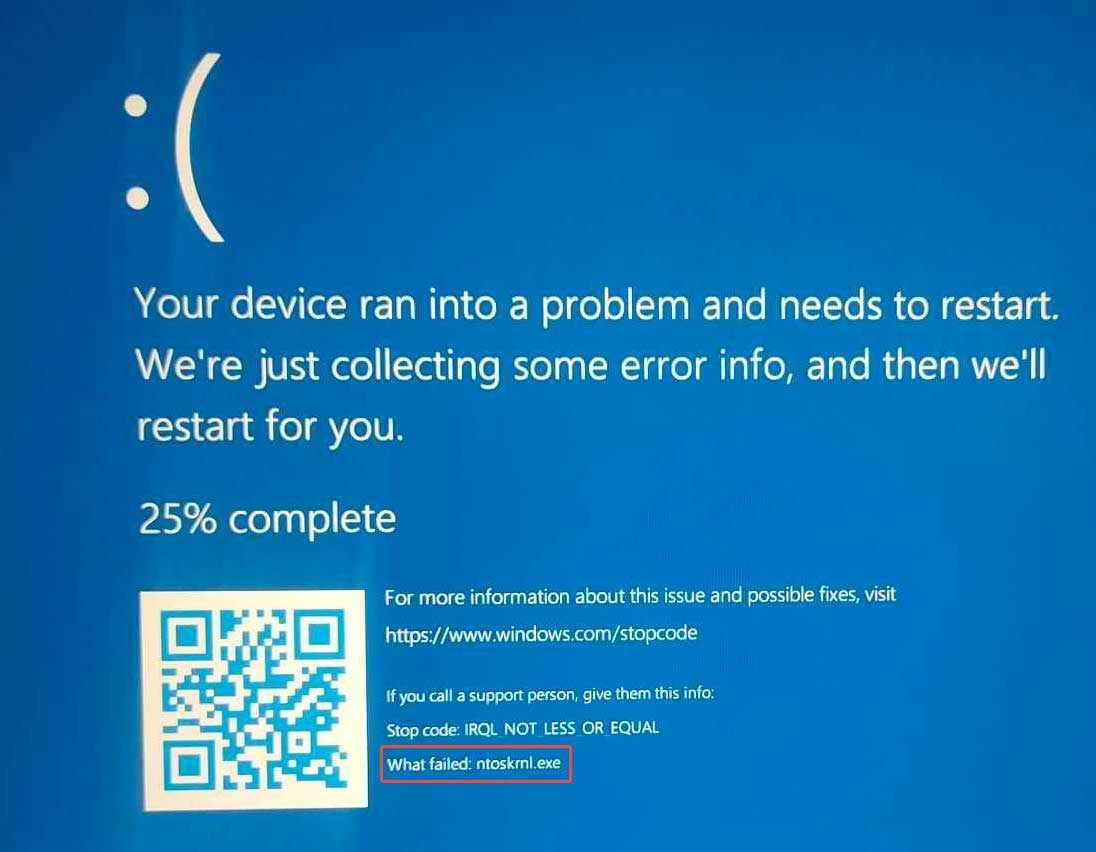
The ntoskrnl.exe BSOD is typically triggered by outdated or corrupted drivers, faulty RAM, bad storage drives, or corrupted system files. To solve this issue, you can try the following solutions.
Fix 1. Update Drivers
The ntoskrnl.exe failed issue may be caused by outdated GPU driver, chipset driver, network card driver, or other drivers. Updating these drivers can solve the issue.
If your PC can boot into Windows, I recommend you use the official brand assistant that comes with your computer (such as Dell SupportAssist, HP Support Assistant, Lenovo Vantage, MyASUS, etc.) to update all hardware drivers for the entire machine with one click.
However, if you can’t enter Windows, you can update device driver using Device Manager in Safe Mode. Here is the guide.
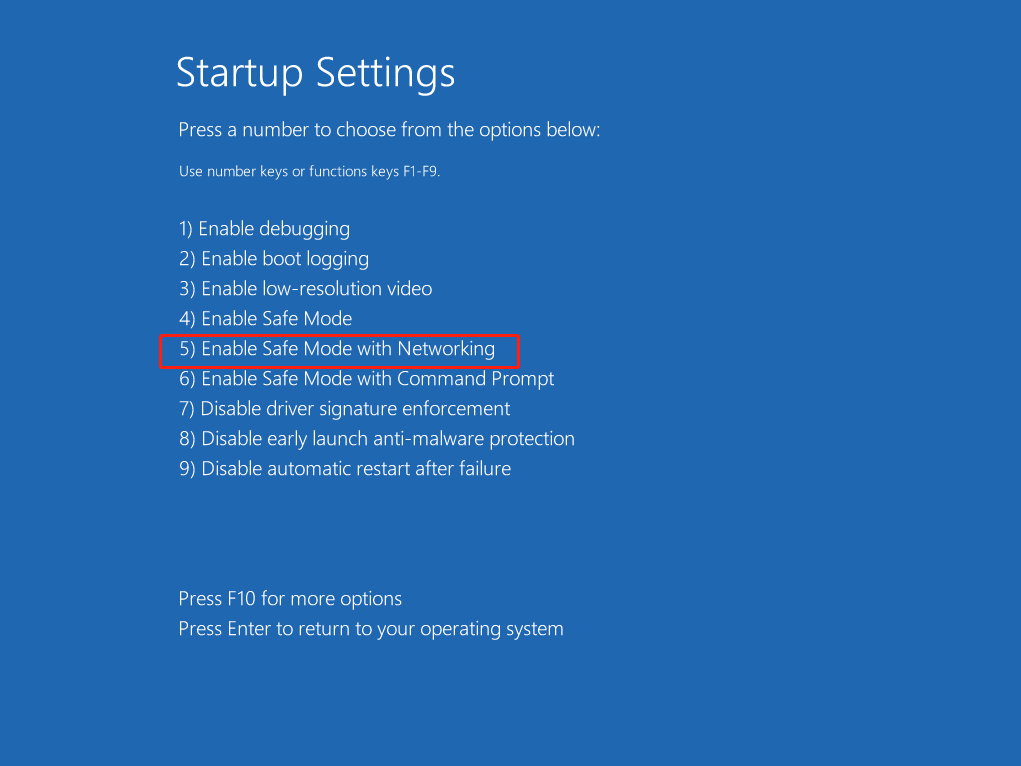
Step 1: Boot into Safe Mode.
- Power on and immediately shut down your computer 3 times. Then, the fourth time you power on the PC, you will enter WinRE.
- Select Troubleshoot > Advanced options > Startup Settings.
- Click Restart and then press F5 to Enable Safe Mode with Networking.
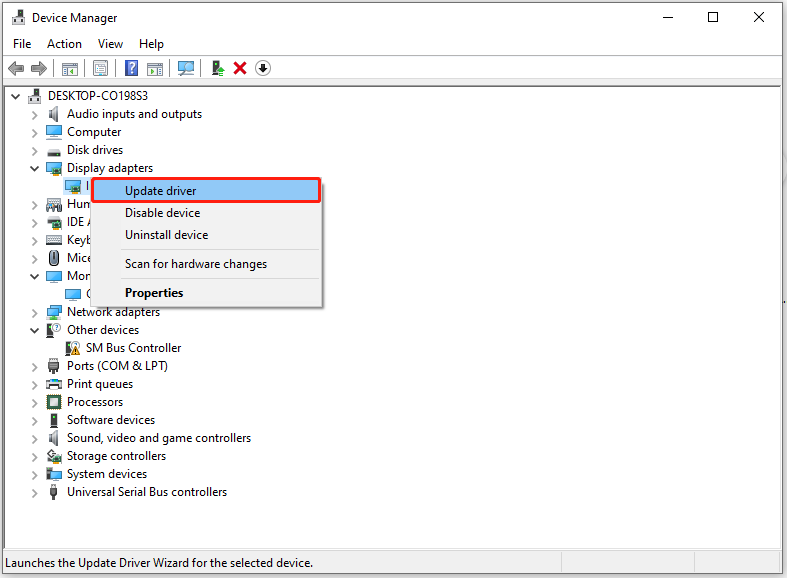
Step 2: Update device driver.
- Press Win + X and select Device Manager to open it.
- Expand each category (especially the Display adapters), and then right-click each device and select Update driver.
- Choose Search automatically for drivers.
Fix 2. Repair Windows System Files
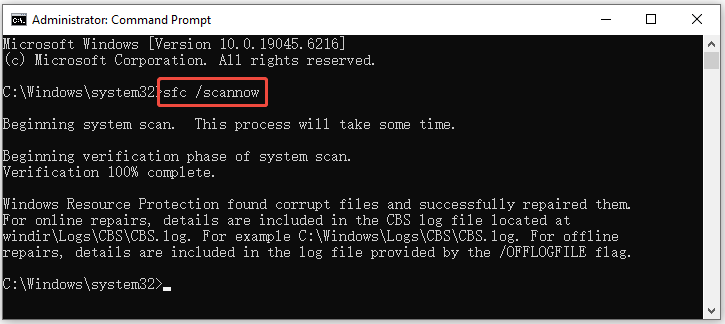
To repair Windows system files, you can run DISM and SFC Scannow commands (in Windows or Safe Mode). Here are the steps.
- From Windows Search bar, open Command Prompt with the administrator privilege.
- Type “dism.exe /online /cleanup-image /restorehealth” and press Enter.
- Once the command operates successfully, type “sfc /scannow” and press Enter.
If you encounter issues when running the two commands, get solutions in this SFC Scannow usage guide.
Fix 3. Disable Overclocking
Improper overclocking can cause various problems. If your computer is overclocked, you can disable it to solve the ntoskrnl.exe BSOD. Follow the guide below.
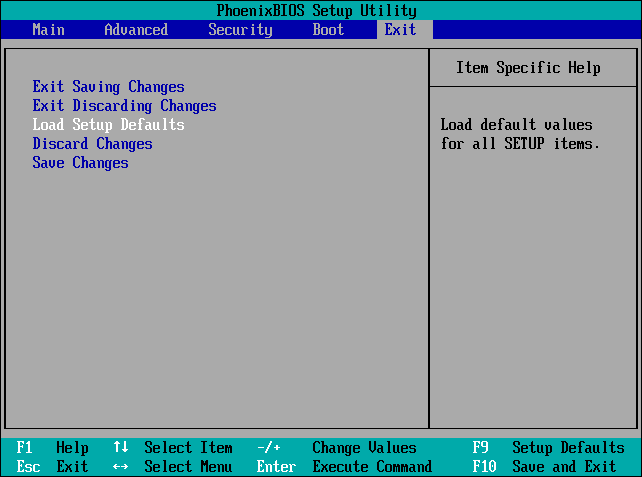
- Power on the PC and then press the BIOS key (F2, Del, Esc, F10, or F12) immediately to enter firmware.
- In the firmware, look for an option named Load Setup Defaults, Load Optimized Defaults, or Restore Defaults.
- Select the option and press Enter.
- Confirm the action when prompted to load factory defaults.
- Press F10 to save changes and exit.
Fix 4. Reinstall Windows
If there are no problems with the computer hardware and firmware, reinstalling Windows can solve most BSOD problems.
However, reinstalling Windows usually involves hard drive erasing. Therefore, before Windows reinstallation, you can also try methods like system restore and PC reset. They are able to keep your personal files.
If the ntoskrnl.exe BSOD prevents your PC from booting up and you have to reinstall Windows to solve it, you may need to recover data in advance . MiniTool Partition Wizard can help you do that. You can refer to the following guide.
MiniTool Partition Wizard DemoClick to Download100%Clean & Safe
Step 1: Create MiniTool Partition Wizard bootable USB drive.
- Connect a USB drive to a working computer.
- Download and install MiniTool Partition Wizard on this PC.
- Launch this software click Bootable Media on the toolbar.
- Click WinPE-based media with MiniTool plug-in.
- Select the USB Flash Drive as the destination.
- Click Yes to confirm the media creation operation.
- Once done, click Finish.
Step 2: Perform data recovery.
- Boot the BSOD PC from the MiniTool Partition Wizard bootable USB drive.
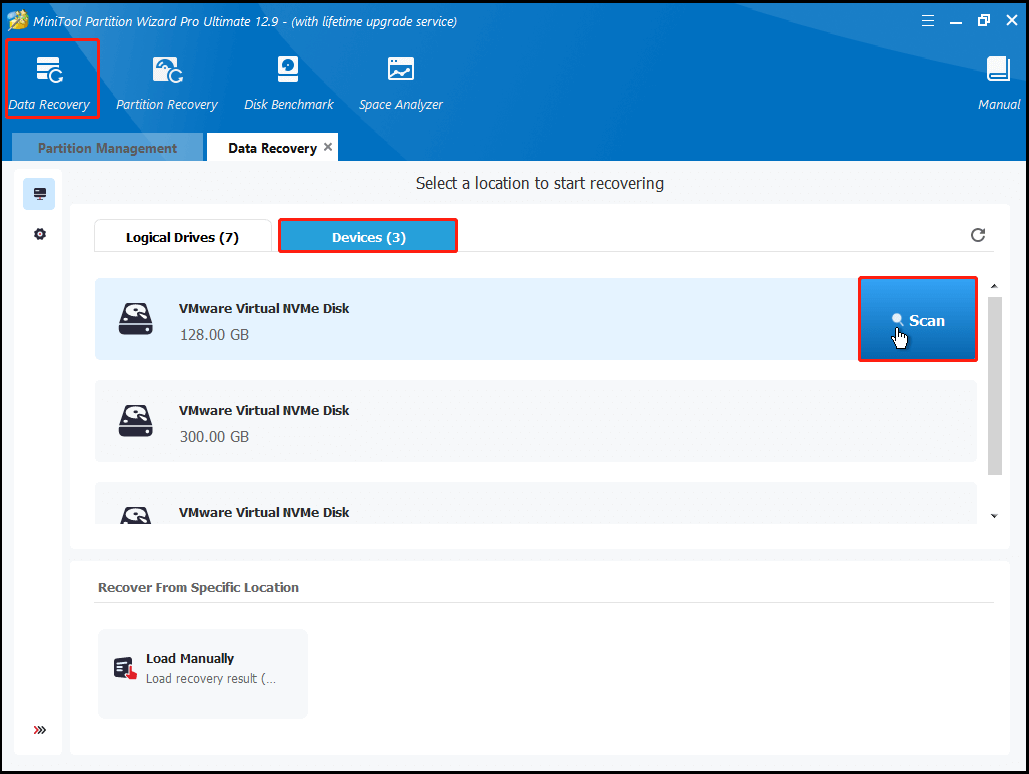
- Click Data Recovery from the top toolbar.
- Go to the Devices tab, choose the system disk, and click Scan.
- Wait for a few minutes and stop the scanning process.
- Under Path or Type, find the files that need to be recovered and tick them.
- Click Save and then choose a location except their original location for saving.
Fix 5. Check the RAM and Disk
If the Windows reinstallation also fails to solve the ntoskrnl.exe failed issue, you should consider RAM and disk hardware issues. You can use the following methods to check RAM and disk health.
Here is how to check RAM health.
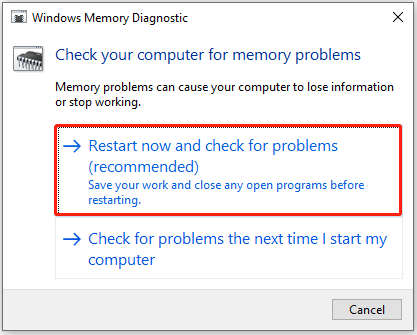
- Open Windows Memory Diagnostic from Windows Search.
- Click Restart now and check for problems (recommended).
- The computer will restart immediately and start the checking process.
- When it’s finished, open Event Viewer.
- Go to Windows Logs > System.
- Find the latest MemoryDiagnostics-Results from the list to check if there is anything wrong with the RAM.
- If the Event ID is 1201 or 1101, the RAM is functioning correctly.
Here is how to check disk health.
MiniTool Partition Wizard FreeClick to Download100%Clean & Safe
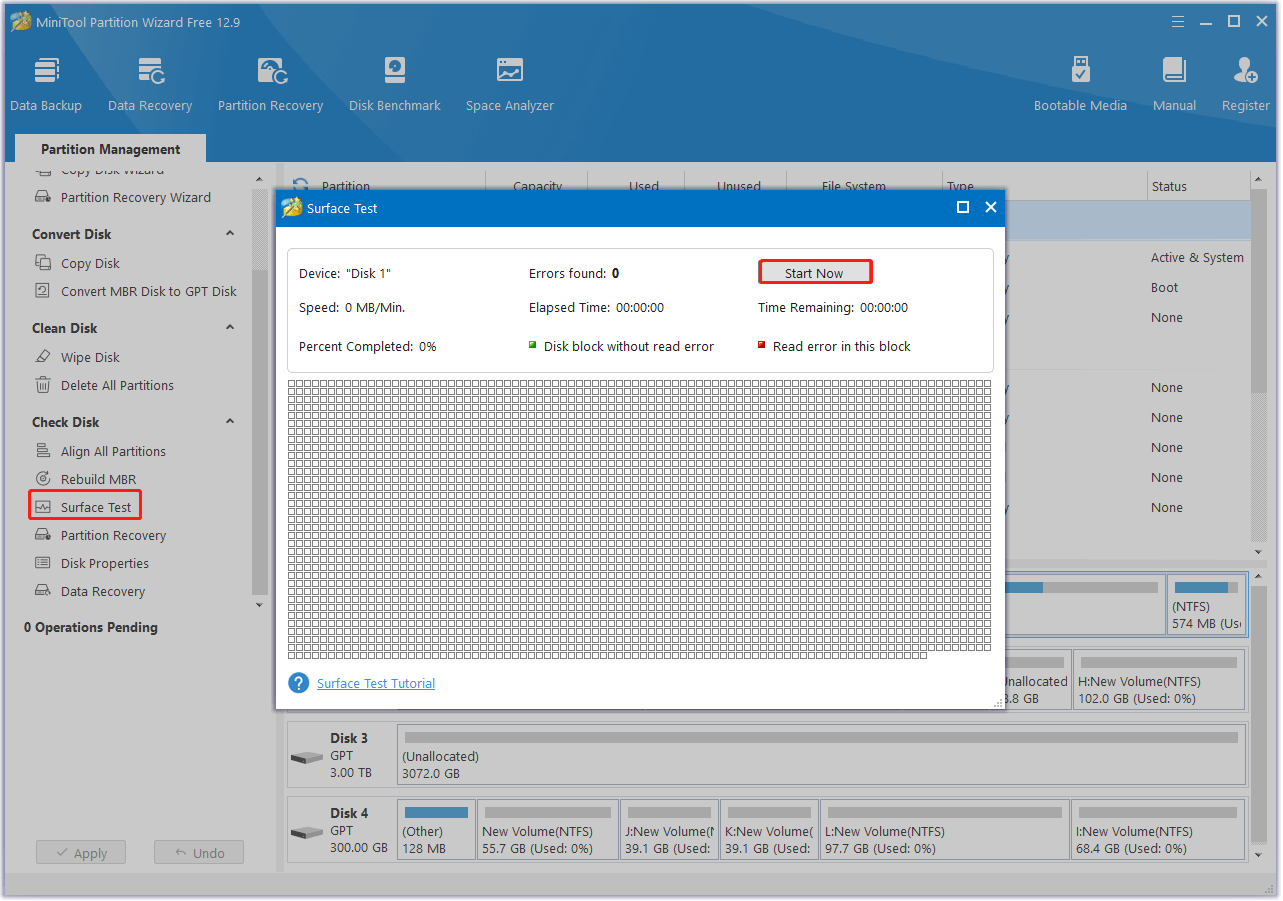
- Launch MiniTool Partition Wizard.
- Choose the system partition or disk.
- Select Surface Test from the left panel.
- On the pop-up window, click the Start now button.
- Once done, normal sectors will show in green while bad sectors are in red.
- If there are too many bad sectors, replace the hard drive.
In Conclusion
After reading this post, you may already know what causes the ntoskrnl.exe BSOD error and how to troubleshoot the error successfully with several easy methods. Also, this post introduces MiniTool Partition Wizard to help you recover your data to a safe location.
What’s more, if you encounter any issues or have any suggestions while using MiniTool Partition Wizard, you can contact us by sending an email to [email protected]. We will reply to you as soon as possible.
Ntoskrnl.exe BSOD FAQ
If the problem persists, use Windows Startup Repair, run a System File Checker (SFC) scan, check for hardware issues with chkdsk, or consider System Restore or a PC reset as last resorts.
For a specific program, use the Control Panel repair option or reinstall it.
For general EXE issues, run the System File Checker (SFC) tool with the command sfc /scannow in an administrator Command Prompt, or fix broken file associations in Windows Settings or the Registry Editor.
About The Author

Position: Columnist
Linda has been an editor at MiniTool for seven years. She continuously learns about computers and puts her knowledge into practice. Moreover, she is particularly knowledgeable in disk management, data recovery, system installation, and PDF editing. Her articles typically reference multiple examples or are based on her own experience, providing users with the most suitable solutions.
User Comments :