Samsung Magician is a free utility software released by Samsung, primarily used to manage and monitor the operational status of Samsung SSDs.
It not only helps you check drive health, update firmware, and test SSD read and write speeds, but also provides data security features (such as secure erase and encrypted management).
However, in actual use, Samsung Magician sometimes does not support the SSD, which can be quite frustrating.
Below, it will analyze the reasons and provide corresponding solutions.
Why Samsung Magician This Drive Is not Supported
When using Samsung Magician, you may sometimes encounter a “Drive not supported” message, indicating that the software cannot properly recognize the current SSD.
This situation is usually related to factors such as hard drive type, connection method, or drivers.
The possible causes are briefly explained below.
- Incorrect connection: The hard drive is not fully inserted into the slot, or the SATA cable is damaged.
- OEM vs. retail version differences: Samsung Magician primarily supports Samsung retail SSDs; some OEM SSDs may be incompatible or have limited functionality.
- Unsupported connection method: Magician does not support SSDs connected via SCSI interfaces. If your hard drive is connected this way, the software may not recognize it.
- Driver issues: Missing NVMe drivers or using third-party drivers such as Intel RST, Asmedia, or Marvell may cause recognition failure.
- Outdated software version: Older versions of Samsung Magician may not be compatible with newer SSD models.
Now, let’s see how to fix Samsung Magician this drive is not supported issue.
Fix 1: Ensure You Are Using a Samsung SSD
The most frequent cause of this error is the use of a non-Samsung drive. Here’s how to proceed:
- Right-click the Start icon and choose Device Manager to open.
- Expand your Disk drives and check the model name of your SSD.
- Confirm whether it is a Samsung-branded SSD or not.
Fix 2: Reconnect Your SSD
An incorrect or unsupported connection can trigger the “drive not supported” error in Samsung Magician. Follow the steps below to resolve it.
- If you’re using a SATA SSD, try plugging it into another SATA port or swapping out the cable.
- If you’re using an NVMe SSD, make sure it is properly and securely seated in the M.2 slot.
Fix 3: Update Your SSD Driver via Device Manager
If you encounter the Samsung Magician drive not supported issue when installing the SSD initially, updating the SSD driver can help you fix it. Here’s how to do that:
Step 1. Right-click the Start menu and select Device Manager from the pop-up window.

Step 2. Expand the Disk drives category, and then right-click the SSD driver and select Update driver.
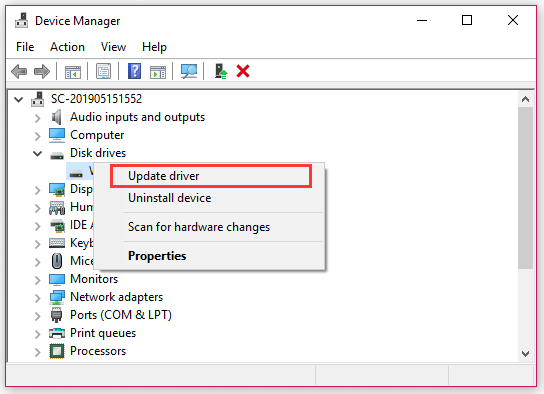
Step 3. Then you can update the driver automatically or manually based on your need. Follow the on-screen instructions to install it on your computer.
Step 4. Restart your PC and check if the issue still persists.
Fix 4: Install the Latest Samsung Magician Software
This error often occurs when you have a new SSD drive. The outdated Samsung Magician software may not support your new SSD. So, it’s time to update the latest version.
Step 1. Right-click the Start menu and select Apps and Features from the pop-up window.
Step 2. Search for Samsung Magician software on the list. Then double click it and select Uninstall.
Step 3. After uninstalling this software, click here to download the latest Samsung Magician.
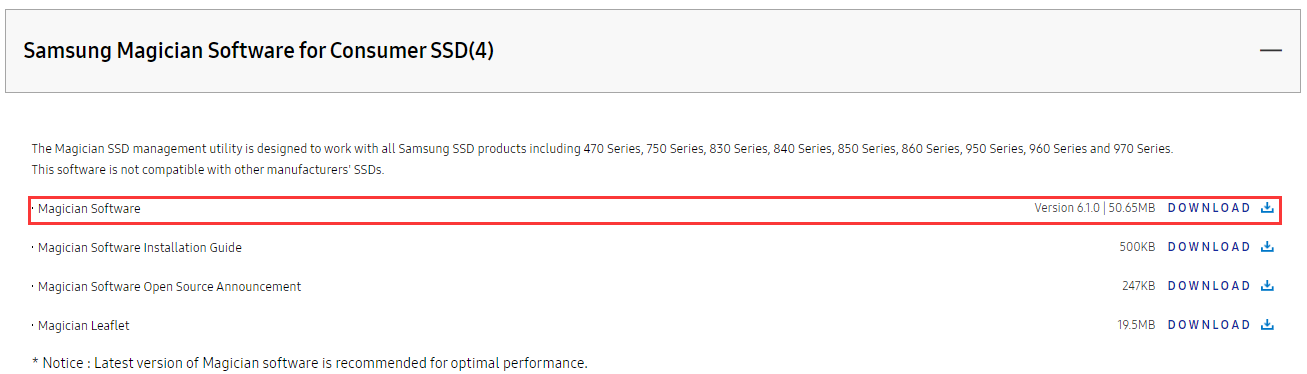
–image from https://www.samsung.com/
Step 4. When the installation completes, restart your computer and check if the issue is fixed or not.
Fix 5: Switch to the AHCI Mode
It is reported that this error also happens after you enable the RAID mode in BIOS settings. For this situation, you can switch to the AHCI mode, which is proven by some users to be useful. If you are unclear about the detailed steps, you can refer to this post.

Fix 6: Install the NVMe Driver
As you might know, the NVMe driver plays an important role in some newer Samsung SSDs. So, it is recommended that you install all required SSD drivers especially the NVMe driver. Click here to download the NVMe driver. After the installation completes, restart your computer and check if the issue is fixed.

–image from https://www.samsung.com/
If Samsung Magician doesn’t recognize SSD after install the NVMe drive, you may consider using an alternative to manage your Samsung SSD.
Fix 7: Samsung Magician Alternative Cloning Software: MiniTool Partition Wizard
If you encounter a “This drive is not supported” message when using Samsung Magician’s data migration feature, you can try using a reliable third-party cloning tool, such as MiniTool Partition Wizard.
Its Copy Disk function can help you clone an entire hard drive, including the operating system, partitions, and data.
Unlike Samsung Magician, MiniTool Partition Wizard supports a variety of SSD brands, including Samsung, offering broader compatibility.
In addition, this tool can also help you copy partitions, migrate OS to HD or SSD, create/resize/delete/extend partitions, and more.
MiniTool Partition Wizard DemoClick to Download100%Clean & Safe
Here are the steps to clone hard drive data to another drive via MiniTool Partition Wizard:
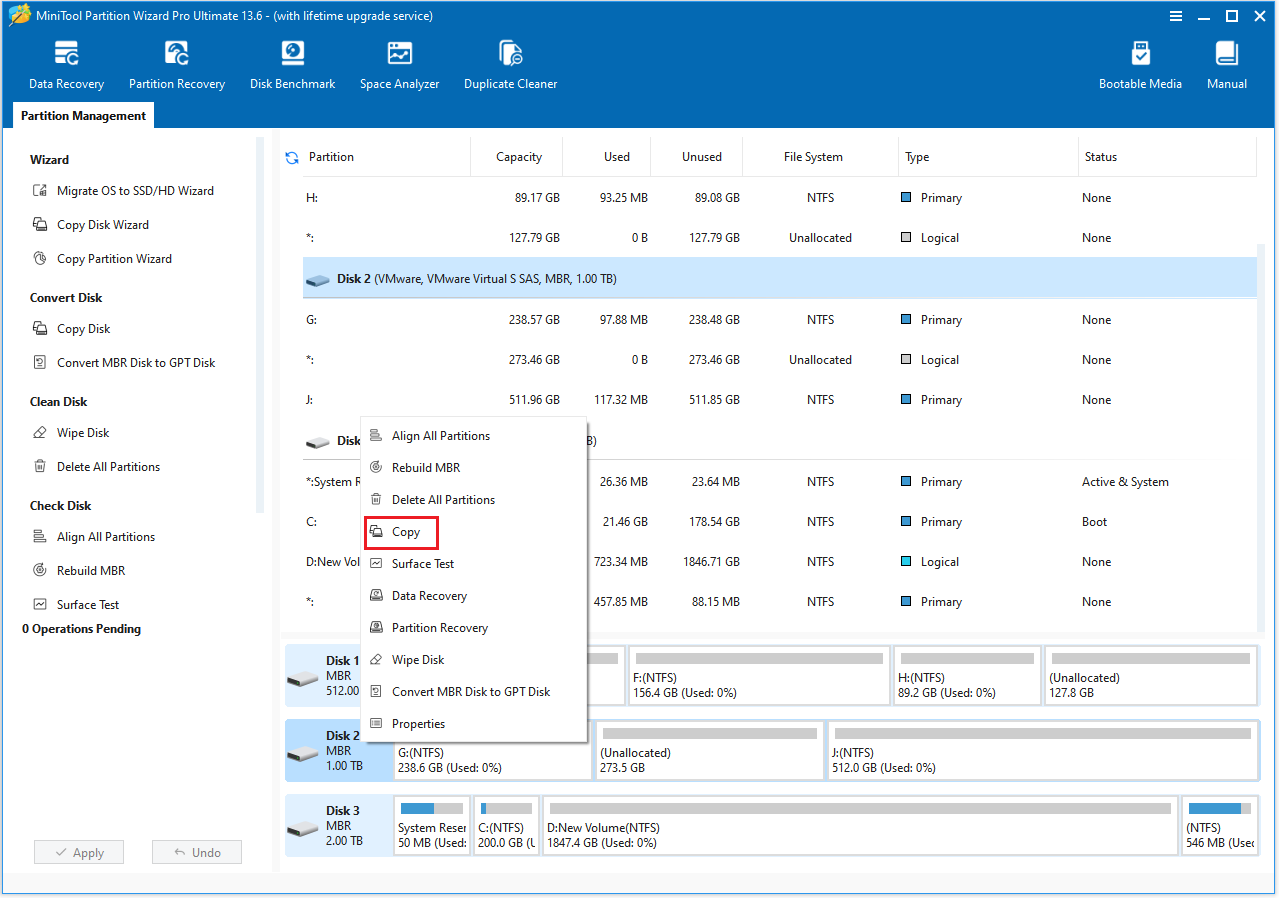
Step 1: Launch MiniTool Partition Wizard to its interface.
Step 2: Right-click the hard drive that you want to clone and then select Copy.
Step 3: Choose the new hard drive as the destination drive, then click Next.
Step 4: Choose a Copy Option and click Next.
- Fit partitions to entire disk: This option will enlarge or shrink partitions proportionally to fit the new disk.
- Copy partitions without resizing: This option is unavailable if the new disk is smaller than the original one. It will not change the size of partitions, leaving unallocated space on the new disk.
- Align partitions to 1MB: This option is selected by default. It applies 4K alignment to the disk, improving the disk’s performance.
- Use GUID Partition Table for the target disk: If the original disk is an MBR disk, this option will appear. Selecting it will apply the GPT style to the new disk during the cloning.

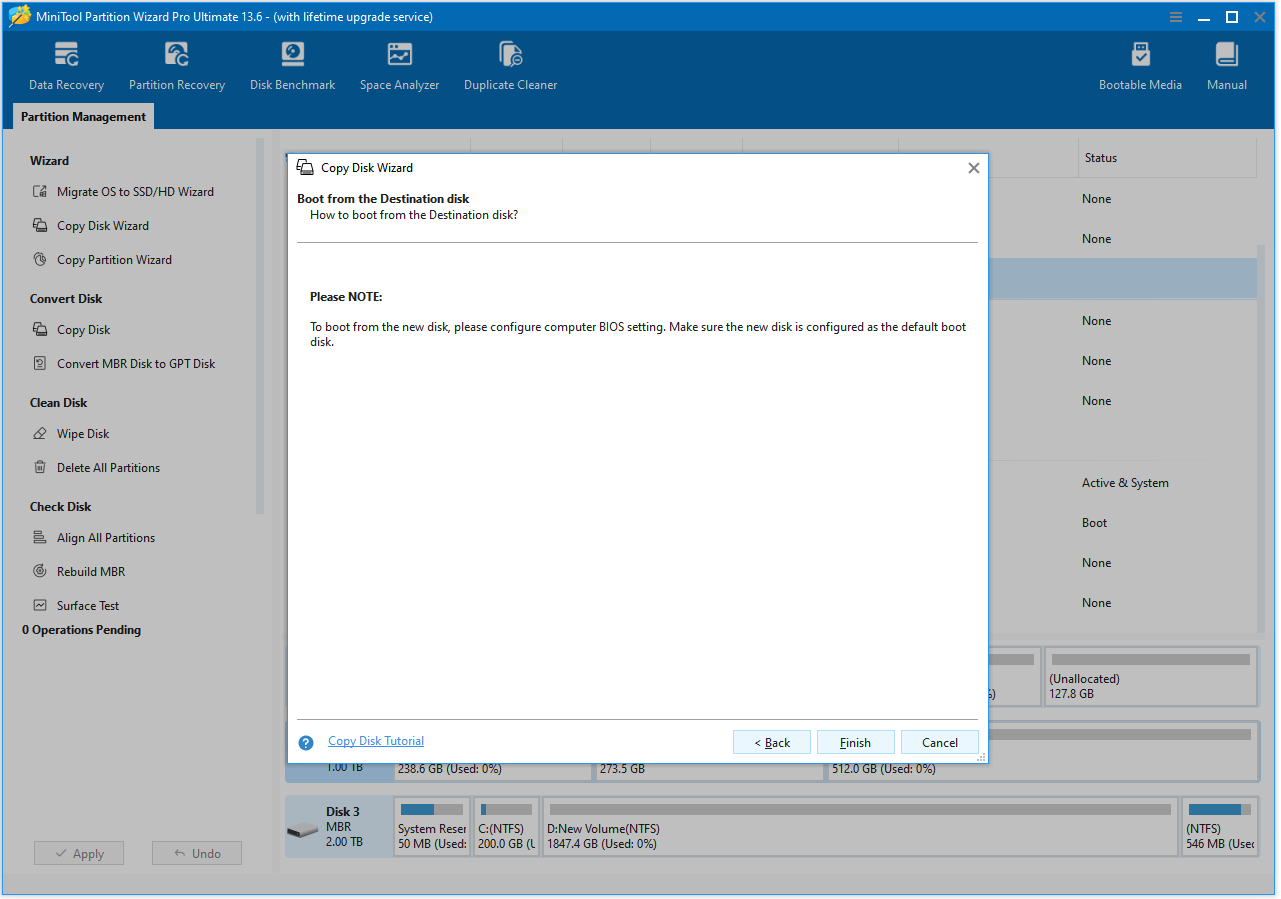
Step 5: Carefully review the note, and then click the Finish > Apply buttons.
Hopefully, the methods described above can help you.
About The Author

Position: Columnist
Cecilia has been an editor at MiniTool for two years. She primarily focuses on disk and partition-related content, with particular expertise in disk cloning, partition recovery, and PDF document conversion. She is dedicated to providing users with clear and accurate solutions to help them efficiently resolve common computer problems.
User Comments :