Some people complained that they can’t shrink volume in Windows 10 due to the error “The volume you have selected to shrink may be corrupted”. How to troubleshoot the error? Is there any other way to shrink a volume? Now scroll down the post and keep pace with MiniTool Partition Wizard to find the answers.
Windows 10 Can’t Shrink Volume
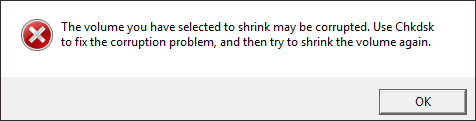
Lots of people said that Windows 10 can’t shrink volume and prompted an error message saying “The volume you have selected to shrink may be corrupted”.
Here is a post from a user who runs into the error:
“The volume you have selected to shrink may be corrupted use Chkdsk…” Windows Disk Management:
Hi! I am trying to shrink my C drive to dual boot Windows 10 (My current OS) with windows 7 (Don’t ask why). It throws up this error so I ran Chkdsk in the cmd but it found nothing wrong… HELP!www.reddit.com
What triggers the error “The volume you have selected to shrink may be corrupted”? The possible causes of the error are the file system errors on the selected partition, so Windows recommends running Chkdsk to fix the error.
In fact, apart from the Windows utility, other file system checkers like MiniTool Partition Wizard can also be utilized. Now scroll down to see how to use these utilities to fix “The volume you have selected to shrink may be corrupted”.
Windows 10 How to Fix the Volume You Have Selected to Shrink May Be Corrupted
As mentioned above, there are two ways to eliminate the causes of “The volume you have selected to shrink may be corrupted”. Now following the tutorials below to carry out the two ways.
Run the Windows Utility: Chkdsk
How to run Chkdsk on Windows 10? Three ways are displayed below, and you can pick up the one you prefer.
Way 1: Run Chkdsk Through Disk Management
Step 1: Open Disk Management.
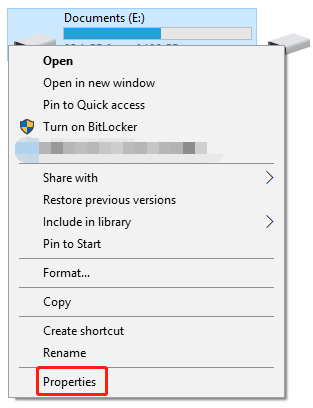
Step 2: Locate the partition that gave the error, right-click it, and choose the Properties option.
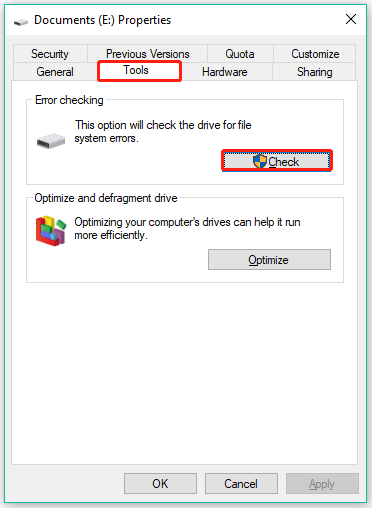
Step 3: On the Properties window, switch to the Tools tab and then click the Check button.
Step 4: Click the Scan drive to find the errors on the partition.
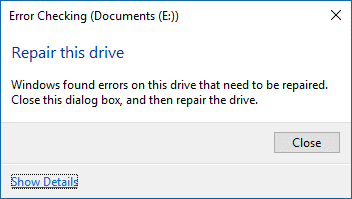
Step 5: When the scanning process ends, see if there is a message saying “Windows has found errors on this drive that need to be repaired…”. If yes, click the Close button to continue.
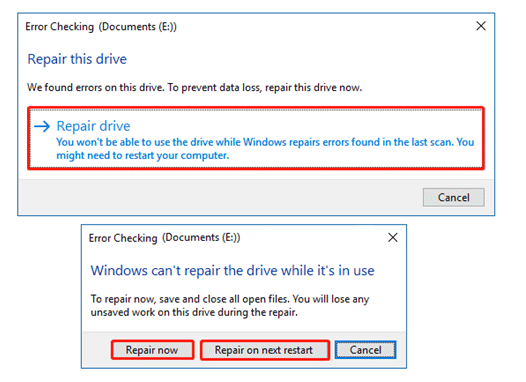
Step 6: Wait till the Repair drive option appears. Once it appears, click it. Then, click the Repair now button or the Repair on next restart button.
Way 2: Run Chkdsk Through File Explorer
You can also run Windows 10 Chkdsk through File Explorer. Here are the steps:
- Press Windows + E to launch File Explorer.
- Locate the problematic partition and then right-click it to choose the Properties option.
- Follow Step 3 – Step 6 in the Run Chkdsk through Disk Management part.
Way 3: Run Chkdsk Through Command Prompt
Here is the tutorial:
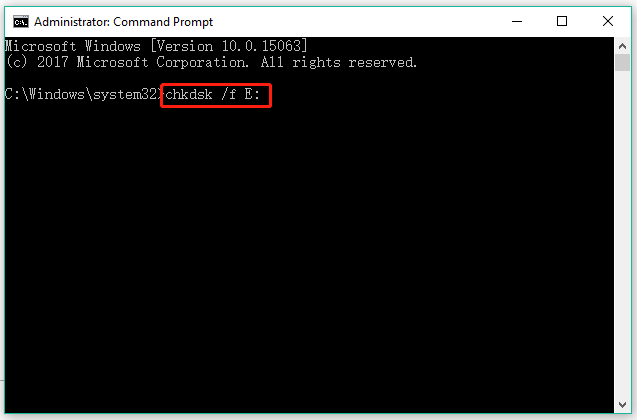
- Run Command Prompt as administrator.
- On the Command Prompt window, type chkdsk /f E: (note you should replace E with the drive letter of the partition you want to check) and hit the Enter key.
- Wait till the Windows utility finishes its task. Then, close the Command Prompt window.
Run MiniTool Partition Wizard
Alternatively, you can run MiniTool Partition Wizard to eliminate the file system errors, thereby fixing the Windows 10 error “The volume you have selected to shrink may be corrupted”. It is a professional and safe partition manager for Windows 10, so give it a try.
MiniTool Partition Wizard FreeClick to Download100%Clean & Safe
How to use MiniTool Partition Wizard? Refer to the following tutorial.
Step 1: Launch MiniTool Partition Wizard to access its main interface.
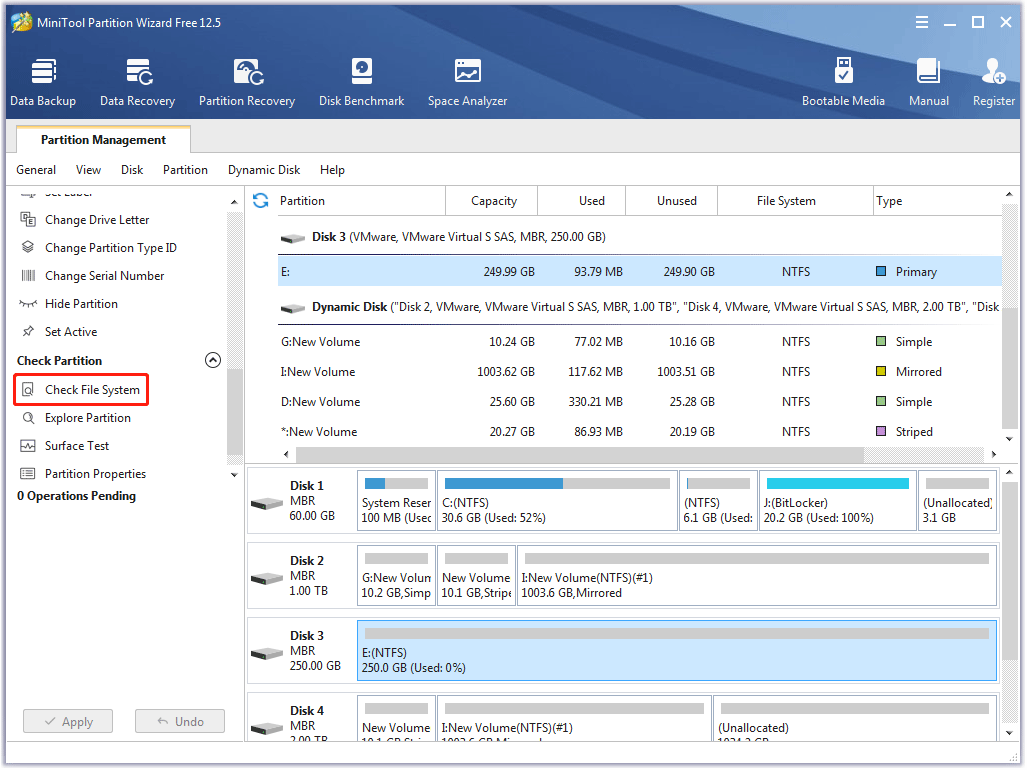
Step 2: Activate the Check File System feature throng one of the following ways.
- Select the partition to be checked and then choose the Check File System feature from the left panel.
- Right-click the partition to be checked and then choose the Check File System feature from the pop-up menu.
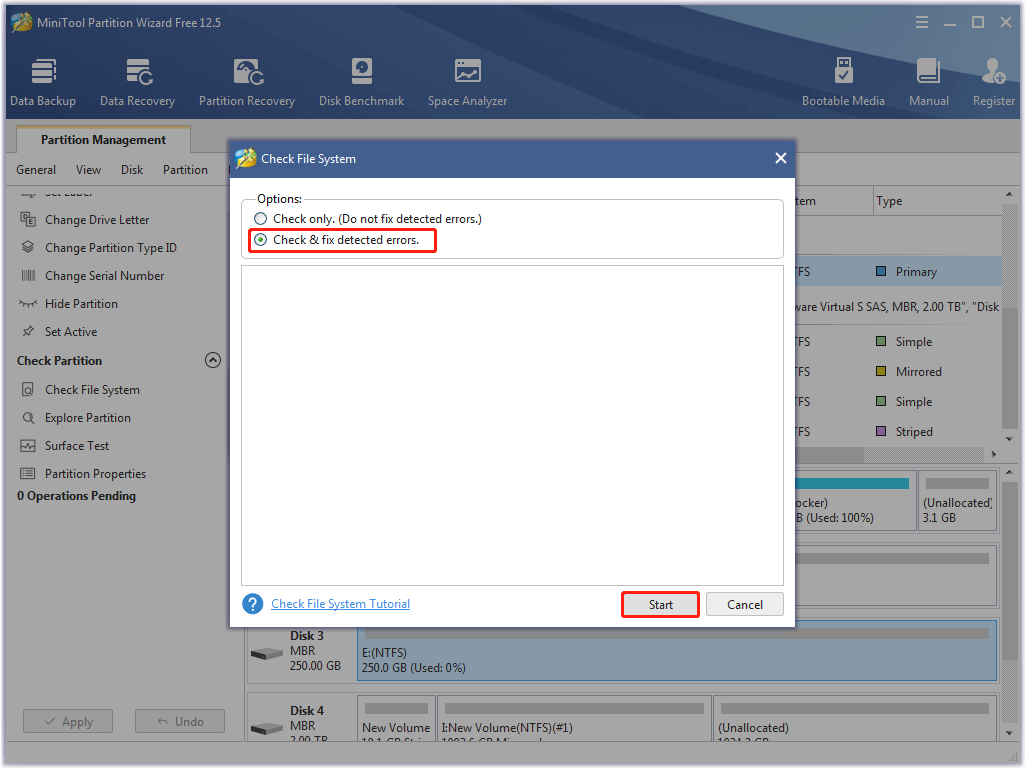
Step 3: On the Check File System window, tick the circle related to Check & fix detected errors. Then, click the Start button.
Step 4: Wait until the utility completes the task.
After fixing the file system errors, try shrinking the partition via Disk Management again and see if Windows 10 still prompts the error “The volume you have selected to shrink may be corrupted”. If the error disappears and you can shrink the partition successfully, that’s great!
But if the error persists, it indicates that there might be some system file corruption. In this case, what you proceed to do is another Windows utility called System File Checker to repair missing or corrupted system files.
Here is how to use System File Checker:
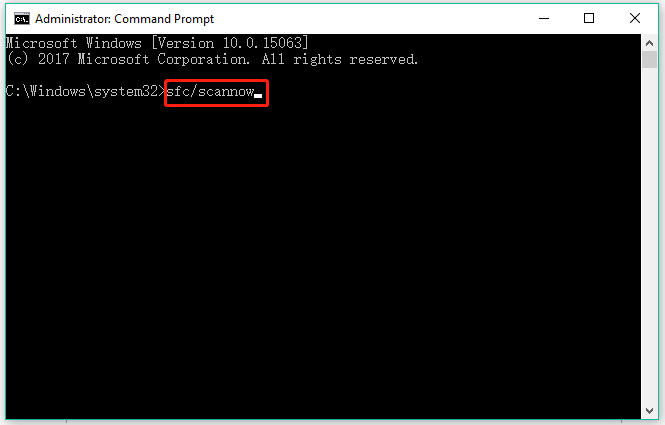
- Run Command Prompt as administrator.
- Type sfc/scannow and click the Enter key.
- Wait until the verification is up to 100%.
Now close Command Prompt and go to Disk Management to see if it allows you to shrink a volume.
Bonus: Other Ways to Shrink a Partition in Windows 10
Aside from using Disk Management, is there any other way to shrink a volume in Windows 10? Yes, you can try other partition resizers like Diskpart and MiniTool Partition Wizard.
Shrink a Volume via Diskpart
Diskpart, a command-line utility, can help you shrink a partition. But notice that the utility can only shrink volume in the NTFS file system, and so, if your partition adopts other file systems like FAT32, please try another partition resizer.
Here is how to shrink a partition using Diskpart:
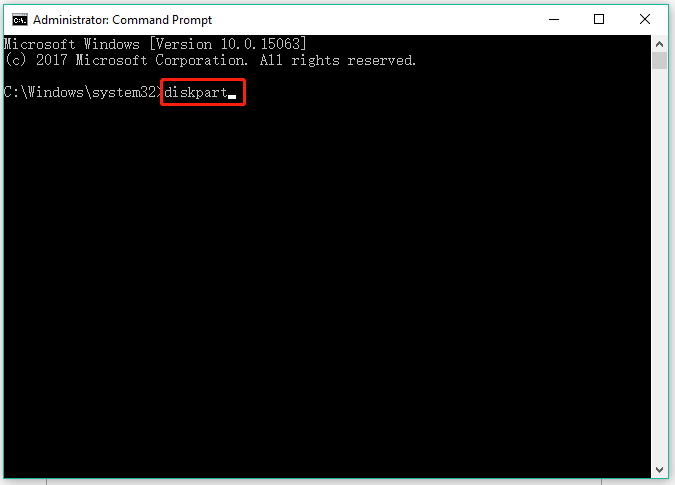
Step 1: Type cmd in the Windows search bar, right-click the search result, and choose Run as administrator.
Step 2: Once Command Prompt opens, type diskpart and hit the Enter key.
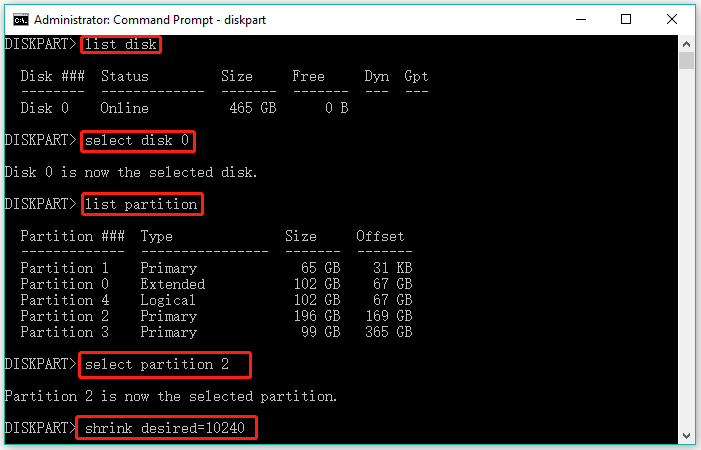
Step 3: Once you see DISKPART>, type the following commands one by one and hit the Enter key after each typing.
- list disk
- select disk 0 (replace 0 with your disk number)
- list partition
- select partition 2 (replace 2 with your partition number)
- shrink desired=10240 (replace 10240 with the size in MB you prefer)
Step 4: When you receive the message saying “Diskpart successfully shrunk the volume by: …”, type Exit and hit the Enter key to close Windows Diskpart.
Shrink a Volume via MiniTool Partition Wizard
MiniTool Partition Wizard is another recommended partition resizer. Its feature Move/Resize Partition contains three functions: shrink partition, extend partition, and move partition, but the last two functions can be available when there is unallocated space next to the partition.
Besides, other features of MiniTool Partition Wizard can help you clone disks, migrate OS, recover data/partition, and so on.
MiniTool Partition Wizard FreeClick to Download100%Clean & Safe
Now see how to shrink a partition via MiniTool Partition Wizard.
Step 1: Launch MiniTool Partition Wizard to access its main interface.
Step 2: Select the partition you want to shrink and then choose the Move/Resize Partition feature from the left panel.
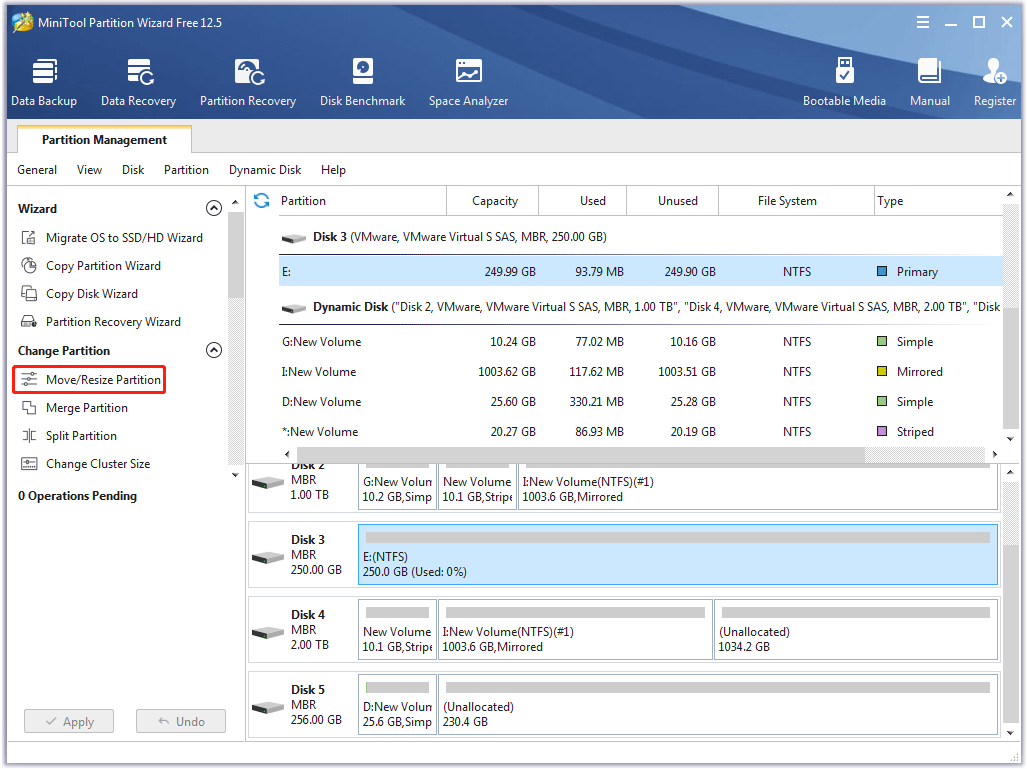
Step 3: On the Move/Resize Partition window, shorten the blue bar, and then click the OK button.

Step 4: Preview the shrinking result on the interface and then click the Apply button to execute the pending operation.
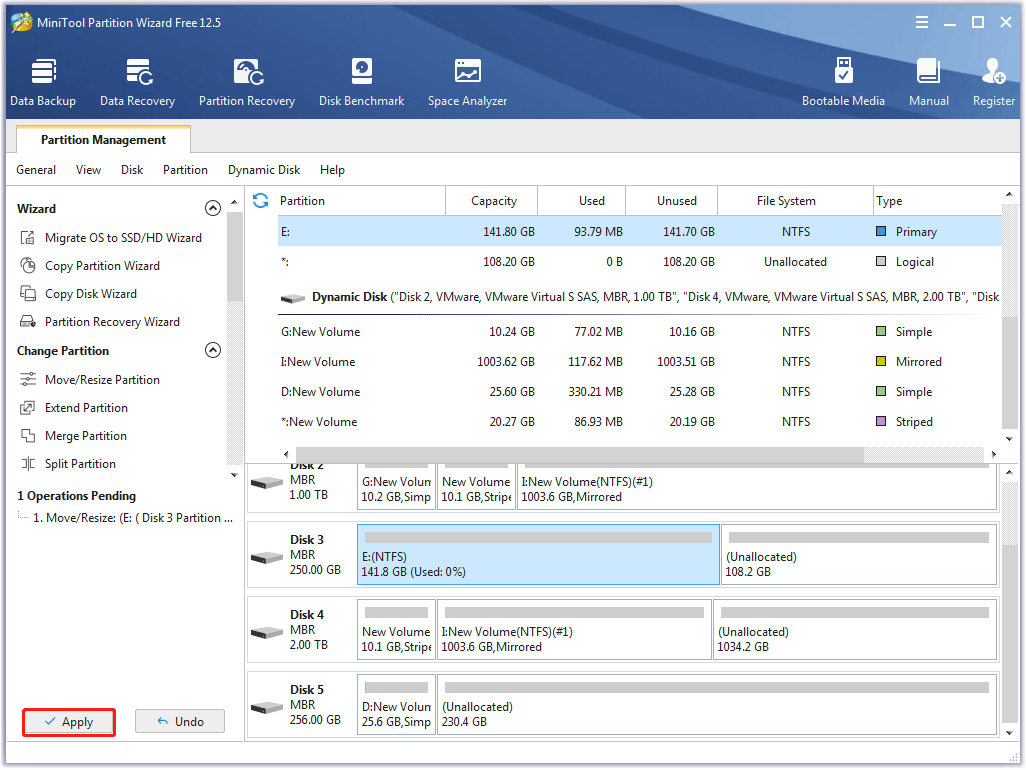
After these steps, your partition should be shrunk as expected.
Bottom Line
As to “windows 10 how to fix the volume you have selected to shrink may be corrupted”, the solutions and tutorials have been displayed above. If you have any questions with them, please tell us via the following comment zone.
As mentioned above, to shrink a volume, you can also use MiniTool Partition Wizard. If you have some doubts about using the partition resizer, you can send an email to us via [email protected].
The Volume You Have Selected to Shrink May Be Corrupted FAQ
There are some tricks to fix a corrupted volume, but note that you need to do a data recovery before applying these tricks if the volume contains important data.
Here are the fixes:
- Scan for viruses;
- Run Chkdsk;
- Run sfc/scannow;
- Format the volume;
- Wipe the volume.
The top four causes of a hard drive failure are:
- Water damage: water in a hard drive can cause unwanted flows in the electrical current, thus damaging the hard drive.
- Hardware failure: when the necessary hardware components of a hard drive are broken, the hard drive will stop working.
- Unsuitable temperature: the optimal temperature for hard drives is between 25°C to 40°C. The temperature is too low or too high will lead to a higher failure rate.
- Mishaps: for example, when the hard drive header is working, a violent shock can cause a conflict between the header and platters, which corrupts a hard drive.
When the following cases usually happen, it indicates hard drive failure.
- Computer freezing and crashing
- Files suddenly missing or not opening
- Numbers of bad sectors surging
- Strange sounds coming from the hard drive
- …
To learn more about signs of hard drive failure, please go to Here Are 6 Signs Indicating Hard Drive Failure, Check out Now.
User Comments :