Windows 11 is a new operating system released by Microsoft as the successor to Windows 10. In this post from the MiniTool Partition Wizard website, you can learn about how to enable, disable, and use Storage Sense on Windows 11, a disk space cleanup tool. Just follow this tutorial to have a try!
Windows 11, the successor to Windows 10, is an operating system released by Microsoft recently. It is based on Windows 10 but comes with a brand new outlook and some new features (click to see What’s New in Windows 11). Similar to Windows 10, Windows 11 is also designed with a built-in Storage Sense tool.
What is Storage Sense? What does it do?
If you don’t clean up your disk space regularly, this tool can be very helpful for you. Storage Sense can delete old temporary files saved on your disk automatically and regularly, based on your options.
Now, let’s see how to use Windows 11 Storage Sense.
How to Turn on/off Storage Sense on Windows 11
By default, the Storage Sense feature is disabled in Windows 11. If you want to use this feature, you have to turn it on at first. And here are the detailed steps.
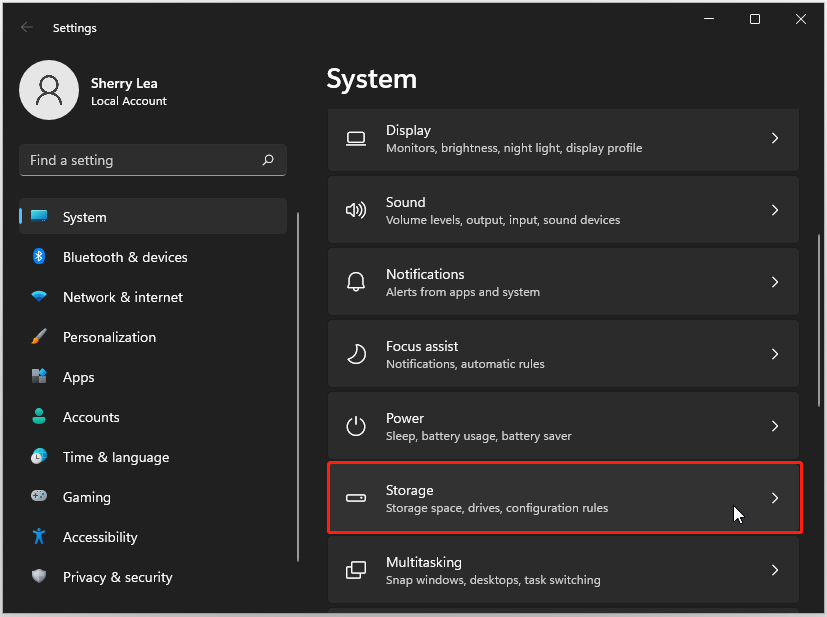
Step 1: Press Win + I to open Windows Settings.
Step 2: Select System in the left pane. In the right pane, select Storage.
Step 3: Now you can find the Storage Sense feature, just under the Storage management section. Toggle the button on to enable Windows 11 Storage Sense.
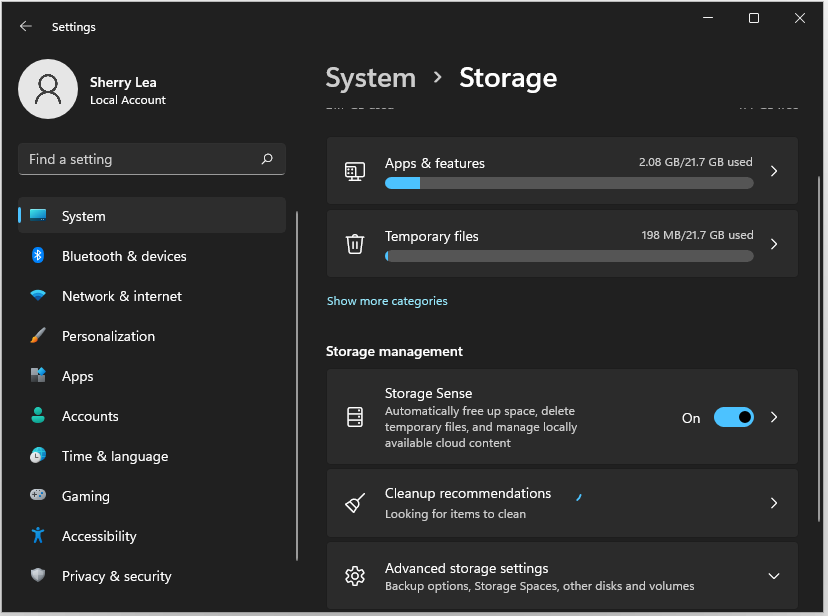
Step 4: There will be a pop-up Free up space window, and you need to click the Enable button.
When you want to disable Windows 11 Storage Sense, you can go to the same settings and toggle off the switch of Storage Sense.
How to Use Storage Sense on Windows 11
After enabling Storage Sense, you can configure some settings in this feature to let Storage Sense know what you want to delete and how often you expect to perform disk cleanup. Just go to System > Storage > Storage Sense.
By default, Storage Sense will delete temporary files when you are facing low disk space to keep Windows running smoothly. You can also configure the cleanup options according to your preferences.
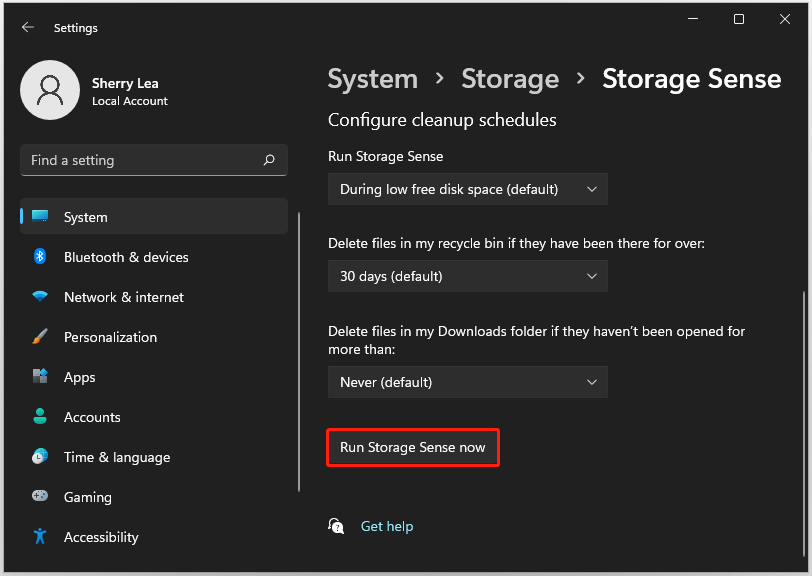
Under the Configure cleanup schedules section, you can select Every day, Every week, or Every month for the Run Storage Sense option.
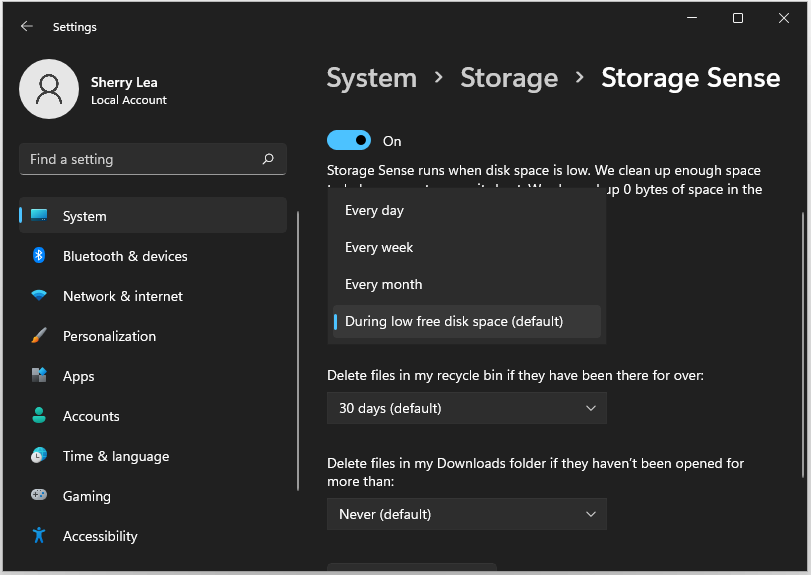
As for the “Delete files in my recycle bin if they have been there for over” option, you can choose a period you want. You can also let Storage Sense delete files in your Downloads folder if they haven’t been opened for more than how many days.
If you need to free up disk space right now, just scroll down and select the Run Storage Sense now button.
Further Tip:
If you still have low disk space after cleaning up useless files, you can consider upgrading your disk to a larger HDD or SSD. And MiniTool Partition Wizard can help you migrate the operating system as well as your personal files during the upgrade.
MiniTool Partition Wizard DemoClick to Download100%Clean & Safe
User Comments :