Memory leak is confusing a great many users. If you are also struggling to figure it out, you come to the right place. In today’s post, MiniTool will discuss what memory leak Windows 10 is and provide you with corresponding solutions.
What Is a Memory Leak
Did you find this phenomenon? Your computer doesn’t run so effectively anymore. This may be caused by memory leaks. Memory leak refers to the RAM memory loss in Windows due to an app or program.
When opening the Task Manager, you may find a certain app is taking much memory, which leads to slow running. Sometimes, you cannot deal with even the easiest tasks in Windows. Windows 10 memory leak is an issue related to software. So, you don’t have to worry your RAM is damaged physically.
In a word, memory leak is an issue that a program is taking up more memory than it should be. Please keep reading to get the windows 10 memory leak fix.
Solution 1. Close the Processes and Restart Your Computer
The first windows 10 memory leak fix is to close the processes in Task Manager. Here is how to do that.
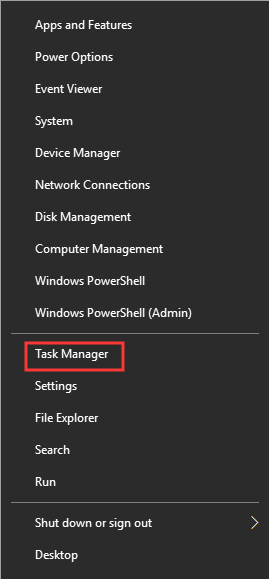
Step 1. Right-click the Start button and select Task Manager from the contextual menu.
Step 2. In the Processes tab, select the program that is using the most memory and click End task to close that program.
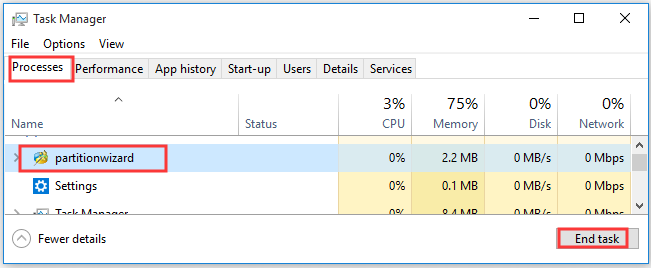
Step 3. Restart your computer. As you know, RAM memory only stores data of running processes. So, the memory will get empty when you restart the computer.
If this method fails to work, just move on to the next methods.
Solution 2. Check Your Computer for Memory Problems
In fact, using Task Manager is not enough to fix the problem entirely. If you want to have a deeper analysis of this problem, you need to check your memory in the system. You can use Windows built-in tool Memory diagnostic. It can scan your computer for the memory problem.
You can read this post “Here Are Free RAM Test Programs to Check Your Computer’s RAM” to know more details.
Solution 3. Update Your Device Drivers
Outdated devices drivers can cause a variety of problems such as hardware device not connecting code 45, D3DCOMPILER_47.dll is missing, the one we discussed here and so on.
So, it would be better that you update the device drivers. You can update the drivers via Device Manager. Here’s how.
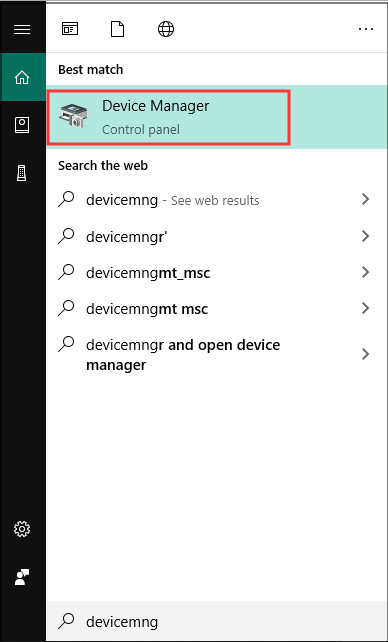
Step 1. Type devicemng in the search box and select Device Manager.
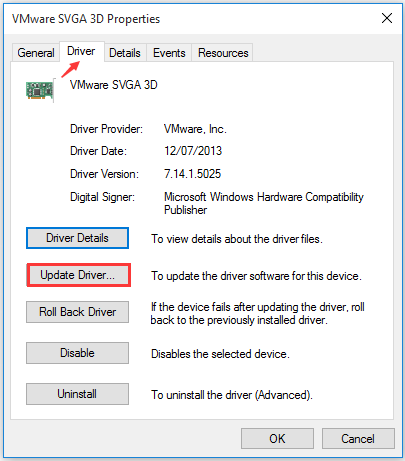
Step 2. Expand the Display adapters, and then right-click the drive that you want to update and select the Properties.
Step 3. In the new window, go to the Driver tab and click Update Driver button.
Step 4. There are 2 options to update device drivers: automatically or manually. You can choose one based on your needs.
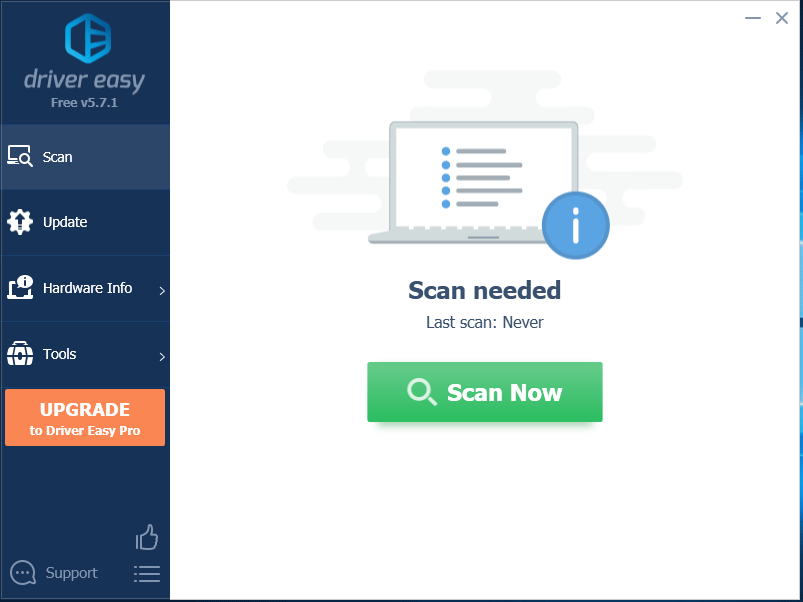
Of course, you can also use third-party software like Driver Easy Pro to detect problematical drivers, and then search, download, and install the latest driver version with just one click. Here is the guide:
Step 1: Install Driver Easy and launch it. Click the Scan Now button.
Step 2: After the scanning process is completed, click the Update All button to download and install the latest drivers for all devices with outdated drivers.

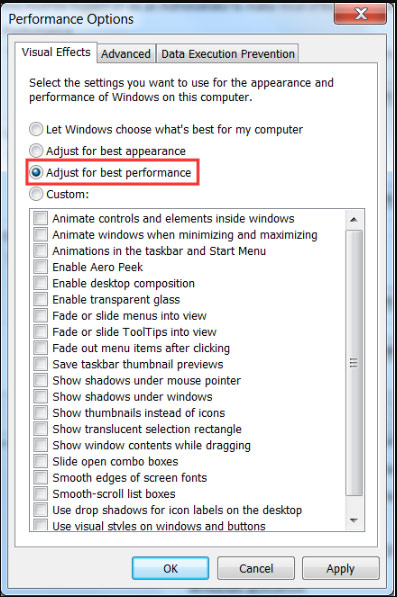
Solution 4. Adjust for Best Performance
Adjusting for best performance will address processor scheduling, memory usage, which can mitigate memory leaks.
Step 1. Right-click on This PC on the desktop and select Advanced.
Step 2. Go to the Advanced system settings > Advanced tab.
Step 3. Click Performance, then select the box of the Adjust for best performance and click OK to save this change.
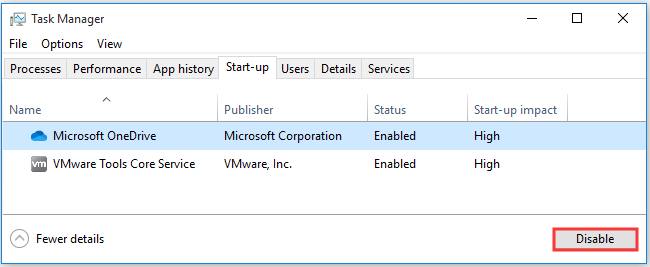
Solution 5. Disable Programs Running on Startup
The programs running on Startup will take up your memory as well. Many users resolve the issue simply by disabling the programs running on Startup.
Step 1. Open the Task Manager and navigate to the Startup section.
Step 2. Select the running program that you want to disable, a0nd click the Disable button.
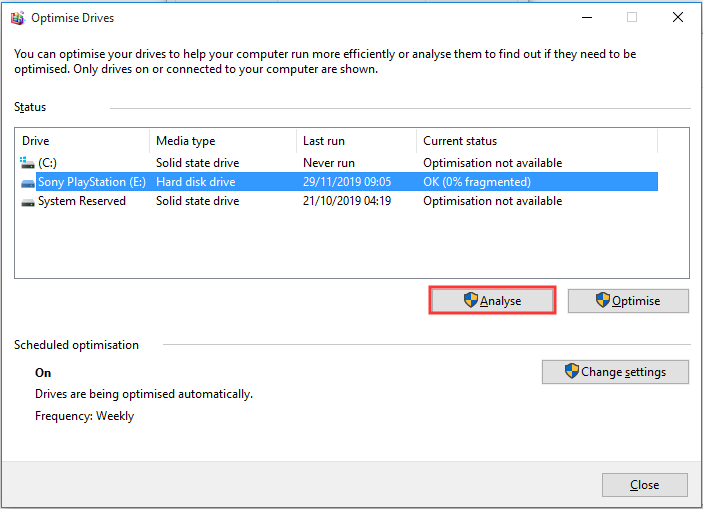
Solution 6. Defrag Your Hard Drive
Defragging hard drive not only optimizes your hard disk but also makes your memory management be better. You can follow the steps below to defrag your hard drive.
Step 1. Click This PC in File Explorer.
Step 2. Right-click the drive that you want to defrag, and then go to the Tools tab and click the Optimize button.
Step 3. Select a drive that you want to defrag and click the Analyze button.
Step 4. Restart your computer after the defragmentation completes.
Well, you can use some defragmentation software to optimize your hard drive too.
The 6 windows 10 memory leak fixes has been told to you. Now, it’s your turn to have a try.
User Comments :