When people updated their computers to the latest version of Windows, Local Disk G suddenly appeared with 99% use on their computer. Why does this happen? This post from MiniTool Partition Wizard tells you the reasons and how to solve the problem.
A few days ago, after I installed one of the new windows updates, a local disk (G:) suddenly appeared on my system. Disk management shows it as an OEM partition. It’s only 454mb in size, but 415mb of it is used, however, opening it shows it’s completely empty. I don’t know why this drive is here and at first I paid no mind to it, but Windows keeps telling there’s low space on this drive and now I want it gone. So, what is it, do I need it, and if not, how do I get rid of it?https://answers.microsoft.com
After updating to Windows 1803, many users notice a random Local Disk (in most cases, it is E or G) appearing in File Explorer. It seems this drive contains no files but Windows keeps prompting that the drive is almost full. Why does this drive appear? How to remove this drive?
What Causes a Local Disk G to Appear in Windows 10?
Why did Local Disk G suddenly appear Windows 10? There are several reasons below:
- Windows Update 1803: One reason is that Windows Update didn’t complete its update process properly and left a drive on your computer. This drive is an OEM partition which may be around 450-500MB in size.
- Network Location: Another reason is when you are using network sharing on your computer. When network sharing is enabled, it allows you to access other drives from other computers.
Now you have already known the reasons why Local Disk G suddenly appeared Windows 10, so how to solve this problem? Scroll down to know the detail.
How to Fix Local Disk G Randomly Appearing on Windows?
There are several methods below, and you can start with the first method and then proceed in your own way.
Method 1: Remove Drive Letter G
In fact, the Local Disk G (OEM partition) is temporarily created to save all the update files, and it should be deleted before the update process is completed. However, the update process fails to do this and leaves the Local Disk G.
Luckily, this problem can be solved immediately by removing the drive letter. A drive without drive letter will not appear in File Explorer. So, how to remove the drive letter? Here is a guide:
1. Remove Drive Letter G in Disk Management
First, you can remove the drive letter from the Disk Management. The steps are as follows:
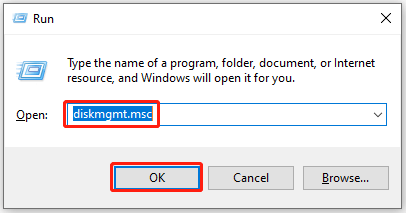
Step 1: Press the Win + R keys to open the Run window on the computer.
Step 2: Enter diskmgmt.msc and click OK or tap Enter key to open Disk Management.
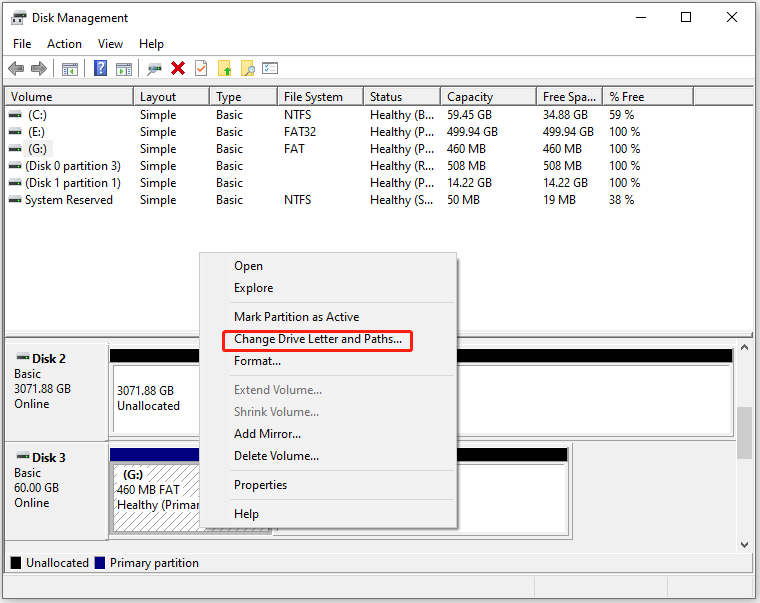
Step 3: Find and right-click the Local Disk G, and select the Change Drive Letter and Paths option.
Change Drive Letter and Paths Greyed Out Windows 10
Step 4: Click the Remove button, and then click Yes to confirm in the pop-up window.
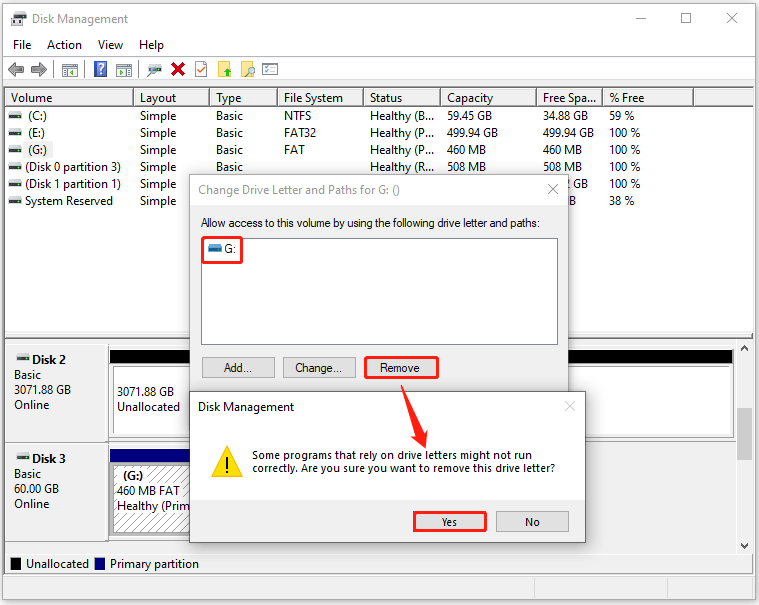
Thus, the drive letter is removed, and you can further head over to close Disk Management.
2. Remove Drive Letter G using Diskpart
The second way to remove the drive letter is to use Diskpart. How to do that? Here is a guide:
Step 1: Press the Win + S on the keyboard. Type diskpart in the search box, and then tap Enter.
Step 2: Type the following commands one by one and hit the Enter key after each typing:
- list disk
- select disk 3 (here the Local Disk G is on the disk 3.)
- list partition
- select partition 1 (here the Local Disk G is the partition 1.)
- remove letter=g (If your Local Disk’s drive letter is E, you need to type remove letter=e.)
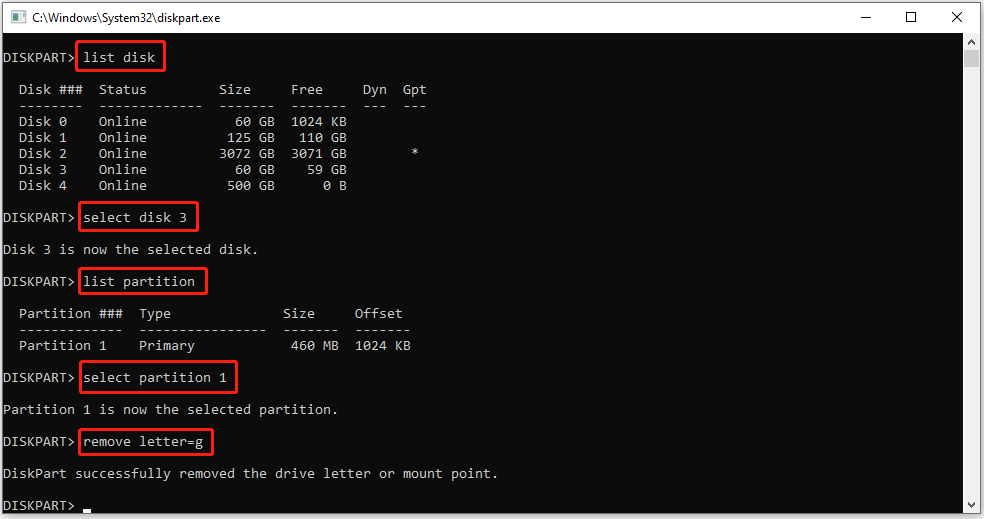
After this, Diskpart will show you the drive letter is removed successfully. The Local Disk G disappears in Fille Explorer.
3. Remove Drive Letter G in MiniTool Partition Wizard
In addition to the above two methods, you can also use MiniTool Partition Wizard to remove the drive letter. MiniTool Partition Wizard can remove or change a drive letter and check the disk space.
Using MiniTool Partition Wizard to remove the drive letter is very simple. Get MiniTool Partition Wizard and follow the on-screen instructions to install it on your computer.
MiniTool Partition Wizard FreeClick to Download100%Clean & Safe
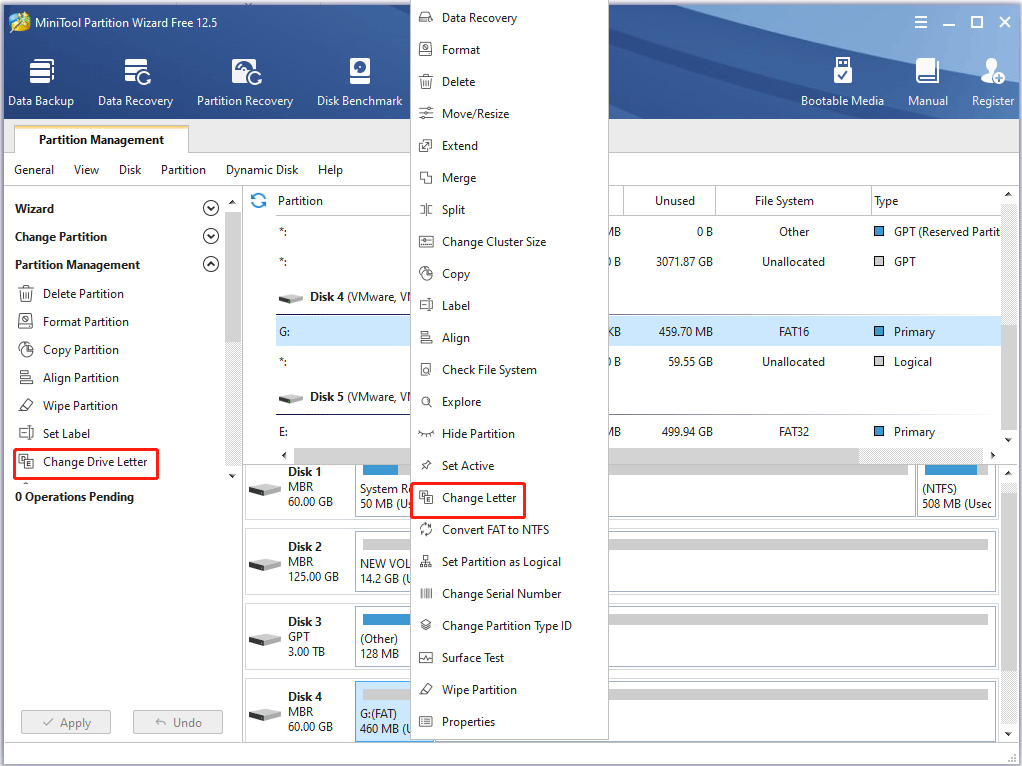
Step 1: Launch MiniTool Partition Wizard to its main interface. Choose one of the following ways to activate the Change Drive Letter function:
- Click the Change Drive Letter option from the left action pane after selecting the target drive.
- Right-click on the target drive, and then select Change Letter in the pop-up menu.
Step 2: Choose None from the list, and click OK.
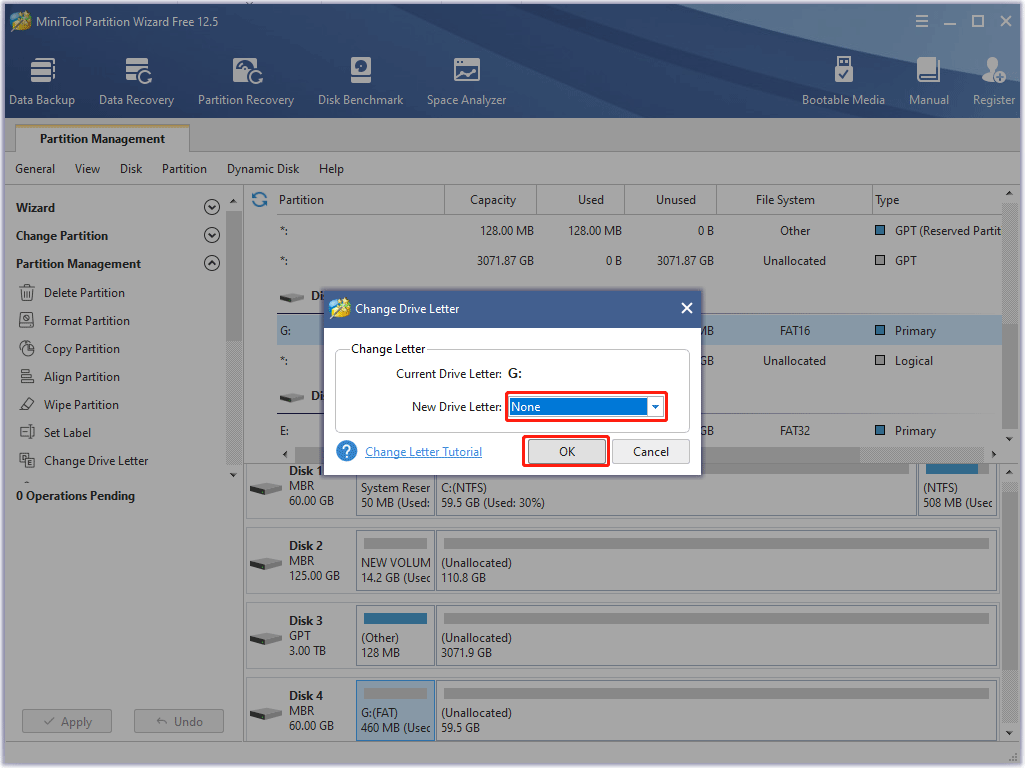
Step 3: Click the Apply button to perform this operation.

Method 2: Hide the Drive
In addition to removing the drive letter, another way using MiniTool Partition Wizard to hide the Local Disk G can also help you solve this problem. How to do that? Here is a guide:
Step 1: From the main interface of MiniTool Partition Wizard, right-click on the target drive, and select Hide Partition in the pop-up menu.
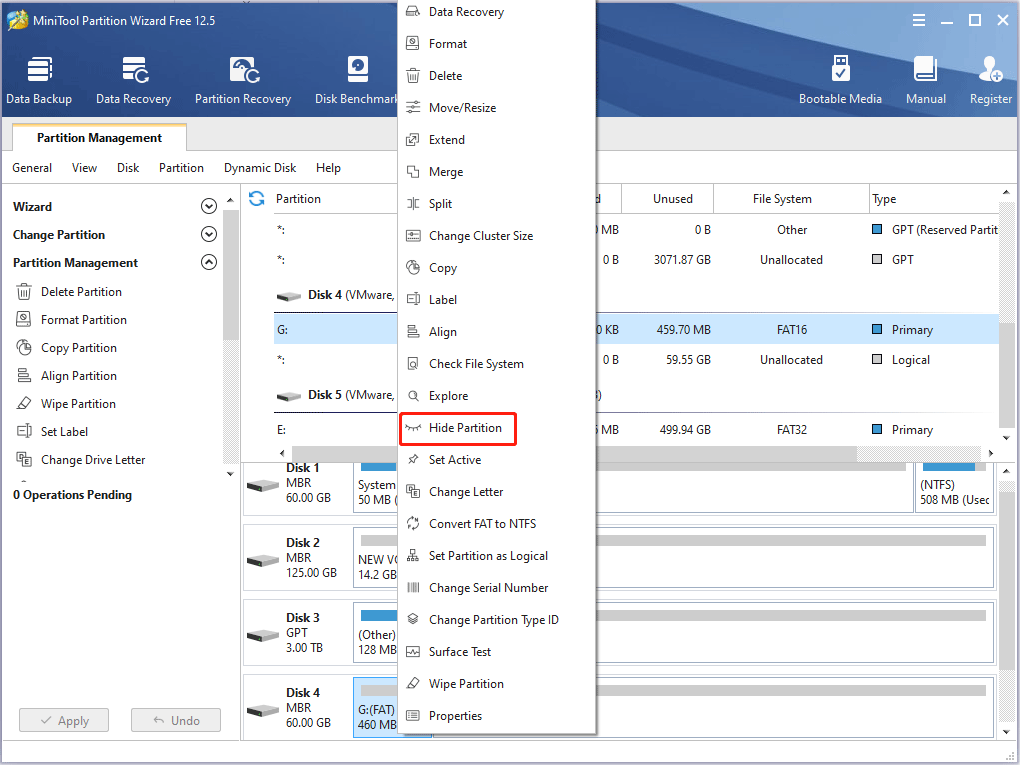
Step 2: The target drive does not display the drive letter on the interface. Then, click Apply to save the change.
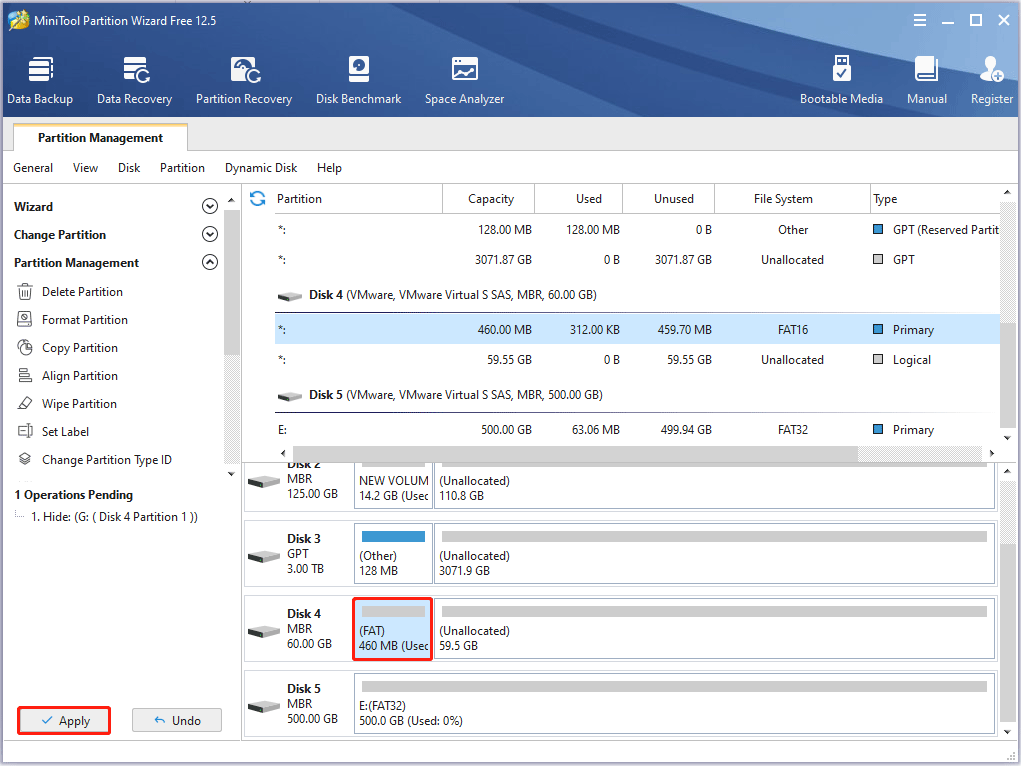
Once you hide this drive successfully, the drive letter disappears and you cannot see the Local Disk G in File Explorer. In addition, you can also select Unhide Partition in MiniTool Partition Wizard to get the drive back.
Method 3: Update Windows to the Latest Version
It is said that Microsoft released an update for the computers affected by the problem and the problem has been resolved. Besides, Microsoft also changed the 1803 update to ensure that users who are going to update to this version will not have this problem. So, how to update Windows to the latest version? Here is how to do that:
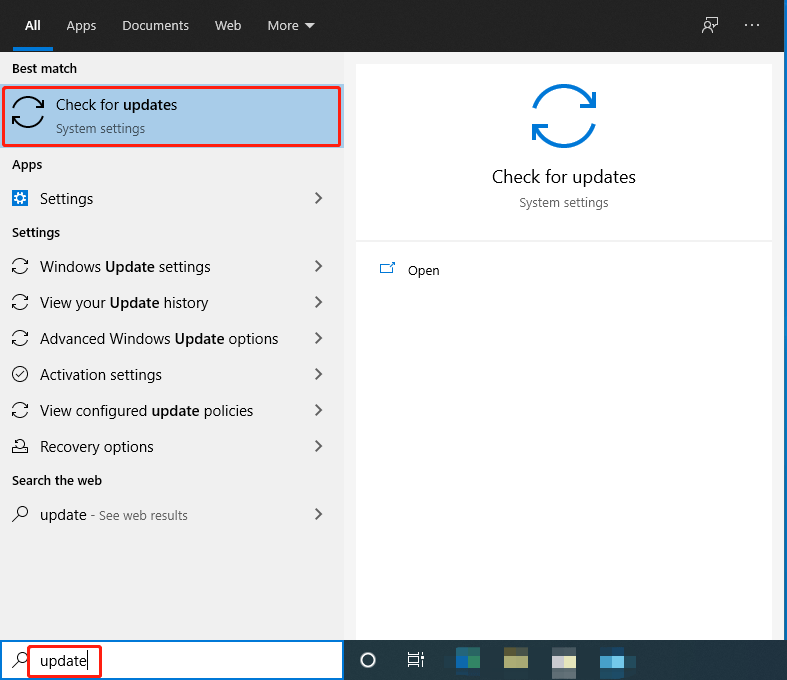
Step 1: Press the Win + S keys. Type update in the dialogue box and press Enter.
Step 2: Windows will automatically check for updates and download a newer version to your computer. Once Windows completes that, you need to restart your computer.
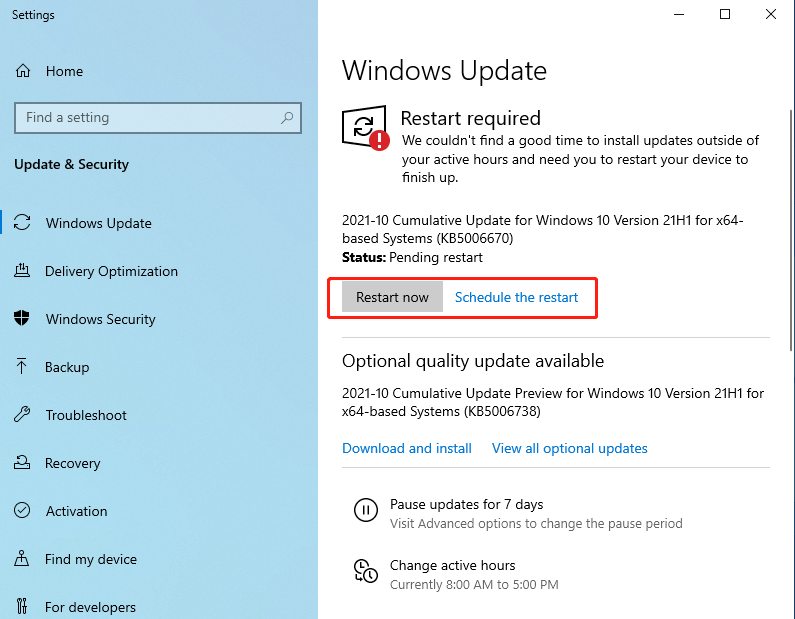
When you finished restarting your computer completely, you can check if the new updates solved the problem for you.
Method 4: Check for Network Drives
The second reason why the Local Disk G suddenly appeared is Network Location. If you are using the network access of another computer, its files will appear on your computer, but will be located under the Network Locations.
At this time, you need to check whether the drive is indeed the network locations. If so, please remove it completely. To do that, here is a guide:
Step 1: Press the Win + E keys to open the File Explorer.
Step 2: Look at the Network locations section. If the Local Disk G is present, it means that it is shared via the Network.
Step 3: Right-click the drive and select Disconnect. Then, the drive will be disconnected and removed from your computer.
Method 5: Check for External Drives
If the above methods can’t solve the problem “Local Disk G suddenly appeared Window 10”, there may be an external disk drive on your computer. If the Local Disk G is an external drive, you can easily check whether it is connected to your computer. Just check all the ports.
Best Fixes: Hard Drive Is Full Without Reason in Windows 10/8/7
Verdict
Now you have known the methods to solve the problem “Local Disk G suddenly appeared with 99% use”. If a Local Disk G suddenly appeared on your PC, after upgrading your system to Windows 10 1803, then follow the methods in this post.
If you have any questions about how to fix the error “fatal device hardware error”, please leave them in the comment zone and we will try our best to answer them. If you need any help when using MiniTool Partition Wizard software, you can contact us via [email protected].
User Comments :