If you want to sell or give away your computer, you should wipe the hard drive on the PC first to protect your personal data. Plenty of ways can be found on the Internet to help you erase the hard drive completely. However, sometimes if your computer can’t turn on, it may be rather difficult to perform this operation.
Since the computer is dead, you may think there is no need to wipe the hard drive on it. Actually, it’s pretty risky to handle a dead PC without erasing data. With advanced technology, someone may get your dead computer turn on and read the hard drive. Therefore, for data security, it’s important to erase data from a dead computer before selling, throwing it, or just sending it for repair.
Like most users, you may also concern about the difficult problem – how to wipe a hard drive on a dead computer. There is not so much related information offered online. Fortunately, to solve your problem, this post summarized a couple of methods in the following content. You can have a try.
To avoid losing important data, you’d better make a backup in advance.
Method 1: Wipe the Hard Drive with a Bootable Media
When the dead computer fails to boot normally, you can try booting it with a bootable USB flash drive and then wipe the hard drive with a piece of third-party hard drive wipe software. Here, we recommend MiniTool Partition Wizard to you. It’s a professional partition manager that enables you to wipe disks. Additionally, this program also allows you to create/delete/resize partitions, check disk health, migrate OS to SSD/HDD, and more.
In this section, you can learn how to wipe a hard drive on a dead computer with MiniTool Partition Wizard in detail.
Part 1: Create a Bootable USB Flash Drive
First of all, you ought to create a bootable media so that you can boot up your computer into the MiniTool PE Loader screen. MiniTool Partition Wizard can help you execute the operation with a few clicks. Just follow the steps below.
You can create a bootable media with MiniTool Partition Wizard only in Pro and higher editions. So, upgrade MiniTool Partition Wizard to a proper edition before the operation.
Step 1: Plug your USB flash drive into a computer that can work properly.
Building bootable media will format your USB drive. Hence, we suggest you back up the USB drive first if there are important files.
Step 2: Download and install MiniTool Partition Wizard. Then launch it to get into the main interface.
MiniTool Partition Wizard DemoClick to Download100%Clean & Safe
Step 3: Click Bootable Media at the top-right corner.
Step 4: In the prompted window, click WinPE-based media with MiniTool plug-in.
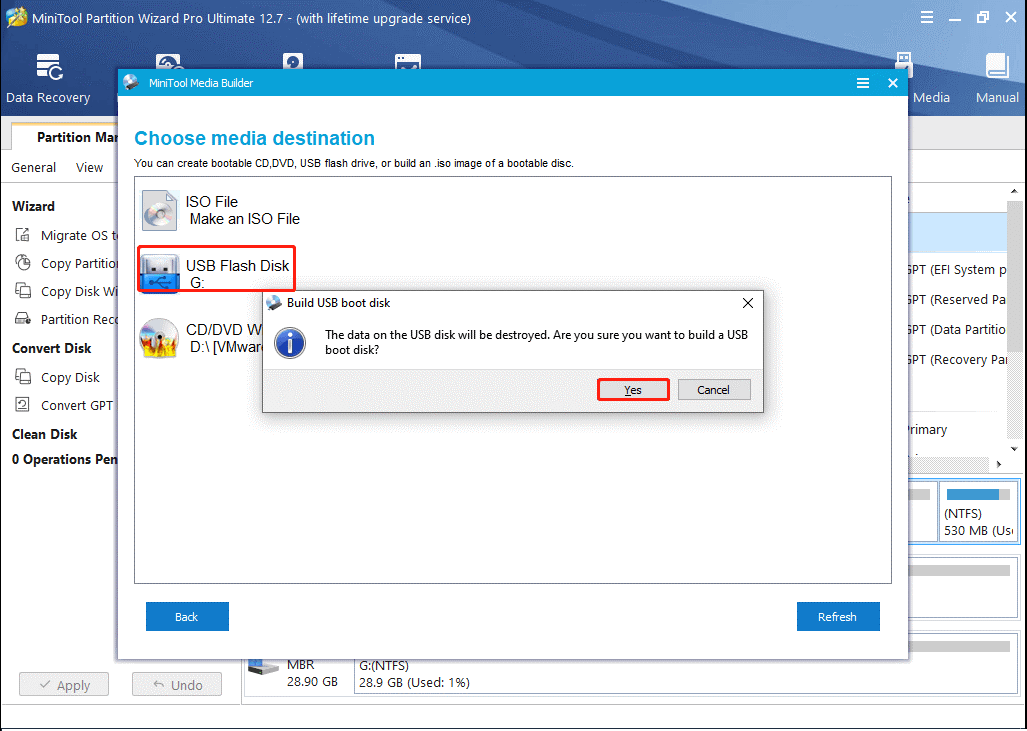
Step 5: After that, select USB Flash Disk. Then click Yes to confirm this operation when you see a warning window show up.
Step 6: Wait patiently until the process ends and click Finish to close the window.
Step 7: Finally, eject the USB drive from the computer safely.
Part 2: Boot Your Computer with Bootable Media
Now, you can boot your dead computer with the bootable USB flash drive you have created.
Step 1: Connect the bootable USB drive to your dead computer. Then set the computer to enter BIOS.
Step 2: After you see the BIOS screen, go to the Boot section and then select the bootable USB drive as the first boot drive with the on-screen instruction.
Step 3: Once done, press F10 to save the changes and exit the BIOS screen. Your computer will restart automatically with new boot order and enter the main interface of MiniTool Partition Wizard after a while.
Part 3: Erase Data from a Dead Computer
Once you enter MiniTool Partition Wizard in the WinPE-based environment, you can begin to wipe your hard drive on the PC. The following is a step-by-step tutorial telling you how to wipe a hard drive on the dead computer.
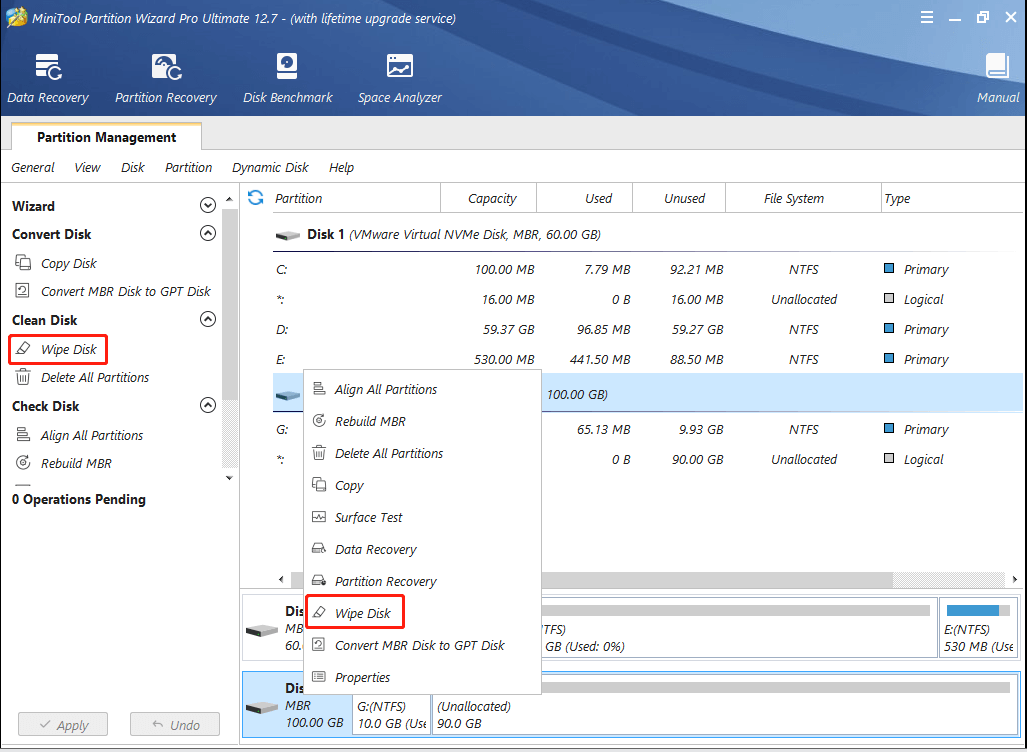
Step 1: Highlight the disk you want to erase and then select Wipe Disk from the left action panel. Alternatively, you can right-click the target disk and select Wipe Disk.
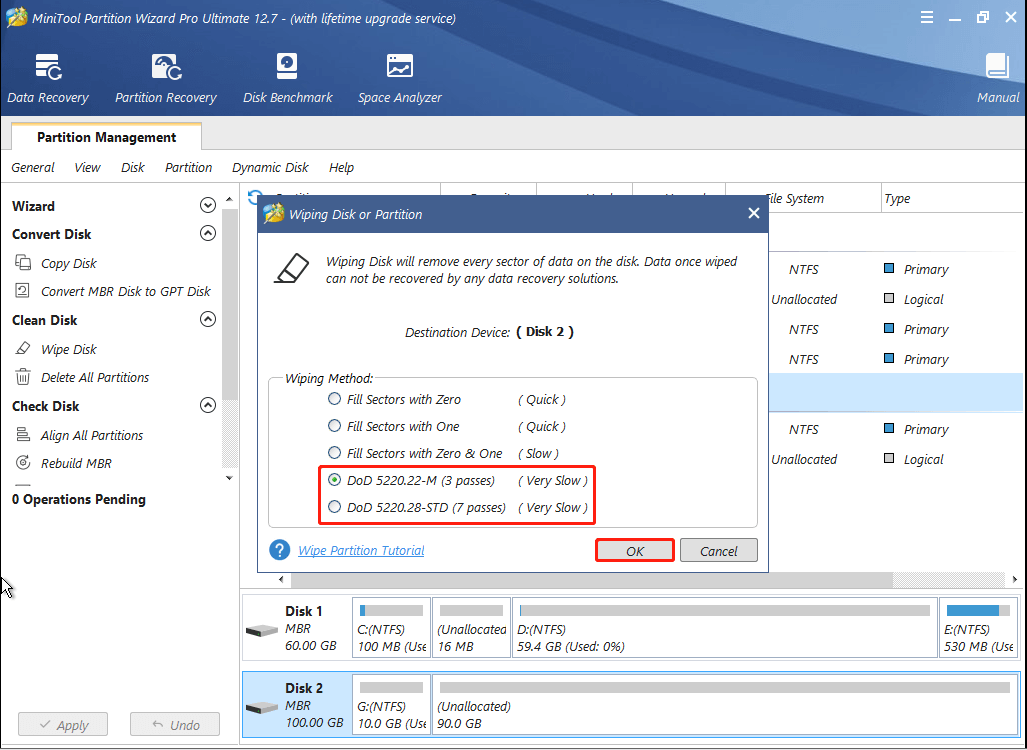
Step 2: In the pop-up window, you are asked to choose a wiping method. To make sure your data won’t be retrieved by any data recovery software, you should select either of the last two methods. After determining the wiping method, click OK to start the process.
The last two wiping methods will take a long time to complete. Just keep patient and do not stop this operation until it finishes.
Step 3: After the process is completed, you will see the selected disk presents unallocated. It’s a preview result. To confirm the pending changes, you need to click Apply.
After all the changes are executed, you will find all the data on the hard drive are erased permanently and no one can get it back.
Method 2: Reset Windows
If you can boot your computer into WinRE (Windows Recovery Environment), resetting your Windows is a feasible way to wipe a dead hard drive. Pay attention to the following steps.
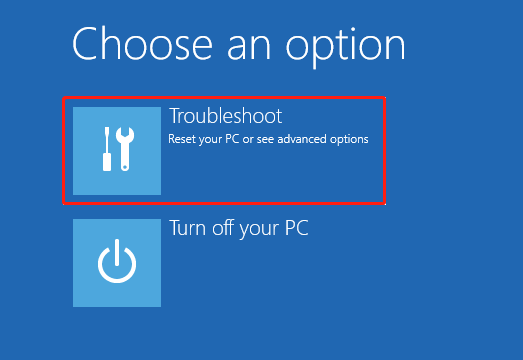
Step 1: Once you enter the Choose an option window in WinRE, click Troubleshoot.
Step 2: In the next window, select Reset this PC.
Step 3: After that, select the Remove everything option to erase all the data on your PC.
Method 3: Wipe the Hard Drive on Another Computer
If your computer is damaged completely and cannot boot up in any way, then you need to remove the hard drive from the computer and insert it into another working PC to perform the wiping operation.
Follow this guide to remove the hard drive from your laptop: 7 Steps: How to Remove Hard Drive from Laptop.
Step 1: Remove all the cables from your dead computer, including the power cable, drive devices, and monitor.
Step 2: Unscrew the side panel of the computer case using a screwdriver and then remove it.
Step 3: Locate the hard drive. Then disconnect the SATA cables & power connectors carefully.
Step 4: After that, unscrew all the screws to disconnect the hard drive from the computer. Then take out the hard drive carefully.
Step 5: Once the hard drive is removed from the dead computer, you can now install the hard drive into another computer as a second drive or connect it to a PC with a SATA to USB cable. By doing so, you can dispose of the hard drive on a working computer.
Step 6: Launch MiniTool Partition Wizard and then follow the steps in Part 3 of Method 1 to wipe the hard drive.
MiniTool Partition Wizard FreeClick to Download100%Clean & Safe
Method 4: Physically Destroy the Hard Drive
If none of the above methods works when you are attempting to wipe the hard drive on a dead computer, then the last way you can try is to physically destroy the hard drive. It’s the surest way to make sure the data on the hard drive cannot be retrieved anymore.
Do you have any idea about how to destroy a hard drive with a physical method? There are several measures you can take – you can shred, melt, incinerate, disintegrate, grind, or smash the hard drive to destroy it. Among all the ways, pounding the hard drive with a hammer is the easiest one. Here’s a detailed guide for how to execute the operation.
Step 1: Remove the hard drive from your dead computer.
Step 2: Put the hard drive on a hard surface. You are advised to prepare safety goggles and gloves in case you are hurt by the drive shards.
Step 3: After that, use the hammer to hit the internal platter of the hard drive. Keep doing this until the hard drive is completely damaged.
If possible, you ought to destroy data connectors and the hard drive’s PCB (printed circuit board) as well to further ensure that the data becomes unrecoverable.
Bonus Tip – How to Wipe a Hard Drive on a Dead Mac
In this section, you can learn how to wipe a hard drive on the dead computer Mac. Just keep reading if you are a Mac user.
Step 1: Remove all the power sources and then flip your MacBook to its back.
Step 2: Open the back cover of your Mac with a screwdriver. Then locate the specific hard drive. It’s usually set in the bottom-left corner.
Step 3: Unscrew the two screws on the black bar to remove the hard drive.
Step 4: After that, pull the plastic tab and black bar carefully for removing the hard drive successfully.
Step 5: Connect the hard drive to another Mac and then boot up this computer.
Step 6: Once you start the computer, click the Finder icon from the dock. Then navigate to Go > Utilities.
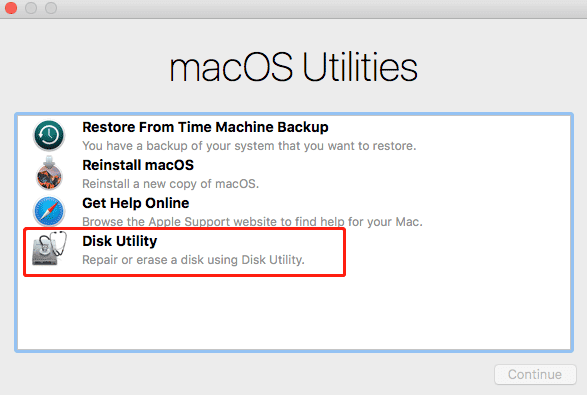
Step 7: In the prompt window, double-click Disk Utility to open it.
Step 8: Click the View icon at the top-left corner and then select Show All Devices from the drop-down menu.
Step 9: Select the target hard drive and then click Erase to wipe it.
To Sum Up
If you are one of those who wonder how to wipe a hard drive on a dead computer, this post is worth reading. It offers detailed information on how to destroy a hard drive on a dead Windows or Mac computer. If you have any problems with this topic, you can leave a message in the comment part below.
If you are stuck in any issues while using MiniTool Partition Wizard, you can send us an email via [email protected]. We will reply to you as soon as possible.
User Comments :