Are you unsatisfied with the Windows Task Manager update speed? This article shows how to change the Windows Task Manager update speed by yourself since Changing the update speed is useful as well for some computer users. If you are eager to do that, please keep reading. By the way, if you are bothered by your slow computer, MiniTool offers solutions for this issue.
Quick Update Speed of Windows Task Manager
Task Manager, also known as Windows Task Manager, is not only a task manager, but also a system monitor, and startup manager.
Built in Microsoft Windows systems, this utility provides information about computer performance and running software (including the running malware hiding deeply on your system), including the name of running processes, CPU load, logged-in users, I/O details, commit change, and Windows services.
Sometimes, you may always open this utility to check the resources usage of the currently running applications. However, the order of process may change when the process updates (By default, the system automatically updates the data once every two second). In other words, the process in Task Manager tends to update quite quickly, which make you cannot focus on individual processes.
To change the quick update speed, Windows Task Manager offers an option to let you change the update speed of the listings. (Microsoft has implemented the functionality in earlier versions of Windows)
Change the Windows Task Manager Update Speed
The ability to pause the listing or to slow it down will certainly be appreciated by Windows administrators who use the built-in Task Manager for certain tasks. To pause or slow the Windows Task Manager, all you need to do the following three steps:
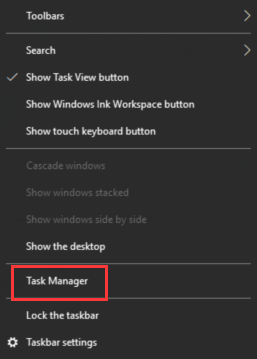
Step 1: Open your Windows Task Manager by right-clicking the Taskbar and choosing the Task Manager option.
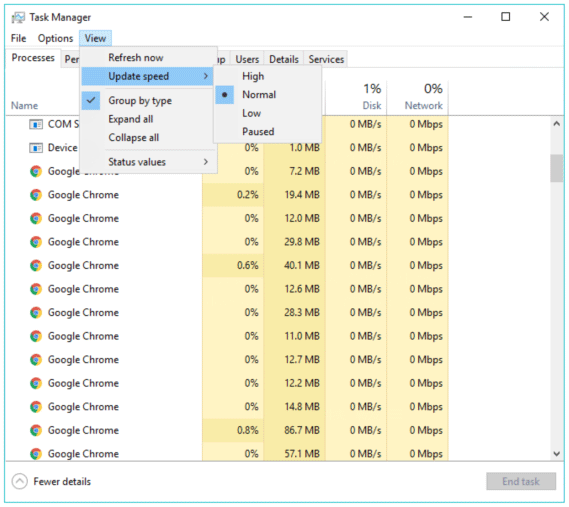
Step 2: After accessing the Windows Task Manager interface, please navigate to the View tab.
Step 3: Select the Update speed from the listings. You can see there are four options:
- High: It certainly speeds up the updating. If you select this interval, the process listings will update every half second.
- Normal: It is the default interval, and the default update speed is once per second.
- Low: It can slow down to the update speed to once every 4 seconds. Choosing this update speed, you can view the resource usage of an application clearly.
- Paused: It is used for freezing the process listings. In other words, choose this option, Windows will not update the listings until you select a higher frequency or click Refresh Now.
It is quite easy, right? But please note that the update speed can affect the process listings and all displays of Windows Task Manager as well, hence please select a more suitable one according to your needs.
Final Words
After reading this article, you may have mastered how to change the update speed to view the information displayed on the Task Manager interface more clearly.
If you have some doubts about changing the Windows Task Manager update speed, you can leave them in the comment zone below.
User Comments :