Many users report that they can’t see other computers on network Windows 10. If you are also struggling to figure it out, several effective methods provided by MiniTool can help you fix the problem.
Windows allows you to share the same network with other computers. Usually, it is relatively easy to set up this process. However, you may encounter the computer not showing up on network issues sometimes.
It has been proven by many reports that performing a simple restart can fix various network connection issues like could not connect to Steam network, Ipv6 connectivity no network access error, etc.
When your Windows 10 can’t see other computers on the network, you can try restarting your computer as well. If a restart fails to work, don’t worry, there are many other effective methods for you. Now, let’s see how to see other computers on network Windows 10.
Solution 1. Check the SMB 1.0/CIFS File Sharing Support
SMB 1.0/CIFS File Sharing Support is a built-in component that is required when connecting the network to other computers. So, you should check if the service is enabled on your computer by the following instruction.
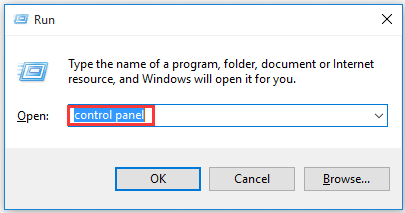
Step 1. Press Win + R keys to open the Run dialog box, and then type control panel in it and hit Enter.
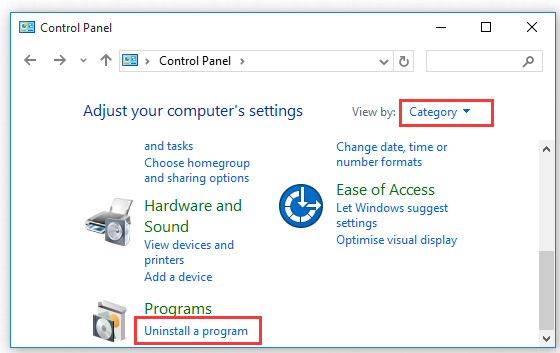
Step 2. Change the View by to Category type, and click on the Uninstall a program under the Programs section.
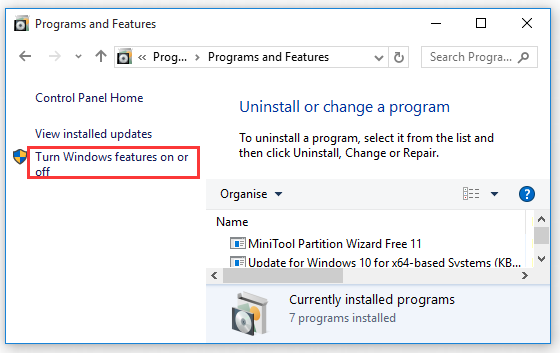
Step 3. In the pop-up window, click on Turn Windows features on or off option on the left pane.
Step 4. Select the checkbox of SMB 1.0/CIFS File Sharing Support in the list, and click OK to save this change.
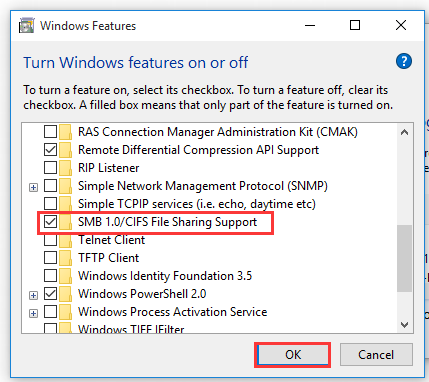
Now, restart your computer and see if the Windows 10 can’t see other computers on network issue is fixed.
![How to Set Up a VPN on Your Windows 10 PC [Full Guide]](https://images.minitool.com/partitionwizard.com/images/uploads/2019/12/how-to-setup-a-vpn-thumbnail.jpg)
Solution 2. Disable the Internet Protocol Version 6
The enabled Ipv6 is responsible for the “can’t see other computers on network Windows 10” issue. Here you would better to disable it temporarily.
Step 1. Open the Run dialog box, and then type ncpa.cpl in it and hit Enter.
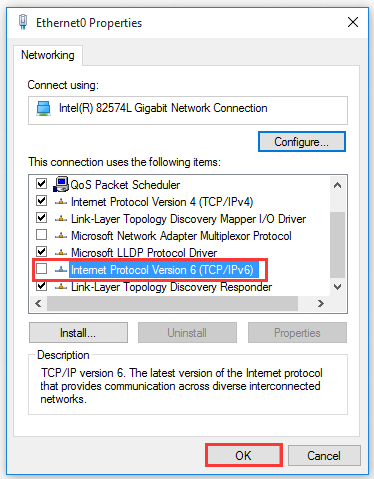
Step 2. In the Internet Connections window, right-click the active Network Adapter and select Properties.
Step 3. Uncheck the box of Internet Protocol Version 6 on the list and click on OK to save the change.
Step 4. Restart your computer to take it effect and see if the issue – can’t see other computers on network Windows 10 is resolved.
Solution 3. Disable All the VPN Connections on Your Computer Temporarily
As you know, a VPN connection is always in conflict with your local connections, which may cause the “can’t see other computers on network Windows 10” issue. So, you should disable it temporarily. Here’s how:
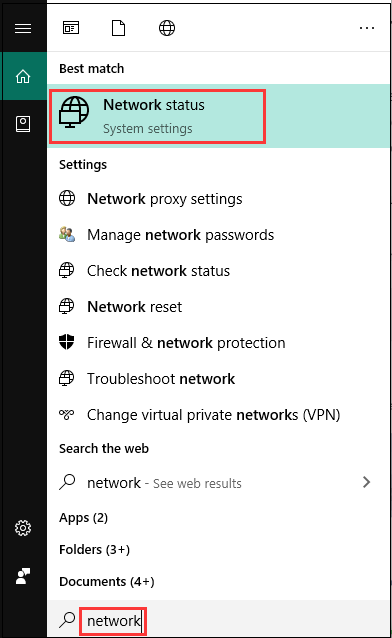
Step 1. Type network in the search box and select Network status from the best match.
Step 2. Navigate to the VPN tab on the left pane, and then double click the VPN connection and click on Remove button.

Step 3. After disabling all VPN connection, restart your computer to execute these changes. Now, check if the Windows 10 can’t see other computers on network issue is fixed or not.
Solution 4. Restart the Function Discovery Provider Host Service
Function Discovery Provider Host service is very important for connecting the network to other computers. It is reported that restarting this service can help you connect to the homegroup and see other computers on the network.
Step 1. Open the Run dialog box, and then type services.msc in it and hit Enter.
Step 2. Go to the Function Discovery Provider Host service, and then right-click it and select Properties.
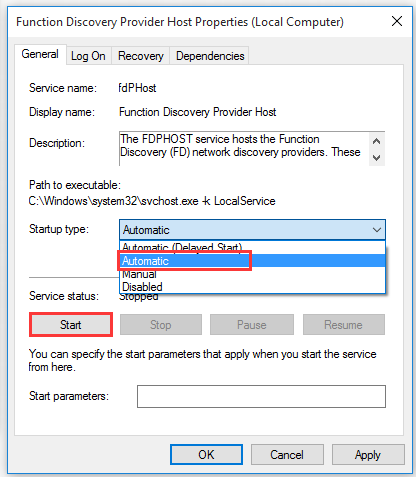
Step 3. Go to the Startup type section and change it to Automatic. And then click on the Start button to make sure the service is running.
Step 4. Then navigate to the Recovery tab, select the Restart the Service from the drop-down menu beside the First failure option and click OK to save the change. This option will make sure the service will restart automatically if it fails. And then you should do the same for the Second Failure and Subsequent failures.

User Comments :