About Disk Management Not Loading
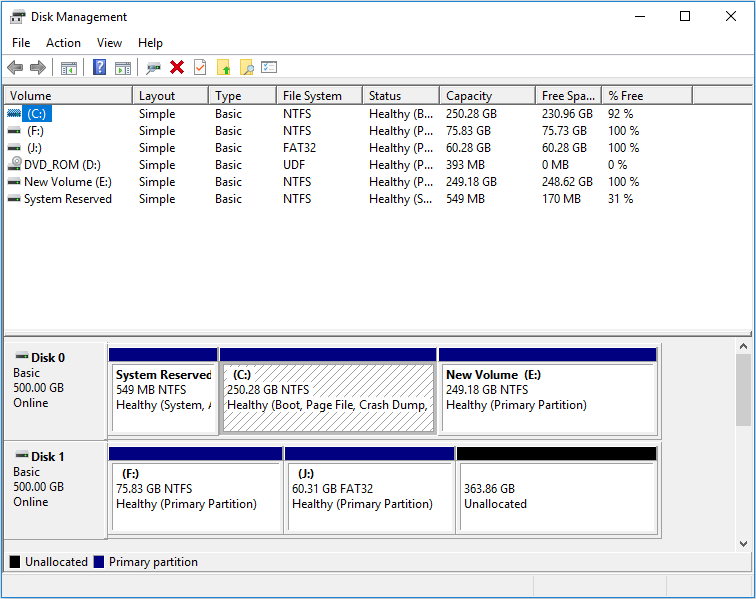
Disk Management is a useful tool. You can use it to set up a new drive, create and delete a volume, extend a volume, shrink a partition, change a drive letter, format a partition, etc. In a word, you can use it to manage your disk better.
If you use this tool very well, it can help you protect data and improve disk performance. Besides, it can also help you solve some disk problems.
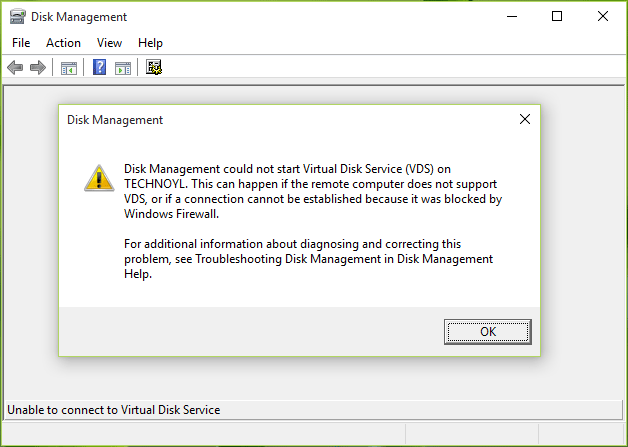
However, what if the Disk Management doesn’t work as expected? Some users may encounter a situation where the Disk Management doesn’t load as usual. They may encounter the error “Unable to connect to Virtual Disk Service” when they attempt to access Disk Management in Windows 10.
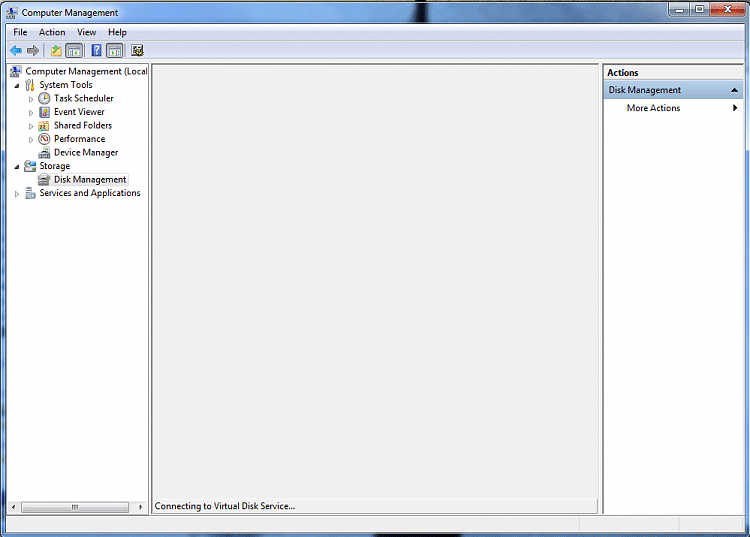
If users are using Windows 7, Disk Management may be stuck in “Connecting to Virtual Disk Service” or “Loading disk configuration information” when they access it. If you also encounter such errors, you could not open the Disk Management.
Related article: The Best Ways to Fix Diskpart Virtual Disk Service Errors.
How to Fix Error: Unable to Connect to Virtual Disk Service
Do you know how to fix Disk Management not loading? If not, please continue reading to get the solutions so you can try them one by one.
Method 1. Check External Storage Devices
If you are stuck in Disk Management connecting to Virtual Disk Service, you can first remove or eject external storage devices one by one to identify the problematic device. Some users repair Disk Management by removing external storage devices.
I had the same problem. I noticed that I had a windows phone plugged into a USB port for charging. After I unplugged the phone, Disk Management ran fine. — answers.microsoft.com
The device may be a USB drive, a card reader, an external hard drive, or a phone. It is possible that the external storage device is incompatible with Disk Management.
Besides, in order to solve this problem radically, I suggest that you update Universal Serial Bus controllers after removing devices.
Method 2. Enable Virtual Disk Services Manually
The reason why Disk Management is unable to connect to Virtual Disk Service may be that the Virtual Disk Service is disabled. You can start it manually.
Further Reading:
Virtual Disk Service (VDS) is used to manage a wide range of storage configurations, from single-disk desktops to external storage arrays. It supports the Disk Management user interface and DiskPart command line.
It provides API (Application Programming Interface) to the existing volume and disk management features in Windows. Only when the basic system services are converted into API, can application programs use these services.
Here is the tutorial on how to enable Virtual Disk Service on Windows 10.
Step 1: Press “Windows + R” keys simultaneously to call out Run box.
Step 2: Type “services.msc” in the Run box and press Enter key to open Windows Services Manager.
Step 3: Scroll down to find Virtual Disk service.
Step 4: Double-click this service to open it.
Step 5: Choose Automatic or Manual for the Startup type. Then, click OK to save changes.

Then, you can try starting Disk Management to see whether the problem is solved.
Method 3. Enable Cyberlink Virtual Drive
Some users find that the Disk Management can’t be opened because Cyberlink Virtual Drive is disabled on startup. So, you can try enabling Cyberlink Virtual Drive to solve this problem.
Method 4. Disable or Configure Windows Defender
Some users find that after they have disabled Windows Defender, Disk Management can be loaded as usual again. So you can try this method.
Here is a tutorial on disabling the built-in Windows Defender Antivirus on Windows 10.
Step 1: Press “Windows + R” keys and type “gpedit.msc” to open Local Group Policy Editor.
Step 2: Navigate to Computer Configuration > Administrative Templates > Windows Components > Windows Defender Antivirus.
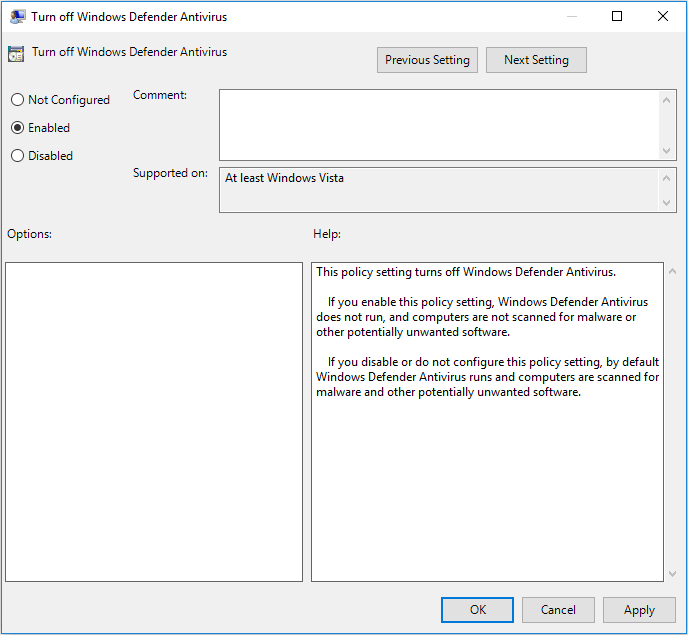
Step 3: Highlight Windows Defender Antivirus and double click Turn off Windows Defender Antivirus.
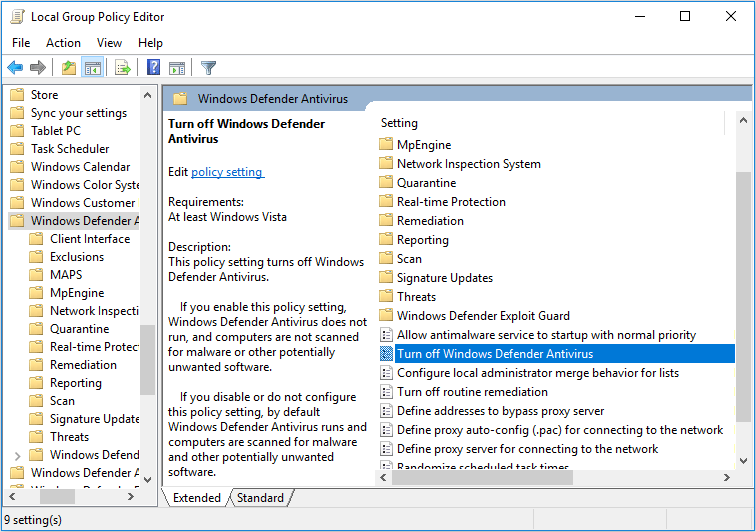
Step 4: Check Enabled and then click Apply and OK to save changes.
Step 5: Reboot computer to make the changes go into effect.
Error “Unable to connect to Virtual Disk Service” may also occur if the remote computer doesn’t support VDS or you can’t establish a connection to the remote computer because it is locked by Windows Firewall.
Then, you can adopt the following steps to solve this problem.
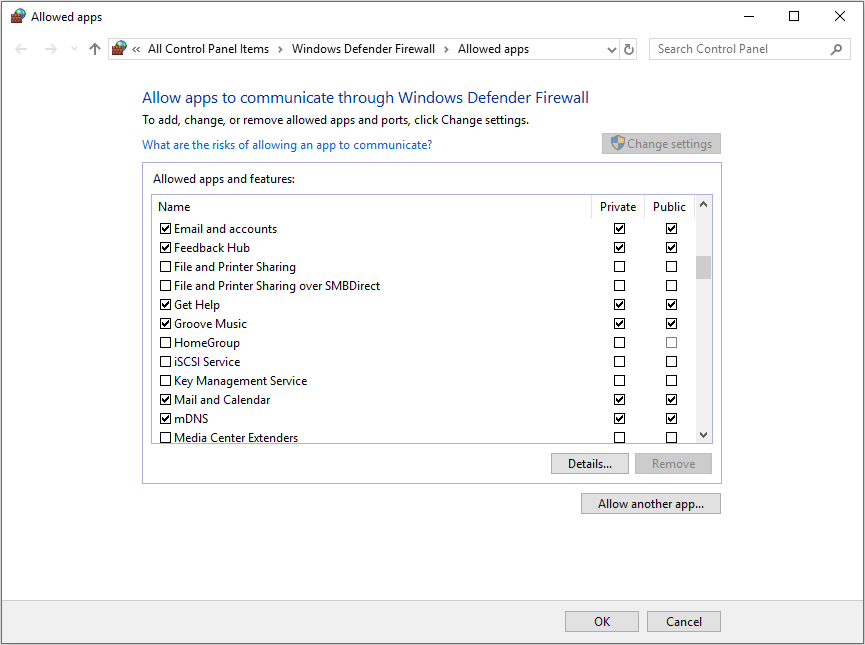
Step 1: Configure Windows Defender Firewall to allow VDS connections on both the remote computer and local computer.
Step 2: Configure Windows Defender Firewall to enable the Remote Volume Management Exception on the local computer.
As for how to configure Windows Defender Firewall, you can refer to the following steps.
- Click Start button and click Settings
- Scroll down to choose Update & Security.
- Highlight Windows Defender and click Open Windows Defender Security Center.
- Click Firewall & network protection and click Allow an app through firewall.
- Click Change settings.
- Choose services and click OK button to save changes.
Surely, if you think configuring Windows Defender Firewall is troublesome, you can disable it directly.

Method 5. Run SFC and DISM
Here is a tutorial for running SFC command.
Step 1: Open Command Prompt window.
- Enter “command prompt” in Windows search box.
- Right click the Command Prompt icon and select Run as administrator.
Step 2: Type “sfc /scannow” and press Enter key. Then, wait until the procedure ends.
Please try starting Disk Management to see whether it can be loaded as usual. If SFC command fails to fix this problem, you can try DISM command.
Here is a guide for running DISM command.
Step 1: Similarly, open Command Prompt and run it as administrator.
Step 2: Type the following commands one by one.
- exe /Online /Cleanup-image /Scanhealth
- exe /Online /Cleanup-image /Restorehealth
Step 3: Close Command Prompt window after the procedure ends and test whether the error is solved.
Method 6. Disk Management Alternative
If the problem still persists after you have tried all of above methods, you should choose an alternative option for Disk Management. Although the Virtual Disk Service will affect DiskPart, you can still try this tool first.
Press “Windows + R” keys to call out Run box. Then, type “cmd” and press Enter key to call out cmd.exe window. Enter “diskpart” to call out diskpart.exe input window. Then, you can type command lines to manage your disks. You can click DiskPart commands to get their detailed usages.
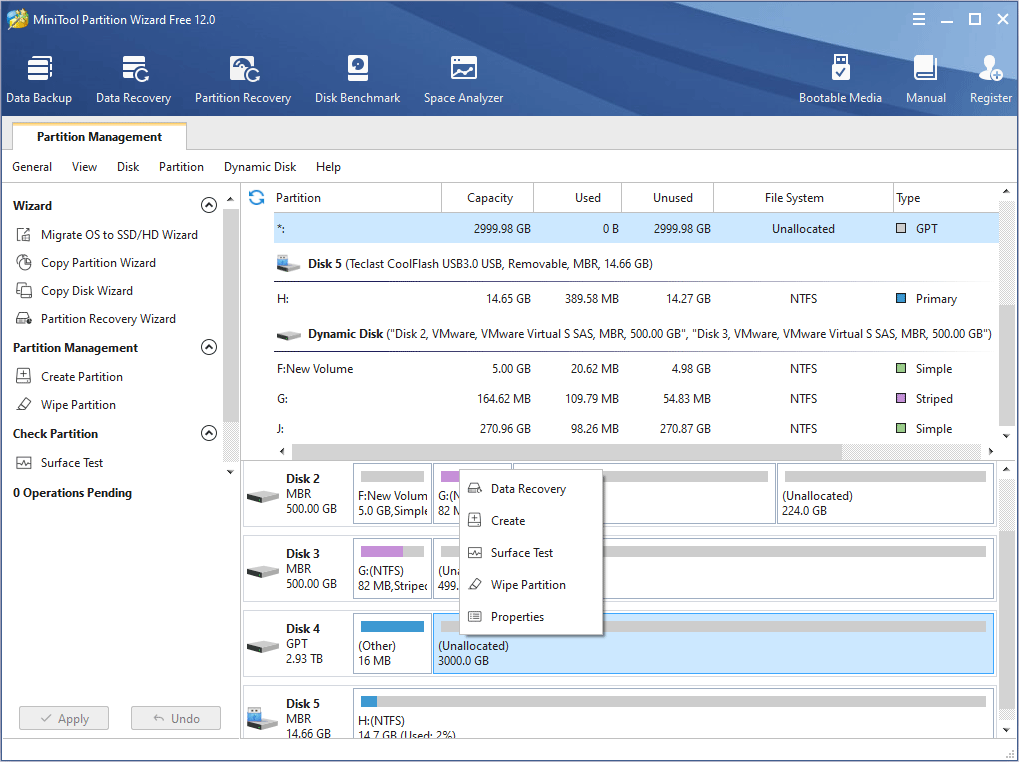
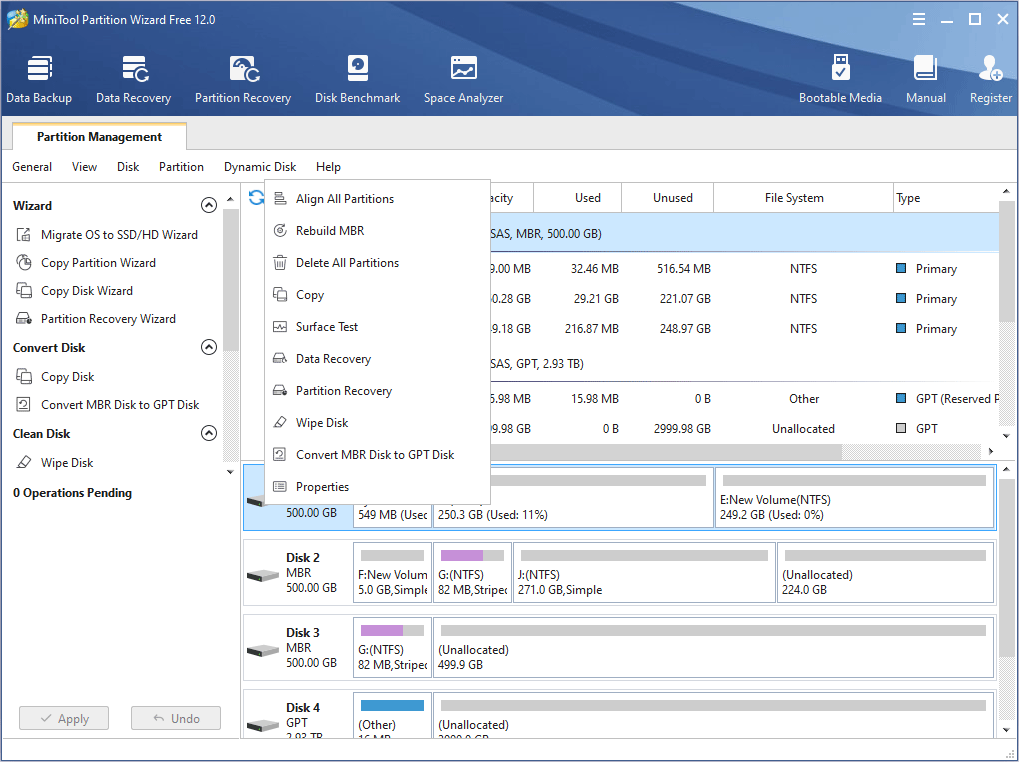
If you can’t use DiskPart or you are not used to using it, you can use a piece of professional third-party disk management software. Then, I strongly recommend you MiniTool Partition Wizard.
MiniTool Partition Wizard FreeClick to Download100%Clean & Safe
Actually, MiniTool Partition Wizard is not only an alternative option for Disk Management. It also has some features not owned by Disk Management. Let’s make a brief comparison between them.
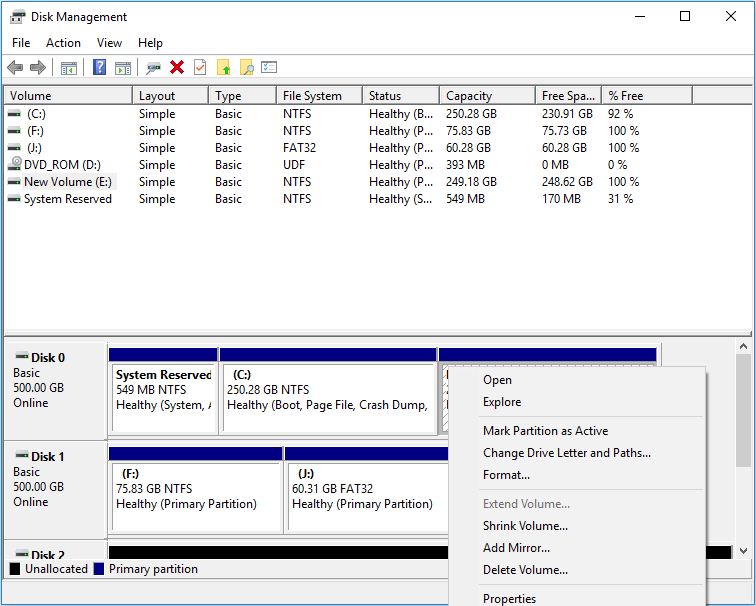
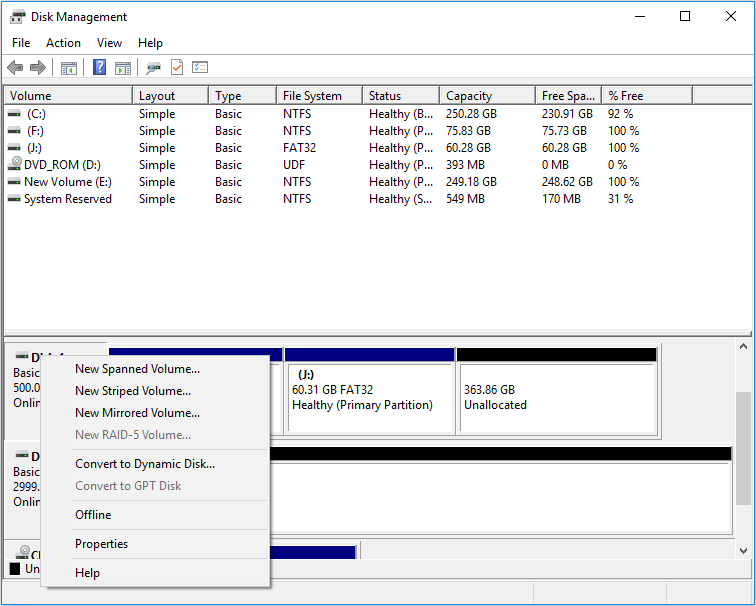
In Disk Management:
When you right-click unallocated space, you can create a partition or dynamic volume on it.
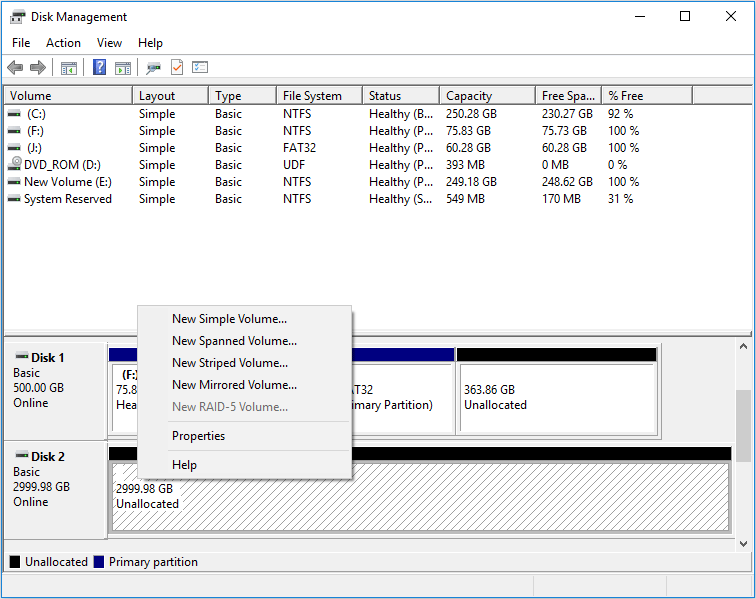
When you right-click a partition, you can explore it, mark it as active, change its drive letter, shrink or extend it, and delete or format it.
When you right-click the whole disk, you can create a partition or dynamic volume on it, convert it between basic disk and dynamic disk, and convert it between MBR disk and GPT disk.
In MiniTool Partition Wizard:
When you right-click the unallocated space, you can create a partition on it, make a surface test to scan for bad sectors, recover data on it, and wipe it to make data unrecoverable. If you want to create a dynamic volume on it, you should convert the disk to dynamic disk first (MiniTool Partition Wizard can’t convert a disk to dynamic disk).
When you right-click a partition, you can not only explore it, set it active, change its driver letter, shrink or extend it, delete or format it, but also move its position, split or merge it, change its cluster size and convert it between NTFS and FAT without data loss, copy partition, perform 4K alignment, check its files system, etc.

When you right-click the whole disk, you can copy the whole disk to migrate OS, align all partitions on it, delete all partitions, convert it between MBR and GPT without deleting all partitions, convert it from dynamic disk to basic disk without deleting all partitions, etc.
MiniTool Partition Wizard has different editions. You can click edition comparison to know their differences. MiniTool Partition Wizard has many free features; you can use MiniTool Partition Wizard Free, which will meet most of your needs in disk management.
Bottom Line
Did you ever encounter this problem? How did you solve it? If you solved the same problem with a method not mentioned above, please leave a comment below to describe your problem and solution. We are very grateful for your sharing.
If you are facing the problem now, please give us feedback after trying the above methods. If you have problems in performing the above methods or you have any questions about MiniTool Partition Wizard, please also leave a comment below or email us at [email protected]. We will reply to you as soon as possible.
Unable to Connect to Virtual Disk Service FAQ
- Press “Windows + R” keys simultaneously to call out Run box.
- Type “msc” in the Runbox and press Enter key to open Windows Services Manager.
- Scroll down to find Virtual Disk service.
- Double-click this service to open it.
- Choose Automaticor Manual for the Startup Then, click OK to save changes.
Virtual Disk Service is a Microsoft Windows service that performs query and configuration operations at the request of end users, scripts, and applications.
The service provides an API to the existing volume and disk management features in Windows. It unifies volume management and hardware Redundant Array of Independent Disks (RAID) management under a single API.
About The Author

Position: Columnist
Linda has been an editor at MiniTool for seven years. She continuously learns about computers and puts her knowledge into practice. Moreover, she is particularly knowledgeable in disk management, data recovery, system installation, and PDF editing. Her articles typically reference multiple examples or are based on her own experience, providing users with the most suitable solutions.
User Comments :