How to Restrict Access to Drives in Windows 10?
A drive is a storage area formatted by a certain file system with a drive letter. If you don’t want other people to use your drives such as A and B drives (floppy disk), C drive (the system drive), etc., you can restrict access to drives in Windows 10 to enhance the security of important data.
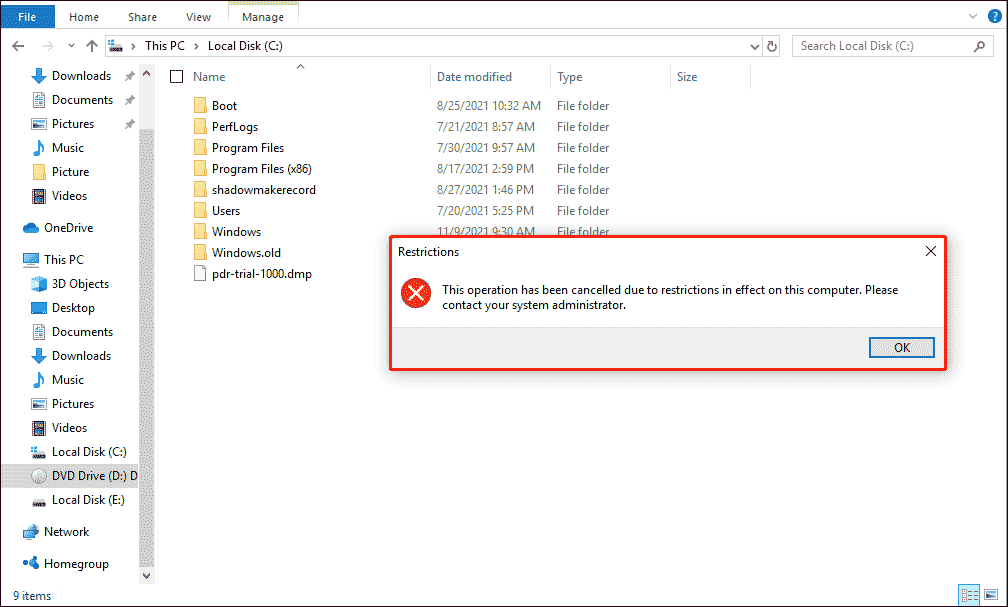
Once the drives restriction in Windows 10 is made, when other people try to open the restricted drive, they will be prevented and a window will pop up, saying that “This operation has been canceled due to restriction in effect on this computer. Please contact your system administrator.”
Then, how to restrict access to drives in Windows 10? Here is the guide:
Step 1: Open Local Group Policy Editor. Through one of the following ways:
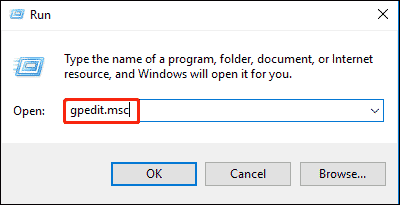
- Type gpedit.msc in the Windows search box, and then press Enter.
- Use the Keyboard shortcut Win +R and type gpedit.smc in Run. Then click OK.
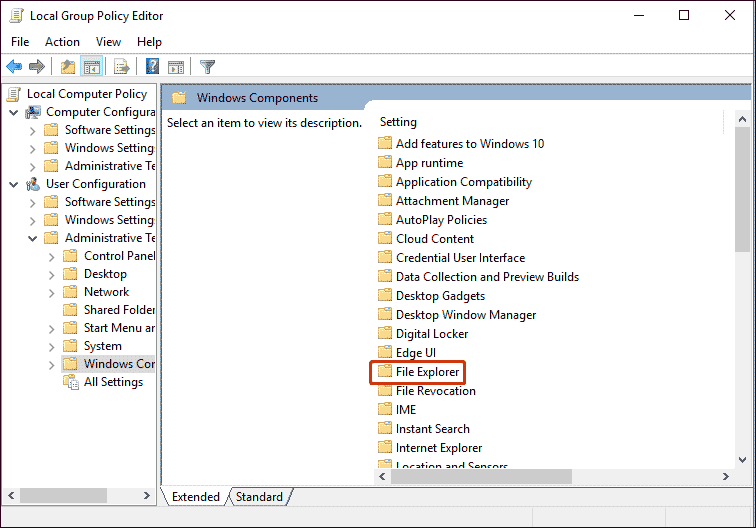
Step 2: On the left side, navigate to the User Configuration > Administrative Templates > Windows Components > File Explorer.
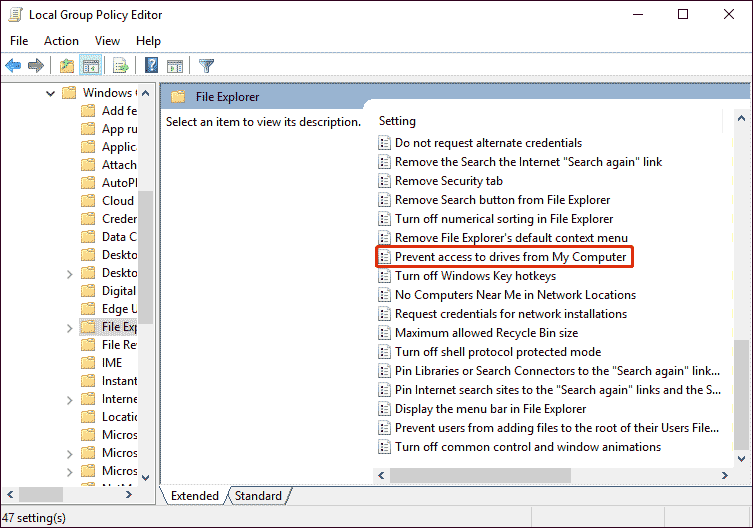
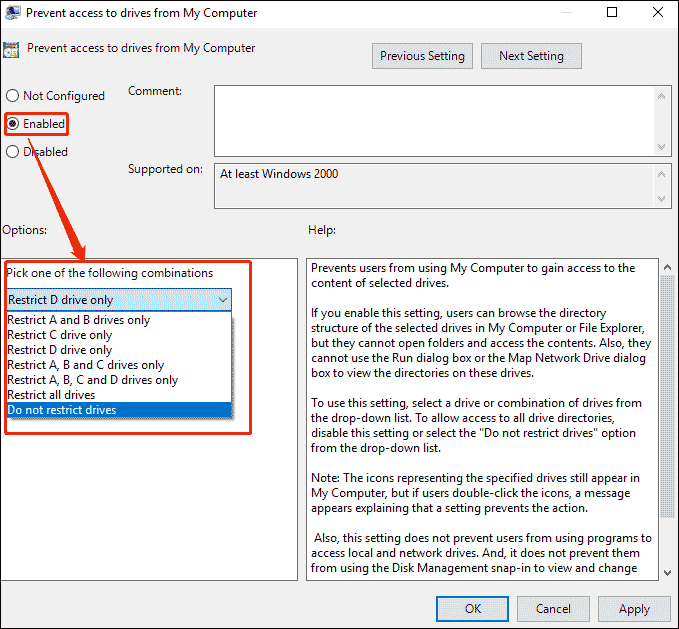
Step 3: Scroll down the right side of the window to find Prevent access to drives from My Computer and double click it.
Step 4: Select Enabled, and then under the Options, from the drop menu you can pick what drive to be restricted. And click OK.
Well, you have completed the steps to restrict access to drives in Windows 10. Drives access restriction takes effect immediately and does not require a computer reboot. In this way, your important data will not be deleted or seen by other people. If you want to cancel the drive access restriction, you can follow the steps above to get Options and then choose Do not restrict drives.
You can also use another method to prevent access to drives in Windows 10. Here are the steps:
- Create a standard user through Settings.
- Log off the administrator user and then use the newly created account to log in to Windows 10.
- Open File Explorer, right-click on the drive you want to restrict user access and then select Properties.
- Go to the Security tab and click the Edit
- Enter the administrator password.
- In the new window, under the Permissions for Users box, uncheck all boxes under Allow.
Bonus: Best Partition Management Tool for Windows 10/11
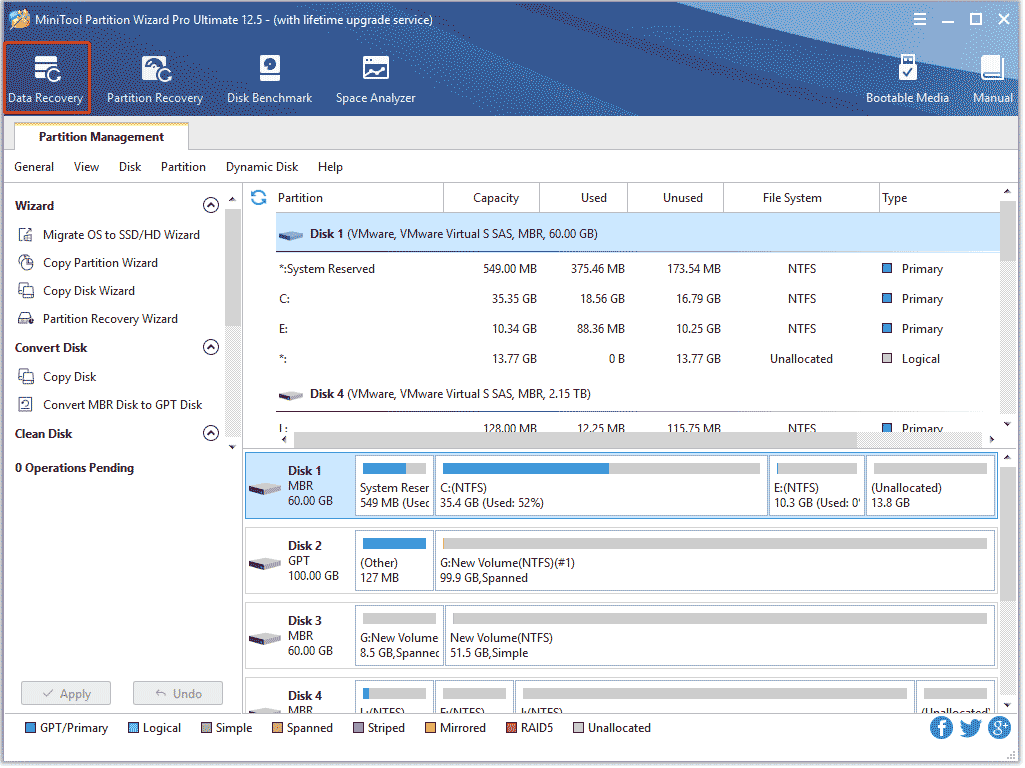
If you accidentally lose data in Windows 10/11, MiniTool Partition Wizard can help you solve this problem. It can help you recover lost data from the hard drive. It is a convenient and quick partition management tool.
MiniTool Partition Wizard DemoClick to Download100%Clean & Safe
Bottom Line
The above content is all about how to restrict access to drives in Windows 10. Do you have any questions about this content? If you have any questions, please leave them in the comment zone and we will try to answer them as soon as possible.
About The Author

Position: Columnist
Vega enjoys helping people with computer problems, including disk management, data recovery, data backup, and more. She is constantly expanding her knowledge in related fields. And she will continue to bring more easy-to-understand professional articles to help people solve various problems on the PC.
User Comments :