Why Buy a TPM 2.0 for Windows 11?
If your computer does not have a TPM 2.0 (check TPM), you might need to buy one before you upgrade to Windows 11. Because your computer can’t run Windows 11 without a TPM 2.0.
TPM (Trusted Platform Module) is an international standard for secure cryptographic processors. It is the use of a securely verified encryption key to bring stronger security to the device, and it is also the core of many security applications. At present, the latest version of TPM is version 2.0.
Compared with TPM 1.2, TPM 2.0 has better compatibility (more compatible software and scenarios) and higher security (the generated password is longer and more difficult to crack), Microsoft will set TPM 2.0 as a necessary hardware configuration for Windows 11. This means that if your computer does not support TPM 2.0, Windows 11 cannot be installed.
The TPM 2.0 is the necessary hardware for you to upgrade your computer. Well, where to buy the TPM 2.0 for Windows 11?
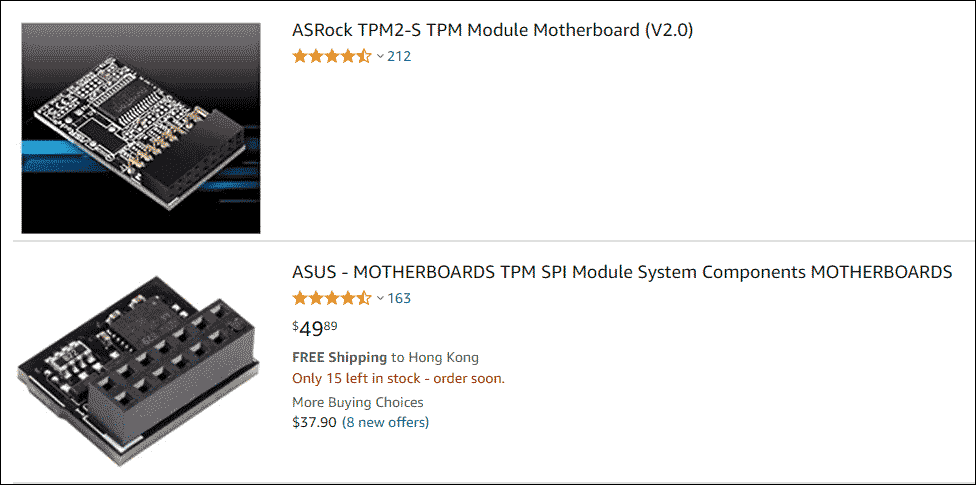
Where to Buy a TPM 2.0 for Windows 11?
Before buying a TPM 2.0, you need to confirm whether your motherboard has a TPM 2.0 header and supports modules in the BIOS/UEFI interface, and then check if it has 14 pins or 20 pins. Refer to your device’s manual to find that out.
After Buying TPM 2.0: Install & Enable It
After you have purchased a suitable TPM 2.0, you need to install and enable a TPM 2.0 for Windows 11.
The steps of installing a TPM 2.0 are as follows:
- Turn off the computer completely (the system, all drives, enclosures, and system components). Remove the power cord.
- Remove the server cover.
- Insert the standoff into the hole in the server/workstation board and insert the TPM module connector into the connector in the board.
- Press down gently but firmly to ensure that the module is properly seated in the connectors, and then tighten the tamper-resistant screw.
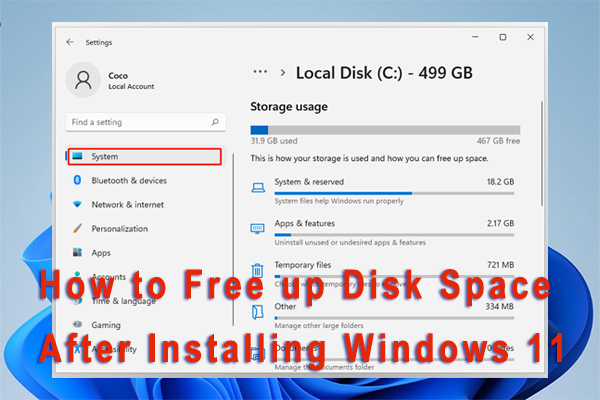
Here are some steps to enable TPM 2.0 in windows 10:
- In Windows 10, navigate to Settings > Update & Security.
- Go to recovery, click Restart now from the Advanced startup
- Click Troubleshoot > Advanced options > UEFI Firmware Settings.
- Click Restart to get the security settings screen.
- Select the Trusted Platform Module (TPM) option and press Enter.
- Reboot your computer.
Bottom Line
The above content is all about why and where to buy a TPM 2.0 for Windows 11. Do you have any questions about this content? If you have any questions, please leave them in the comment zone and we will try to answer them as soon as possible.
About The Author

Position: Columnist
Vega enjoys helping people with computer problems, including disk management, data recovery, data backup, and more. She is constantly expanding her knowledge in related fields. And she will continue to bring more easy-to-understand professional articles to help people solve various problems on the PC.
User Comments :