Many users encounter the autochk program not found skipping autocheck error during a reboot. What is autochk.exe? How to fix autochk not found on Windows 11/10/8/7? Now, let’s explore the answers together with MiniTool Partition Wizard.
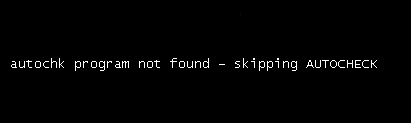
I am getting This error "autochk program not found - skipping autocheck " and then my System Reboot, this problem is making me angry.... how do I solve this? I tried every solution available on Google but none of them worked.https://answers.microsoft.com/en-us/windows/forum/all/autochk-program-not-found-skipping-autocheck/fff09068-69a2-44ff-b4d2-af15406d0661
What Is Autochk.exe
What is autochk.exe? Autochk.exe is a version of CHKDSK that only runs on NTFS hard disks and runs before the Windows system starts. This utility can be used to perform automatic disk checks during Windows system startup. It scans the file system errors and tries repairing them on the hard drive. It cannot run directly from Command Prompt but run CHKDSK on the boot drive.
However, a lot of users receive the “autochk program not found skipping autocheck” error during the system reboots. How to fix autochk not found during startup? Let’s keep reading the following part.
How to Fix Autochk Not Found Error on Windows 11/10/8/7
After investigating extensive user reports, we summarize 2 common ways to get rid of the autochk.exe not found error. Let’s start trying.
# 1. Use an Alternative to Autochk.exe – MiniTool Partition Wizard
As discussed above, Autochk.exe only runs automatic disk checks during startup. If you encounter the “autochk not found during reboot” error, you can use a professional disk checker – MiniTool Partition Wizard. It can help you check file system errors and bad sectors on a hard disk during reboot. Besides, it can check disk performance, recover data, migrate OS to SSD, convert MBR to GPT, etc.
Here’s how to check the hard disk using MiniTool Partition Wizard bootable version.
MiniTool Partition Wizard DemoClick to Download100%Clean & Safe
Step 1. Plug the prepared USB into a working computer or insert a USB drive or CD/DVD.
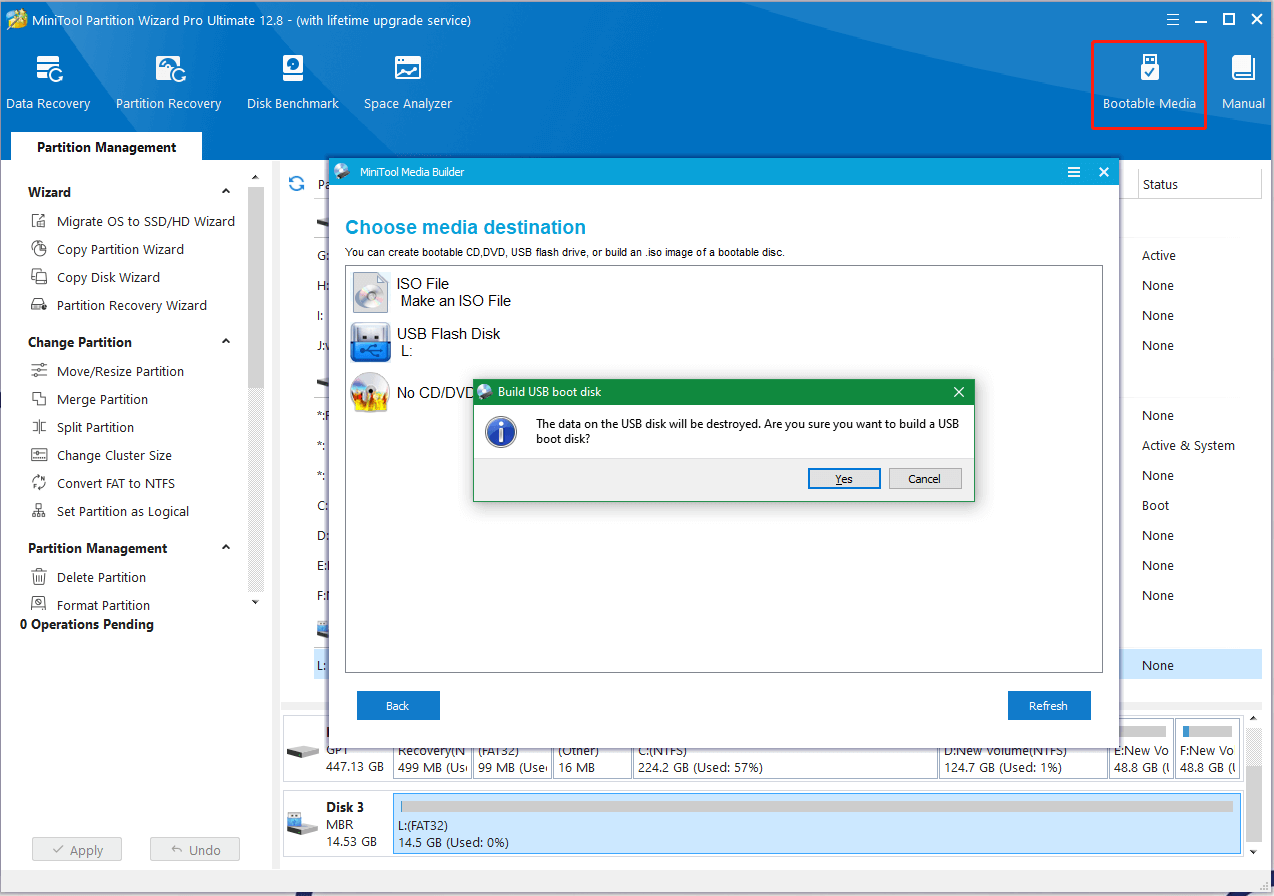
Step 2. Launch the MiniTool software to access its main interface. Click Bootable Media in the upper right corner and follow the on-screen instructions to create a bootable USB drive.
Step 3. Insert the bootable USB into the original computer, restart your computer, and press F2 or Delete keys to enter BIOS, change boot order, and make your computer boot from the USB drive.
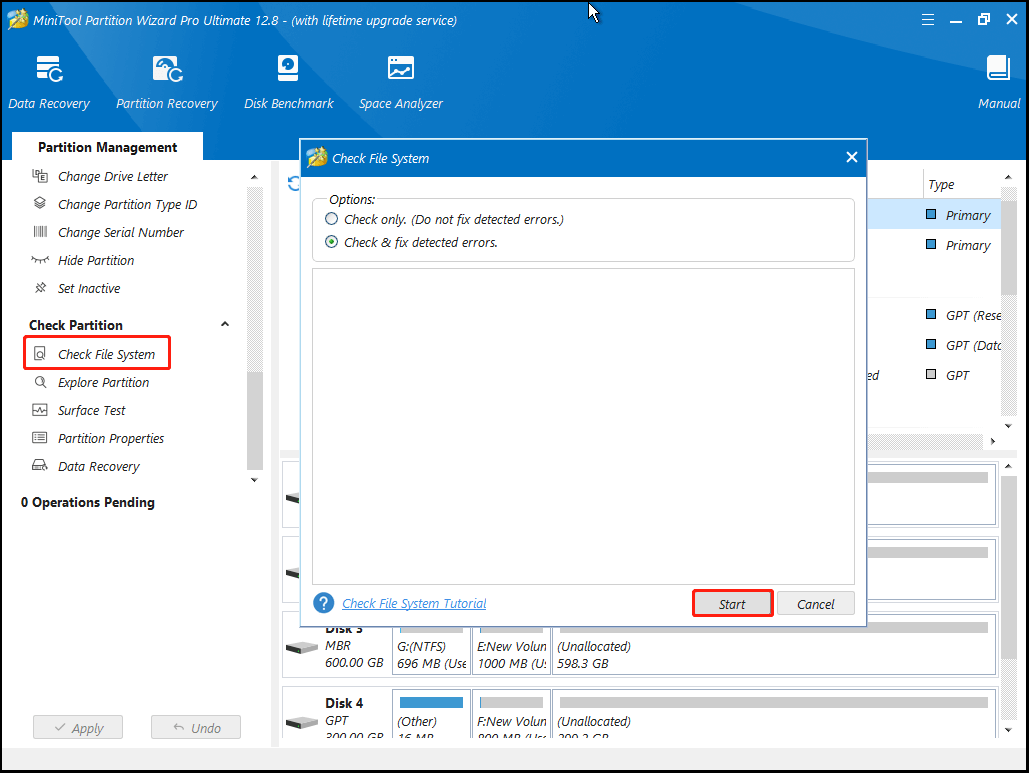
Step 4. In the main interface of MiniTool Partition Wizard, select the drive that you want to check, and click on Check File System from the left action panel.
Step 5. In the pop-up window, select the Check & fix detected errors option and click on Start to begin the repair.
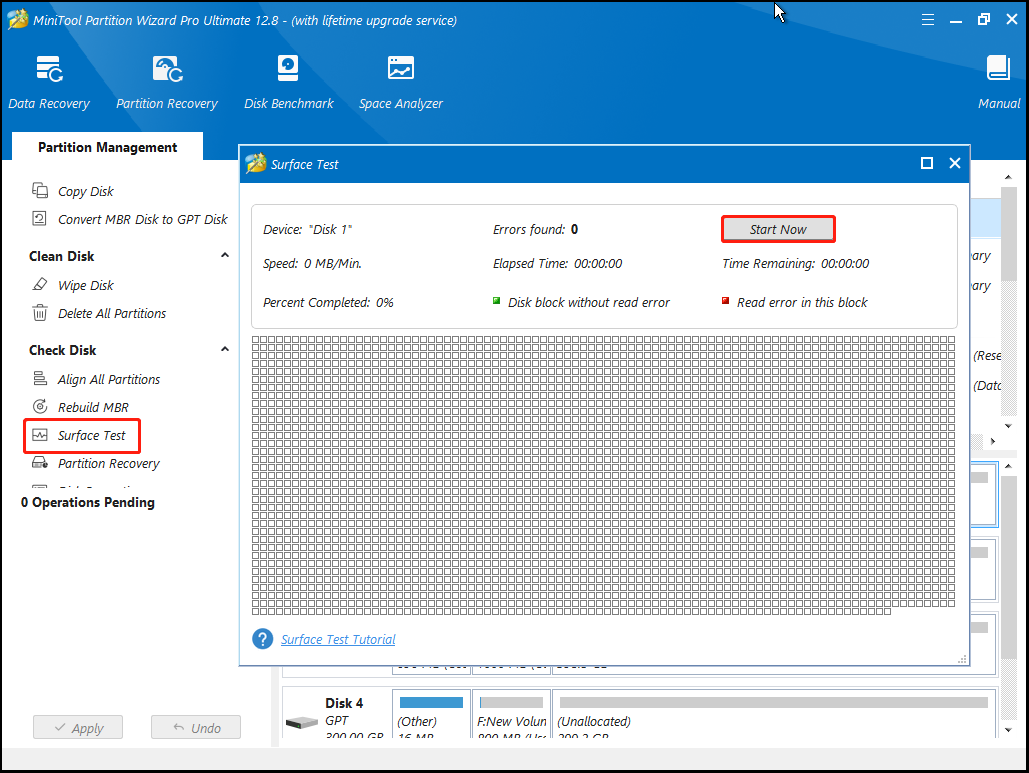
Step 6. To check bad sectors, select the hard disk and click Surface Test from the left panel. Then click Start Now to scan the disk for errors. If any blocks are marked with red color, it indicates that your hard drive is failing and you may consider replacing it with a new one.
Once done, reboot your computer and see if the “autochk.exe could not found” error disappears.
# 2. Use Registry Editor to Repair the Autochk.exe Not Found Error
Some users from the superuser.com forum reported that the “autochk not found during startup” error can be solved by using Registry Editor. Let’s have a try.
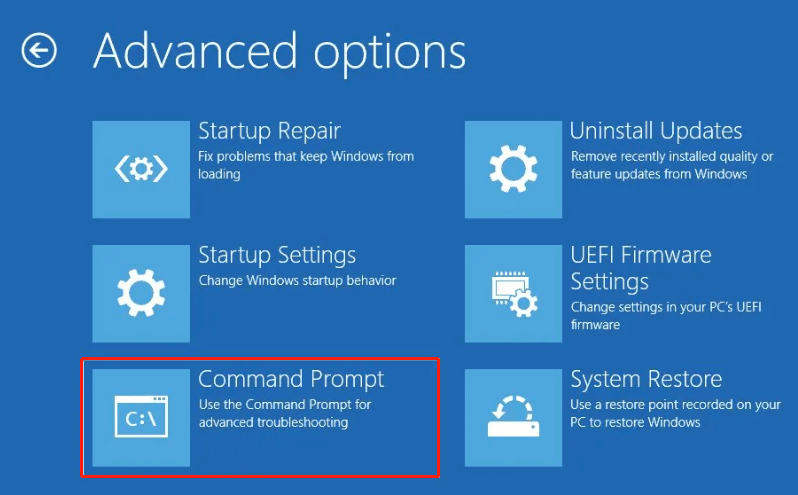
Step 1. Make sure your computer boots into WinRE. In the Startup Recovery Environment mode, select Command Prompt, type regedit, and press Enter.
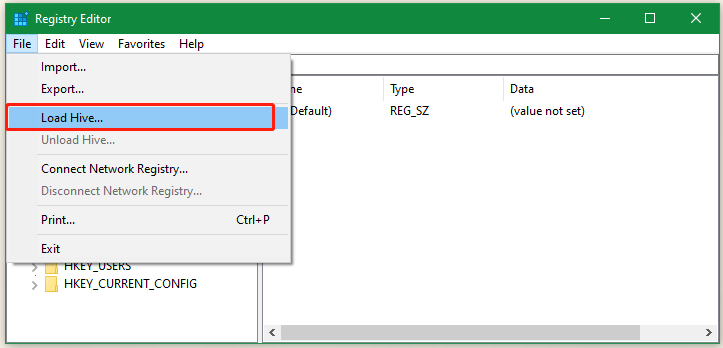
Step 2. In the Registry Editor window, select the HKEY_Local_Machine folder, click File from the top menu, and select Load Hive.
Step 3. Locate the Windowssystem32config path search the new drive or partition you have cloned, and select the file named SYSTEM.
Step 4. Give a new name for the hive that will be displayed in Registry Editor. Then navigate to the following path and search for an entry named DosDevices\C:.
Step 5. If you don’t have the MountedDevice entry, create it manually. Type diskpart in the Command Prompt window and run the following commands in order.
- list disk
- select disk x (x represent the new disk number)
- uniqueid disk to see the disk ID
Step 6. Once you find the new disk ID, compare it to the volume IDs from the Registry Editor window and find one that matches.
Step 7. Right-click Registry, and select the new-binary volume, and name it DosDevice\C:.
Step 8. Double-click the entry with ??Volume and copy the first line. Then paste it into the new entry C:, and repeat the same procedure for the second line.
Step 9. Select the system_new hive and click on File >Unload to save the changes in the Registry Editor window.
Now, you can reboot your computer and see if the “autochk not found during reboot” error disappears.
User Comments :