How to fix Adobe Premiere Pro error code 39? If you don’t know how to troubleshoot the error, you can read this post carefully. Here, Partition Magic provides some effective ways to fix the error.
Adobe Premiere Pro is a powerful video editing application developed by Adobe Inc. as part of the Adobe Creative Cloud suite. It excels in creating high-quality videos, making it a versatile tool for various industries looking to enhance their visual storytelling.
However, some people report that they encounter the error code 39 when they during editing, exporting, or rendering a project with Adobe Premiere Pro. For instance, here is a user report from Reddit:
... I stream, and occasionally the stream cuts out and chops up the vods, which I then take and paste into Premiere Pro to make one whole VoD before uploading to YouTube. It will sit here and do its little show for the hours or so it takes, stop, and then give me error code 39... Please, for the love of the god of tech, HELP.https://www.reddit.com/r/premiere/comments/1hatm80/comment/m1bh7nj/
Have you also run into the same error? No worries. This post will guide you to fix the error with ease.
Way 1. Check Your Drive Space
If your PC has limited disk space, you might encounter Adobe Premiere Pro error code 39. In such cases, you can check your drive space first.
If there is insufficient storage space on your drive, you can utilize the Space Analyzer feature of MiniTool Partition Wizard to analyze disk usage and delete unnecessary files, freeing up more space.
Additionally, this versatile and robust partition disk manager assists in partitioning hard drives, cloning hard drives, checking disks for errors, converting MBR to GPT, rebuilding MBR, and performing data recovery, among other tasks.
Here’s the guide to using the Space Analyzer feature:
MiniTool Partition Wizard FreeClick to Download100%Clean & Safe
- Download and install MiniTool Partition Wizard.
- Launch this app to enter its main interface.
- Click Space Analyzer from the top toolbar.
- Click the down arrow to select your drive that is used to store the videos.
- Then, click Scan
- Once the scanning process is done, right-click the file/folder you don’t want, and select Delete (Permanently).

If there are additional partitions on the disk of your video store, you can utilize the Extend Partition feature in MiniTool Partition Wizard to reclaim free space from other partitions, thereby increasing the size of your system partition.

Way 2. Update the NVIDIA Graphics Driver
How to fix Adobe Premiere Pro error code 39? Premiere Pro displays error code 39 when its H.264/H.265 exporter calls NVENC functions that an outdated NVIDIA Studio driver does not support. Therefore, you can try updating the Graphics driver to the latest version to fix the error. Here’s the way:
Step 1. Visit NVIDIA’s official Drivers page and search for your specific graphics card model.
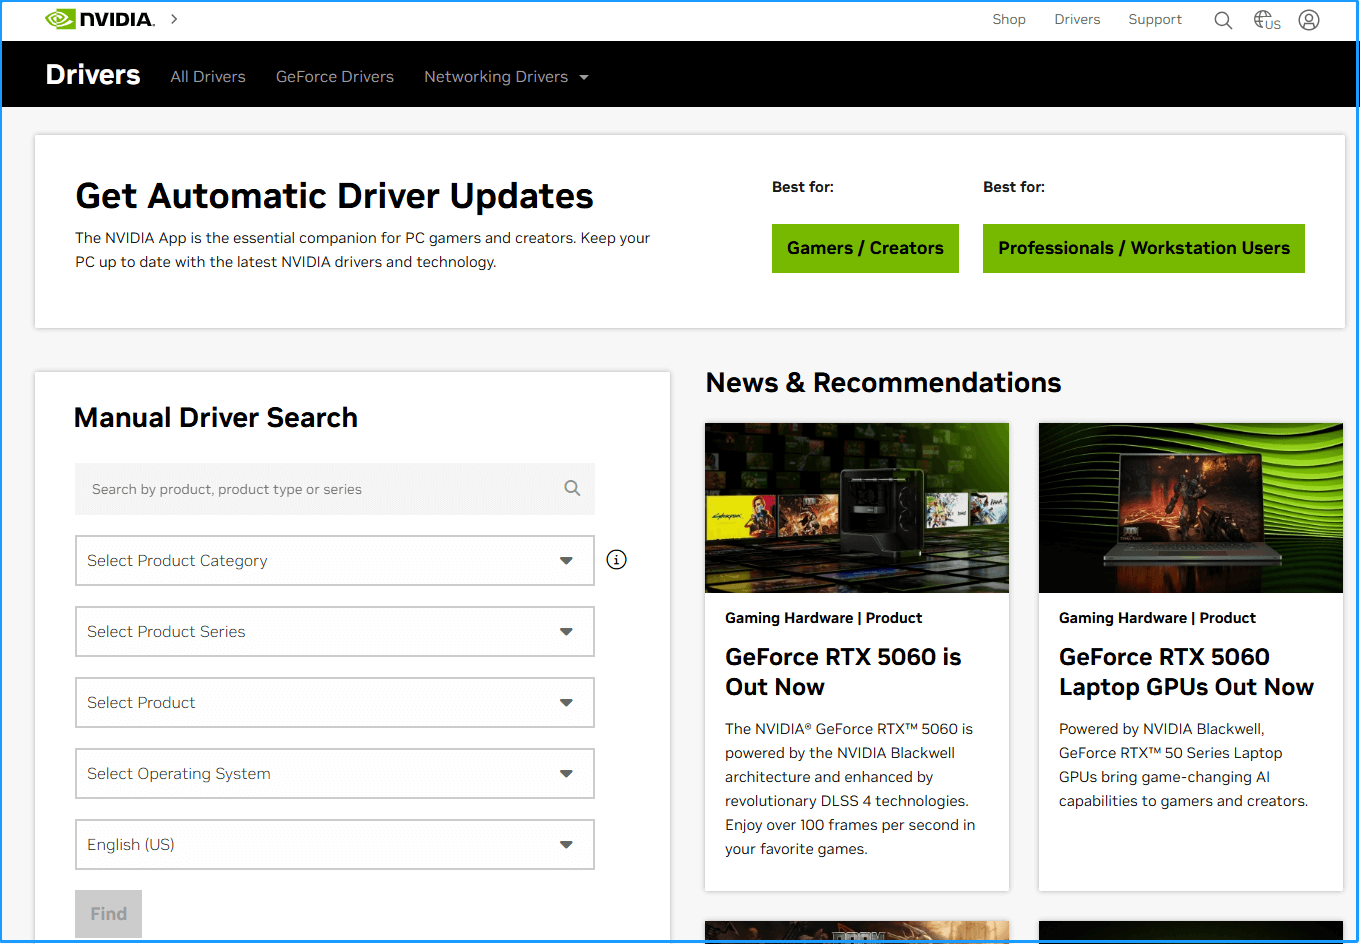
Step 2. Verify if there is a newer version of the driver available compared to the one currently installed on your system.
Step 3. If an update exists, download and install the latest driver.
Step 4. Next, restart your computer to complete the driver installation process.
Step 5. After rebooting, open your Adobe Premiere Pro project and attempt to export again to check if the Adobe Premiere Pro error code 39 is fixed.
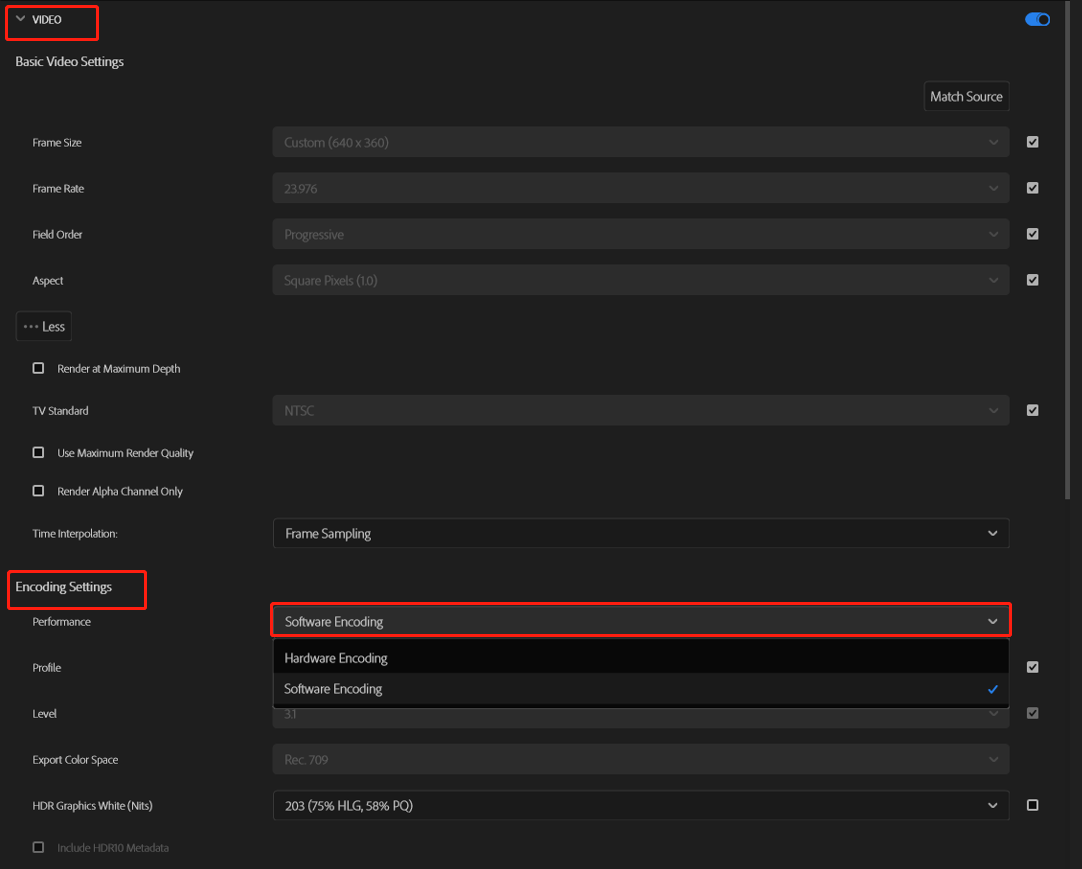
Way 3. Switch to Software Encoding
By default, hardware rendering uses your GPU, while software rendering relies on your CPU. If you encounter error code 39 with hardware rendering, try switching to software rendering to resolve the issue. Here’s the guide:
- In Adobe Premiere Pro, go to File > Export > Media.
- Navigate to the Video tab and scroll down to find the Encoding Settings section.
- Locate the Performance option and change the drop-down selection from Hardware Encoding to Software Rendering.
- Click the Export button to begin rendering with the new settings and check if the Adobe Premiere Pro error code 39 shows again.
Way 4. Delete Adobe Premiere Pro Cache
Some people report that they fix the Adobe Premiere Pro error code 39 by deleting their caches. You can also have a try. Here’s the guide:
- Launch Adobe Premiere Pro on your PC.
- Select Edit > Preferences > Media Cache.
- Click the Delete button.
- Choose one of the options: Delete unused media cache files or Delete all media cache files from the system.
- Click OK to confirm.
- After that, restart Adobe Premiere Pro and check if the error has been resolved.
Way 5. Try Some Other Ways
You can also try some other ways to get rid of the Adobe Premiere Pro 39. For example:
- Save the video to a different drive
- Export to a different format, like ProRes
- Exported video in two pieces
- Verify the format of the drive you wish to export to
- Change the bitrate of the video
MiniTool Partition Wizard FreeClick to Download100%Clean & Safe
Way 6. Contact Adobe Support
If none of the above ways can help you get rid of the Adobe Premiere Pro error code 39, the only thing you can do is contact Adobe Support to ask for help from them. Then, you can get some suggestions for your case.
To Sum Up
This is the end of the post. In this post, you can get some helpful solutions to fix Adobe Premiere Pro error code 39. If you encounter the same error on your PC, you can try the above ways.
About The Author

Position: Columnist
Charlotte is a technology columnist with a strong focus on the Windows operating system, specializing in disk management, backup, and data recovery. She is passionate about analyzing computer errors, identifying root causes, and delivering practical solutions. In her free time, she stays updated on the latest developments in computer systems and hardware while continuously learning new technologies to broaden her expertise. Her writing style is clear and easy to understand, making complex technical topics accessible even to users with limited computer knowledge.
User Comments :