Upgrading RAM has significant impact on optimizing your PC. But how to install RAM in your PC? It’s still a difficulty for lots of people. If you’re also looking for an instruction, perhaps MiniTool can help you.
RAM is an important component in your computer that’s used to store the data while running programs. Sometimes your RAM may become aging or is not enough to deal with many tasks, which slow down your computer. At this time, you may need to upgrade RAM.
Preparations Before Installing RAM
In order to install RAM smoothly, you need to check how much RAM your computer and operating system can support first. It is different between 32-bit and 64-bit operating system. A 32-bit OS can support to 4 GB RAM, while a 64-bit OS can support up to 128 GB. In addition, you need to pay attention to the following precautions:
- Check your motherboard supports: Usually, the model number and manufacturer are printed on the PCB. Then you can verify the memory type on the manufacturer’s website. Nowadays, most modern motherboards can support DDR4 whereas some older versions still require DDR3 or even DDR2.
- Check the clock speed: Higher clock speed usually indicates faster running speed. Different versions of RAM come in a variety of clock speeds. Here you can read this post to know more details.
- Wear an anti-static wristband: Static electricity is always a concern that can damage the components in your system. So, you’d better wear an anti-static wristband or touch the unpainted metal surfaces.
After making these preparations, you can start installing RAM.

How to Install RAM in Your PC
Now, let’s see how to install new RAM in your PC. Bear in mind you should reading the following guide carefully to avoid any unexpected accidents.
Step 1. Power down your computer entirely. Remove any cables from the back and place the computer on its side somewhere so that you can access easily. And then lay it down on the back closest to the table.
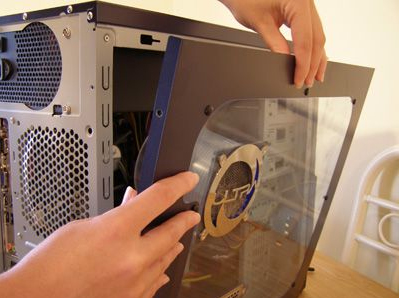
Step 2. Open the case. You may need to use a screwdriver to unscrew all screws and keep them safely. After removing the screws, slide the panel off or put it open.
Step 3. Ground yourself. You’d better wear an anti-static wristband or touch an unpainted metal surface to avoid any electrostatic discharge.
Step 4. Remove existing RAM if necessary. Press down on the clips on each end of the module to pop out the old modules. The clip mechanism will push the memory module up and you can pull the module completely out.
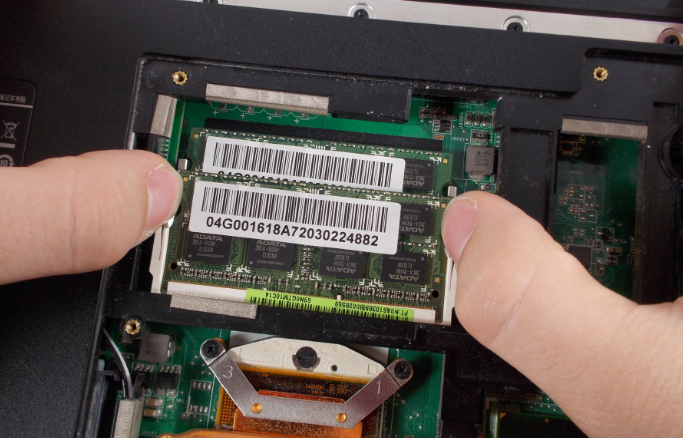
–image from youtube
Step 5. Check the layout of RAM slots. Some motherboards have 4 slots for RAM, but they are not installed directly next to each other. So, you’d better refer to your motherboard documentation to make sure that you install RAM in the proper slots.
Step 6. Install RAM. Hold the modules along the edges and push each module directly into the slot, ensuring that the notches are at the bottom line up. Then apply even pressure until it’s inserted and press the module in.
Step 7. Close up the computer case. With the RAM installed, you can close the case and screw the case panel back into place.
Step 8. Plug in the power cable and try booting your computer. Now, you can check if your computer can boot smoothly.
How to install RAM in your PC? I believe you already have an overall understanding of the guide. Now, it’s your turn to have a try.
User Comments :