
When copying a large number of files from one drive to another, most people may choose to use File Explorer. Sometimes, however, various issues and errors may occur when copying large files, such as “calculating the time required to copy the files”, “Windows delay write failure”, and so on. Under these situations, you may consider using CMD to copy files.
Which CMD Copy Command should you use? Use:
- Copy to copy one or several individual files.
- Xcopy to copy a folder and its subfolders.
- Robocopy for large, complex, or network file transfers.
Command-line tools can be more convenient than File Explorer for repetitive, automated, or unattended file-copy operations. For large or complex transfers, robocopy provides additional controls that the basic copy command does not.
What Command Line Can Be Used to Copy Files
What command can be used to copy files? The answer depends on the way you want to copy file CMD. If you just want to copy a specific file in Command Prompt, then you can use the Copy command. If you want to copy the entire directory and its content, then the Xcopy command is a good choice.
Of course, different copy file command lines bring different results. For example, if you want to copy the encrypted files to the destination as decrypted files, then you need to add the “/d” to the end of the Windows copy command line. To know more about copy file CMD lines, you can refer to this article.
How to Copy Files Using CMD in Windows 10/11
How to move files using CMD? Here we summarize 3 methods to copy file CMD.
Before the CMD Copy File
Before you start running the Windows copy command line, it’s necessary to know the directory/path and name of the file you want to copy. Also, you should write download the destination folder you want to copy to.
Step 1. Press the Win + E keys to open File Explorer.
Step 2. Find the location and name of the file, and note them down. For example, the file name is “pdr-ol-log.txt” and the location is “C:UsersAdministratorDownloads”.
Step 3. Note down the destination directory that you want to copy to.
# 1. Copy a Specific File via the Copy Command
Step 1. Type cmd in the Search box, and then right-click the Command Prompt window and select Run as administrator. Then click on Yes in the UAC window.
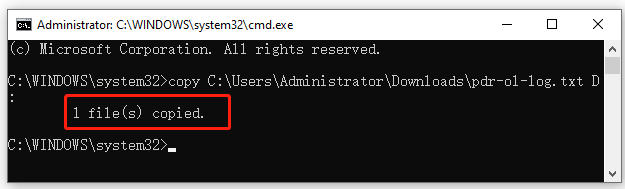
Step 2. In the elevated Command Prompt window, type the following command and hit Enter to copy the file “pdr-ol-log.txt” on the C drive to the D drive root. If it shows the “1 file(s) copied” message, it indicated that the file has been copied to the destination folder successfully.
copy C:UsersAdministratorDownloadspdr-ol-log.txt D:
Step 3. If you want to copy certain file extensions from one drive to another, you can run the “copy *.txt E:” command. You can replace the “.txt” with your file extensions such as “.png”, “.xls”, etc.
# 2. Copy the Whole Directory via the XCopy Command
If you want to copy all files under a directory to another directory quickly, you can use the XCopy command. Here’s how to do that:
Step 1. Open the elevated Command Prompt window as we explained above.
Step 2. Type the following command and hit Enter. Here you can replace the C:UsersAdministratorDownloads section with the directory you want to copy and replace the D:Ariel with your actual destination.
xcopy C:UsersAdministratorDownloads D:Ariel
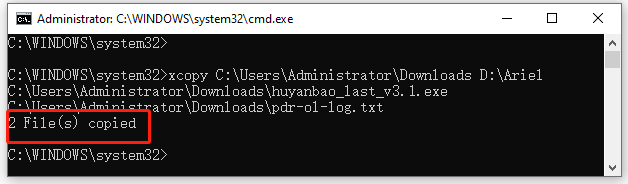
Now, all contexts under the directory should be copied into the destination path successfully.
#3. Copy Files via the Robocopy Command
For large or complex copy operations, robocopy is generally more capable than the basic copy command.
By default, running Robocopy with just a source and destination will only copy the files directly inside that specific folder, ignoring all subfolders.
Here are the step-by-step instructions:
- Open Command Prompt as administrator.
- Find your source path (where files are now) and destination path (where they are going).
- Run the command: robocopy “C:\Source” “D:\Destination” /E. /E: Copies all subdirectories, even empty ones.
Bonus Tip: Best Alternative to Copy Large Files Quickly
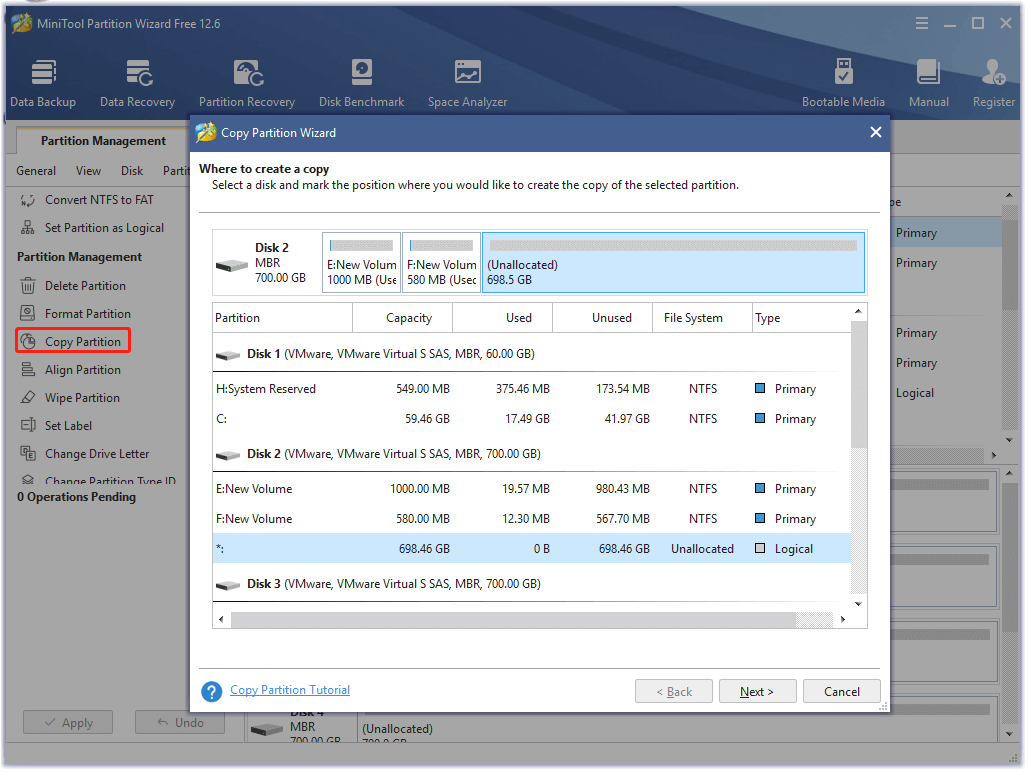
Although the CMD copy file is time-saving and convenient, it is relatively strange for many non-professionals to operate. If you have a large chunk of files that need to copy into an external drive, you can consider copying the partition to another drive. Compared with the command line copy method, it’s more efficient and simpler.
Here MiniTool Partition Wizard can help you copy the whole partition to another drive quickly with a few clicks. Besides, it can be used to copy disk, migrate OS to SSD/HD without reinstalling, convert MBR to GPT, etc.
MiniTool Partition Wizard FreeClick to Download100%Clean & Safe
Bottom Line
Need to copy files using Command Prompt in Windows 10/11? You can use the built-in copy command to copy individual files, xcopy to copy folders and subfolders, or robocopy for larger and more advanced file-copying tasks.
Besides, if you want to copy a whole drive to another, MiniTool Partition Wizard can help you do that quickly and easily.
User Comments :