Are you getting error code 0x80190001 while installing a feature update in Windows 11 or Windows 10? If you encounter this error, then you can refer to the solutions provided in this article from MiniTool Partition Wizard.
According to the user reports, error code 0x80190001 often occurs while they update Windows. Error 0x80190001 can prevent you from downloading new updates, which can cause compatibility and security issues.
Here is a user report from the Microsoft forum:
Upgrading to Windows 10 from Windows 7 pro. Repeatedly getting error code 0x80190001 after waiting a long time for the download. There is also a message to check network settings. Troubleshooter couldn’t find any problems so I removed myself from the home group. Made no difference.https://answers.microsoft.com/en-us/windows/forum/all/
What Causes Error Code 0x80190001?
Before solving the error 0x80190001, it’s important to figure out what causes the problem. There are several reasons why this error might appear on Windows 10 and Windows 11. The following are the reasons for this issue:
- Incorrect date and time.
- Antivirus interface.
- Corrupted system files.
- Corrupted Windows profiles.
- Insufficient free space on the system reserved partition
- …
Now that we know all the potential causes of the 0x8019001 error, please try the following solutions.
Before you start troubleshooting, make sure your Internet connection is working. If the network connection is not working, run the network troubleshooter.
Solution 1: Run the Update Troubleshooter
Run this built-in Windows Update troubleshooter to fix the most common update issues on Windows 10. Please follow the guidelines below:
Step 1: Press the Win + I key to open Settings, and navigate to the Update & Security > Troubleshoot option.
Step 2: Under the Get up and running section, click on the Windows Update option and select the Run the troubleshooter button from the extended pane. For Windows 11, there are a little difference.
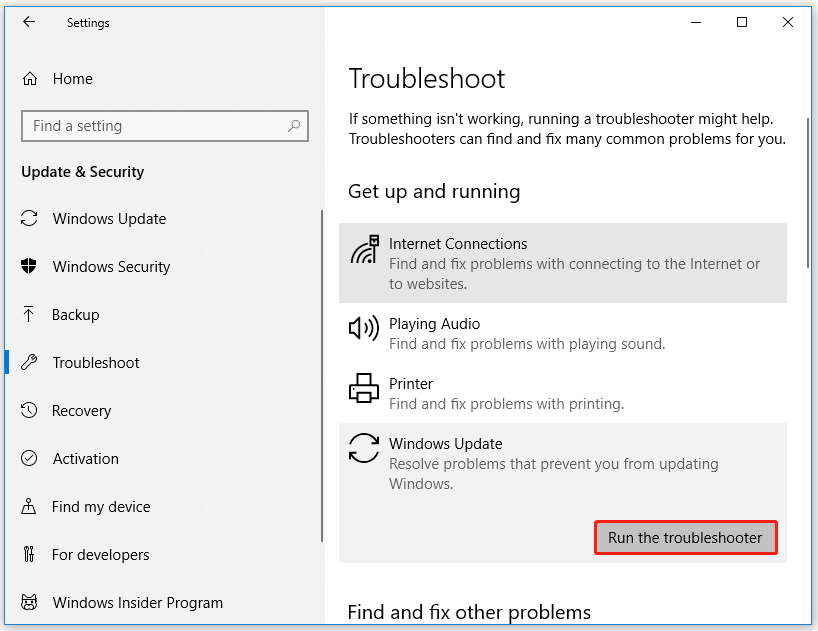
Step 3: Follow the on-screen instructions. And when you see the Apply this fix option in the window, click on it to fix this error.
Step 4: Restart your computer.
Solution 2: Check the Date and Time Settings
Some users reported error code 0x80190001 due to incorrect date and time on their PC. So, you can fix this by simply correcting the date and time. It’s easy, you can follow these steps:
Step 1: Click the search box at the taskbar of Windows 10, and type control panel. Then choose the best-matched result open Control Panel.
Step 2: Select the Date and Time option.
Step 3: In the pop-up window, click on Change date and time.

After all the processes are complete, you can restart your computer and run Windows Update again to check if the 0x80190001 error is resolved.
Solution 3: Disable Antivirus During Setup
If Windows cannot be updated due to error 0x80190001, the problem may be with your antivirus software. Although antivirus tools provide protection, they often interfere with your system and cause various errors to occur. To fix this, you can disable antivirus and security software. Here is the guide:
Step 1: Open Windows Settings, and then click on Update & Security > Windows Security > Virus & threat protection.
Step 2: Locate the Virus & threat protection settings section in the right window, and then click on Manage settings.
Step 3: Turn off the Real-time protection if off, leaving your device vulnerable option.
Solution 4: Delete Junk Files with Disk Cleanup
If the above methods didn’t help you remove the error code 0x80190001, you should try running the Disk Cleanup tool to clear any temporary or junk files, including your browser cache and cookies. Here are the detailed steps:
Step 1: Press the Win + E key to open the File Explorer.
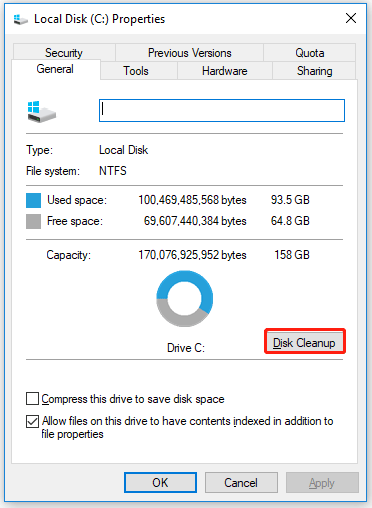
Step 2: Click on This PC, and then right click on your system drive and select the Properties option.
Step 3: In the next pop-up window, click on the Disk Cleanup button.
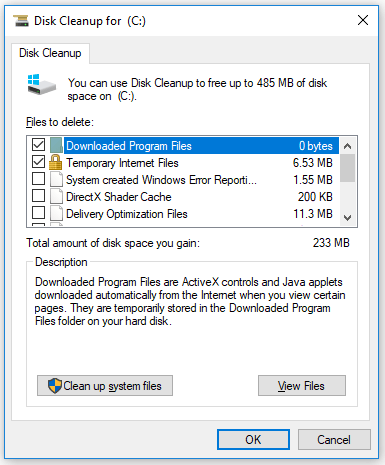
Step 4: In the new window, select the files you want to delete and then click OK.
If you encounter the Windows Update Cleanup stuck issue while running the Disk Cleanup tool, you can refer to this article: Top 7 Fixes to Disk Cleanup Stuck on Windows Update Cleanup
After clearing the junk files, you can try installing the update and check if the error 0x80190001 disappears.
Solution 5: Repair System Files
Another reason for error 0x80190001 can be file corruption. If your system files are damaged, you will need to use an SFC scan to repair them. Here is the guide:
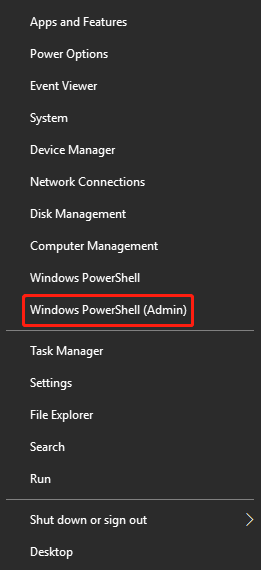
Step 1: Press the Win + X key to open the WinX menu, and then select the Windows PowerShell (Admin) option from the list. When the UAC prompts, click on the Yes button to open the Windows PowerShell. You can also run Command Prompt as administrator to repair system files.
Step 2: When the Windows PowerShell starts, enter the sfc /scannow command.
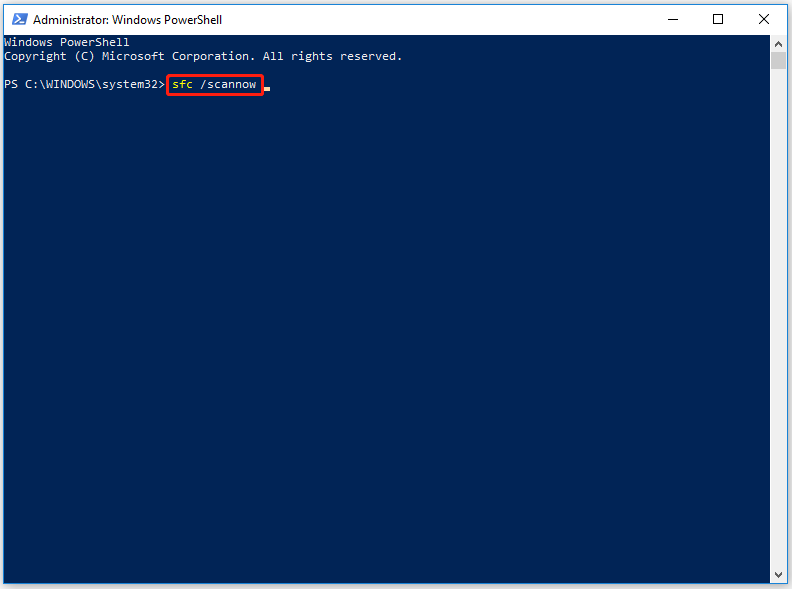
Step 3: The SFC scan will now start and the SFC scan may take 10-15 minutes, so don’t interfere with it.
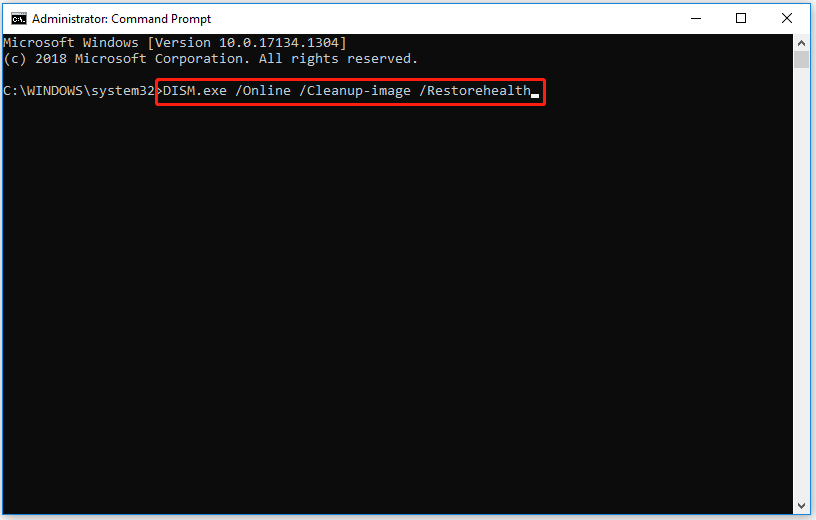
After completing the SFC scan, check to see if the error 0x80190001 persists. If the issue persists, or you cannot run or complete an SFC scan, you will need to use a DISM scan instead.
So, you can open the Command Prompt as administrator, and type DISM.exe /Online /Cleanup-image /Restorehealth. Then press Enter.
After the scanning process is complete, restart your computer to check if the error 0x80190001 has been solved.
Recommended article: [Fixed] WinX Menu Not Working In Windows 10
Solution 6: Extend the System Reserved Partition
Some users have reported that Windows update error 0x80190001 is caused by insufficient free space on the system reserved partition on the hard drive. Well, extending the partition can solve this problem. In this case, you should extend the system reserved partition.
However, as we all know, Disk Management cannot help you to resize the system reserved partition. If you need to extend the system reserved partition, you can use the professional partition manager MiniTool Partition Wizard to do so.
MiniTool Partition Wizard is a professional partition manager for Windows users. It can help you better manage disks and partitions such as Copy System Disk, Migrate OS to SSD/HDD, Recover Data, and so on.
To extend system reserved partition, here is the guide:
MiniTool Partition Wizard DemoClick to Download100%Clean & Safe
Step 1: Click on the download button above and run MiniTool Partition Wizard to get its interface.
Step 2: Click on the Bootable Media icon and connect the USB drive to your computer to create a bootable drive.
Step 3: Connect the bootable media to your computer and boot from it.
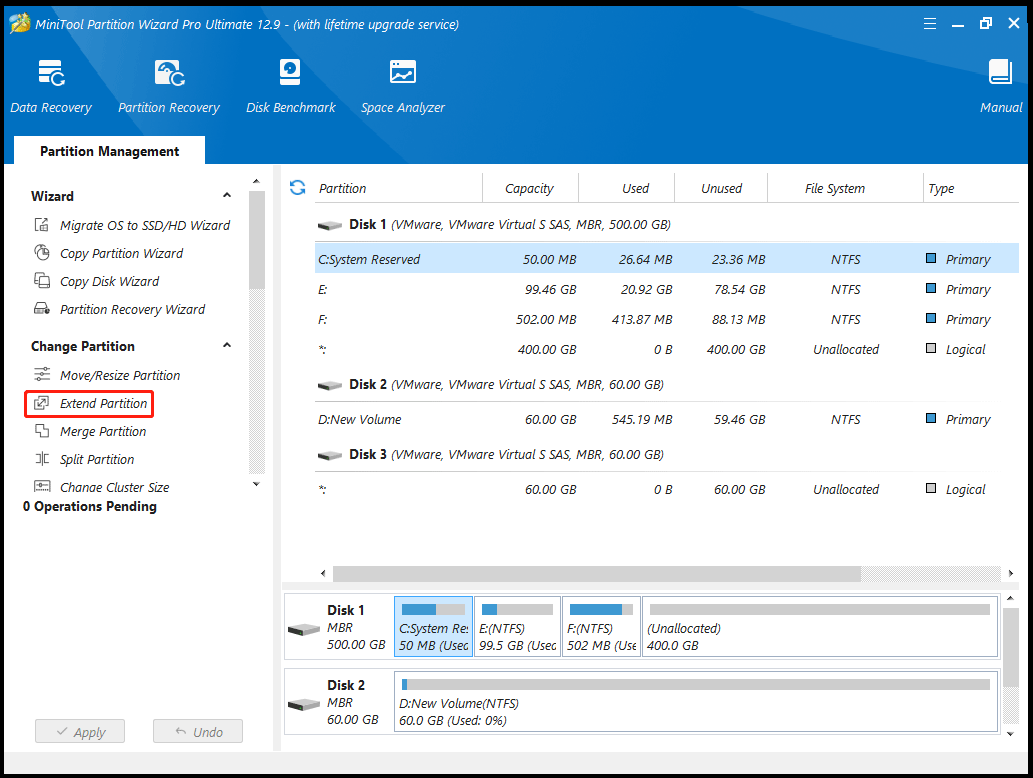
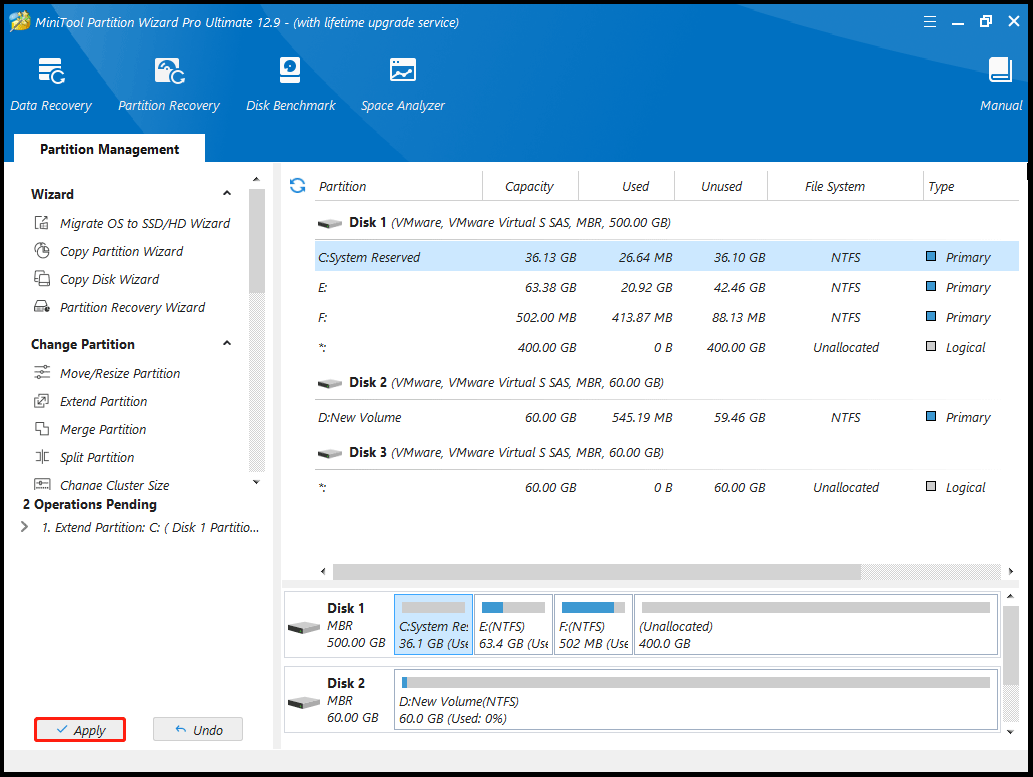
Step 4: Select the system drive and click on Extend Partition on the left operation panel.
Step 5: In the drop-down menu, select where to take free space. Then drag the light blue block to decide how much free space you want to take. Finally, click on the OK button.
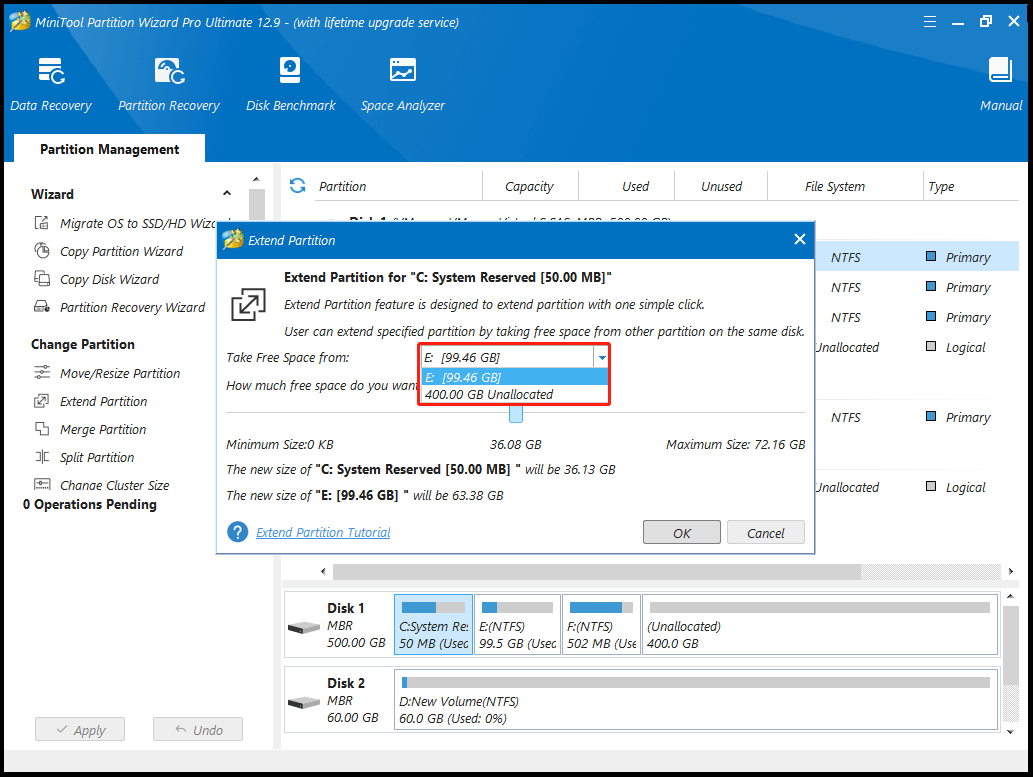
Step 6: Click on the Apply button to execute the operation.
Solution 7: Restart Windows Update Services
To fix Windows updates error code 0x80190001, you can restart Windows update services.
Step 1: Open Command Prompt as administrator.
Step 2: Enter the commands in sequence, pressing Enter after each command:
- net stop wuauserv
- net stop cryptSvc
- net stop bits
- net stop msiserver
Step 3: When the services have been disabled, type the following commands and press Enter after each one to rename the SoftwareDistribution:
- ren C:WindowsSoftwareDistribution SoftwareDistribution.old
- ren C:WindowsSystem32catroot2 Catroot2.old
Step 4: Type the following commands to restart BITS, Cryptographic, MSI Installer, and Windows update services:
- net start wuauserv
- net start cryptSvc
- net start bits
- net start msiserver
Step 5: Restart your computer and try updating Windows to see if the 0x80190001 error is fixed.
Solution 8: Run a Clean Boot
Step 1: Press the Win + R key to open the Run dialog. Then type msconfig in the box and press Enter.
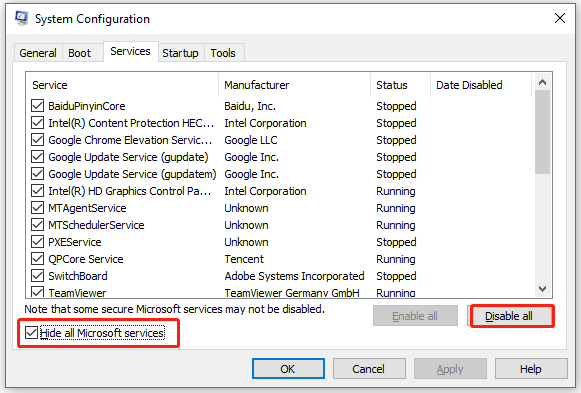
Step 2: Switch to the Services tab, and check the Hide all Microsoft services box. Then click on the Disable all button.
Step 3: Switch to the Startup tab and click on Open Task Manager.
Step 4: Click the startup program that may interfere with Windows 10 update and click on Disable. Then repeat this step to disable all suspected programs.
Step 5: Close Task Manager and click on the OK button in System Configuration.
After that, restart your computer to check if the Windows updates error code 0x80190001 exists.
Solution 9: Use the Media Creation Tool
You can also use the Media Creation Tool to install Windows 10 updates. Here are the detailed steps:
Step 1: Navigate to Windows 10 download page and download the Media Creation Tool.
Step 2: Run the Media Creation Tool as administrator and click on Accept on the first screen.
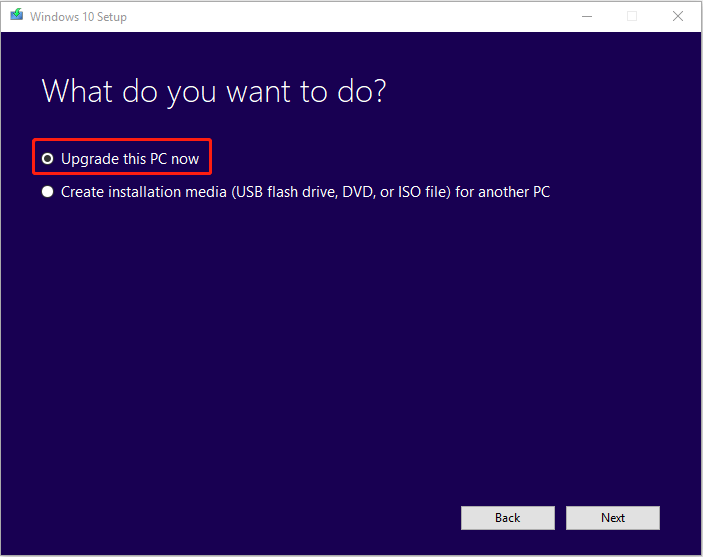
Step 3: On the What do you want to do page, select the Update this PC now option. Then click on Next.
Step 4: Wait till Windows downloads all the necessary files and follow the on-screen instructions to finish the operation.
Step 5: Restart your PC once finished.
Bottom Line
To sum up, this article has introduced the cause of the error 0x80190001 and how to solve the Windows update problem with several solutions. If you have the same problems, try these methods.
Or, if you have any better solution to the error 0x80190001, you can share it in the following comment zone.
If you need any help while using MiniTool Partition Wizard, you are welcome to send us an email at [email protected].
About The Author

Position: Columnist
Vega enjoys helping people with computer problems, including disk management, data recovery, data backup, and more. She is constantly expanding her knowledge in related fields. And she will continue to bring more easy-to-understand professional articles to help people solve various problems on the PC.
User Comments :