Do you know Windows Sandbox? It is a useful tool that allows you to safely run applications in isolation from the rest of the operating system. In this post, MiniTool introduces it to you and shows you how to customize it by creating configuration files.
Windows 10 May 2019 Update (version 1903) included a new feature called the Windows Sandbox. When you launch it, it will create an isolated lightweight desktop environment that is separate from your main Windows install, and allows you to safely run applications in that isolated environment.
In addition, when you leave the session or close the Sandbox window, all the software with its associated files will be permanently deleted. This means that you can run untrusted software, scripts, malicious files and adware without the fear of impacting your normal Windows installation.
In order to make the Windows Sandbox environment meet the actual needs of users, Microsoft allows you to create configuration files that modify the functionality of the Sandbox. As for how to create a configuration file and then use it to launch the Windows Sandbox, please read the following content.
Guide on Creating Windows Sandbox Configuration Files
When creating Windows Sandbox configuration files, you can make as many as you want through the following steps:
Step 1: Open a text editor like Notepad.
Step 2: Enter the configuration options or directives you wish to use. Please note that the configuration file should start with the <Configuration> tag and end with </Configuration>. Between these two tags, you can add various configuration directives. The structure is shown as follows:
<Configuration>
<directive></directive>
…
</Configuration>
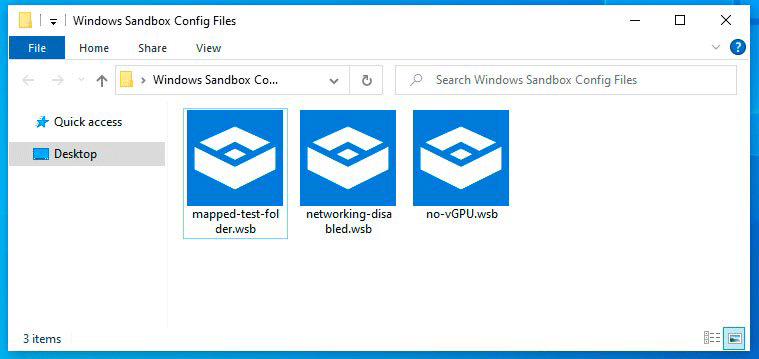
Step 3: Save the configuration files as .wsb files and give them descriptive names, for example, mapped-malware-folder.wsb. Through these descriptive names, you can know what tasks they perform.
Step 4: Launch the Windows Sandbox by double-clicking on a specific configuration file.
There are various configuration options that you can use in a Windows Sandbox file, please read the following content to know how to use them.

Disable Networking
When testing a malware sample, the infection may contact a remote host or perform some other unwanted network behavior. To solve this problem, testing it in the Windows Sandbox without networking may be useful.
To disable networking, you should use the following directive:
<Networking>Disable</Networking>
To enable the Networking again, you should replace Disable with Default.
Disable the vGPU
The Windows Sandbox will use a virtual hardware GPU by default to increase performance. However, if you want to use software rendering instead, you can disable the vGPU through the following configuration directive:
<VGpu>Disable</VGpu>
If you want to enable the vGPU again, you should replace Disable with Default.
Map a Folder for Transferring Files
The Windows Sandbox allows you to map folders from your Host Windows (your normal Windows installation) so that they are accessible in the Sandbox. To do this, you just need to use the MappedFolder directive to specify the folder on the host that you wish to make accessible in the Windows Sandbox.
This directive structure is as follows:
<MappedFolder>
<HostFolder>path to the host folder</HostFolder>
<ReadOnly>value</ReadOnly>
</MappedFolder>
The ReadOnly value can be set to True or False. Value True means that files in the folder cannot be modified from the Sandbox, while the value False means that the Sandbox can modify these files.
Finally, when these folders are shared in the Sandbox, they will be located on the Desktop under the C:usersWDAGUtilityAccountDesktop folder.
LogonCommand
The Windows Sandbox also supports the ability to automatically execute a command after the Sandbox is started. To do that, you should use the <LoginCommand> directive below:
<LogonCommand>
<Command>command to be invoked</Command>
</LogonCommand>
For example, if you wanted to automatically open File Explorer after the Windows Sandbox starts, you should write explorer.exe between tag <Command> and tag </Command>.
Create a Sample Configuration File
In this section, I will create a sample to illustrate how to use these directives together. Suppose you are using the Windows Sandbox to test files stored on your Windows computer under the C:Malware-Samples folder to see whether they are malware, what configuration options or directives should you use?
First, you may be concerned that the samples may make malicious networking calls, so you want to disable networking when using them. Second, you should make the folder available to the Sandbox. Finally, you may want to make the folder open automatically when you launch the Sandbox.
To do that, you may need to create a configuration file as follows:
<Configuration>
<Networking>Disable</Networking>
<MappedFolders>
<MappedFolder>
<HostFolder>C:Malware-Samples</HostFolder>
<ReadOnly>true</ReadOnly>
</MappedFolder>
</MappedFolders>
<LogonCommand>
<Command>explorer.exe C:usersWDAGUtilityAccountDesktopMalware-Samples</Command>
</LogonCommand>
</Configuration>

About The Author

Position: Columnist
Linda has been an editor at MiniTool for seven years. She continuously learns about computers and puts her knowledge into practice. Moreover, she is particularly knowledgeable in disk management, data recovery, system installation, and PDF editing. Her articles typically reference multiple examples or are based on her own experience, providing users with the most suitable solutions.
User Comments :