Sometimes when you try to reset Windows 10, you receive the following message:
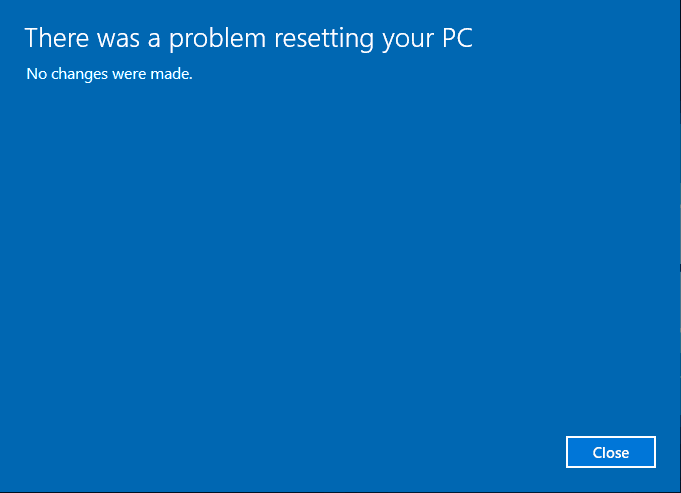
“There was a problem resetting your PC. No changes were made.”
The following picture shows the exact error:
Possible causes provided by Microsoft that are responsible for this issue:
- Your PC came with Windows 10 pre-installed instead of being upgraded from Windows 7 or Windows 8.1.
- Your PC manufacturer enabled compression to reduce the disk space required for preinstalled applications.
- You created a USB recovery drive using the “Create a recovery drive” feature in Windows 10.
- You booted PC from the USB recovery drive and selected Troubleshoot > Reset this PC > Remove everything.
If you are faced with the same issue, go on and try the workarounds for there was a problem resetting your PC in Windows 10.
Case 1: If Windows 10 Is Still Bootable
Solution 1: Fix by Using Command Prompt
Here are four groups of commands you can have a try. If one does not help you reset Windows 10, try another.
A:
Step 1. Go to Start and run Command Prompt as Administrator.
Step 2. Type the command “sfc /scannow” and hit Enter, this will perform a system file check.
Step 3. When finished, type “exit” to exit Command Prompt.
Step 4. Reboot to reset your computer.
B:
Step 1. Run Command Prompt as Administrator.
Step 2. Type the following commands and hit Enter key after each:
- cd %windir%system32config
- ren system system.001
- ren software software.001
Step 3. Type “exit” to leave Command Prompt.
Step 4. Reboot Windows 10 and then reset your computer.
C:
Step 1. At Windows Start menu, select Command Prompt (Admin).
Step 2. In the Command Prompt window, type the following commands in order and confirm each one with the Enter key:
- reagentc /disable
- reagentc /enable
Step 3. Type “exit” to leave Command Prompt.
Step 4. Restart Windows 10 and repeat the process of Windows 10 reset.
D:
Step 1. Press Shift and Restart to bring up Windows Recovery Environment screen.
Step 2. Please select “Troubleshoot”, “Advanced options” and then “Command Prompt”. (You may need to choose an account and input the password to continue with Command Prompt.)
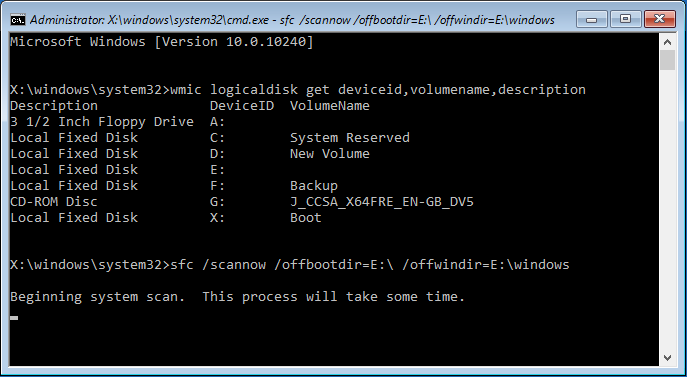
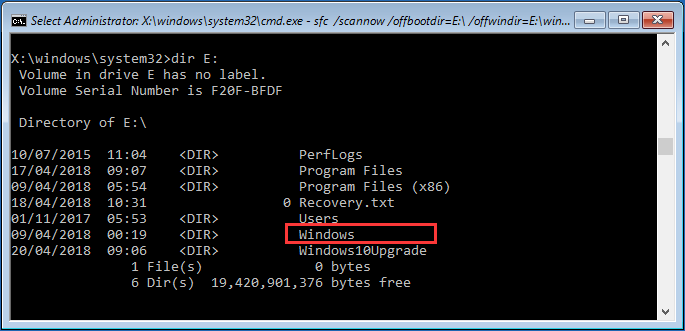
Step 3. At command prompt window, run this command: wmic logicaldisk get deviceid,volumename,description
Step 4. At this time, you need to find out the system partition. In our case, it is E:
Step 5. Then type: sfc /scannow /offbootdir=E: /offwindir=E:Windows
Step 6. The process needs some time. When it finishes and reports “Windows Resource Protection did not find any integrity violations”, type “exit” and continue to Windows 10.
Step 7. Back at the Troubleshoot page, select “Continue“. After a reboot, you can try again reset your Windows 10. Hope “There was a problem resetting your PC” issue is solved already.
Usually, the above command lines are expected to bring you a smooth Windows 10 resetting. But if you still can’t reset PC Windows 10, do the followings to go back to the earlier Windows state:
Solution 2. Restore Windows 10 Using System Restore Points
If you have enabled System Protection, it is a good trying restoring your system files to the previous state before you reset Windows 10.
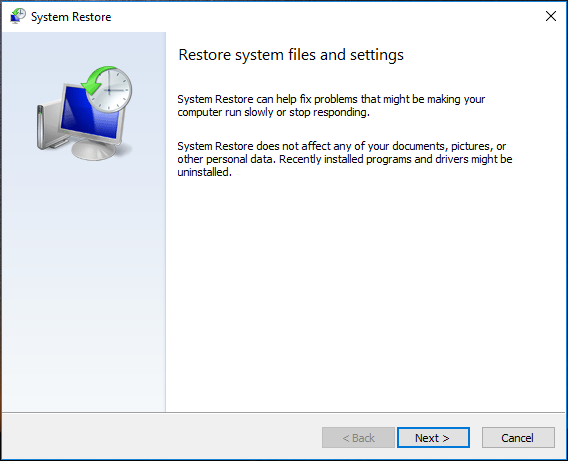
Step 1. At Cortana search box, type “restore” and choose “Create a restore point” from the best match. Then in the new emerging System Properties window, click “System Restore“.

Step 2. In the next System Restore window, click “Next”.
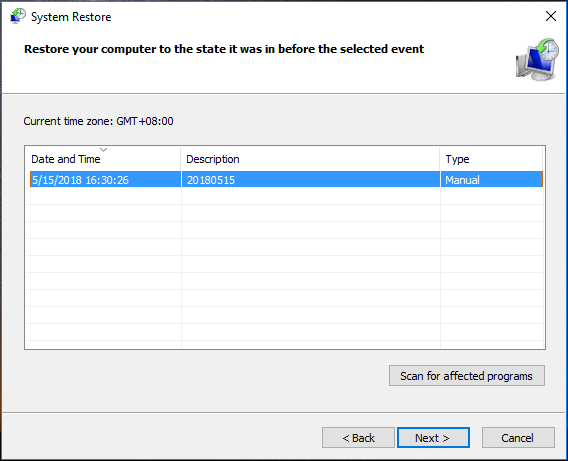
Step 3. Now choose a system restore point and click “Next”. You can also scan for affected programs before you continue.
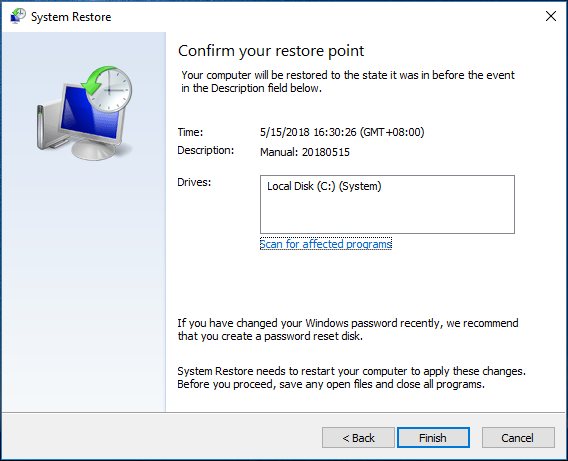
Step 4. In the summary page, view the information carefully and click “Finish” to confirm that you want the restoration.
RECOMMENDED: Wondering how to create a system restore point? This guide shows you all. In the coming days, you will benefit from this function.
Those are the solutions available for users whose Windows 10 is still accessible. What if the operating system cannot boot? Just keep reading.
Case 2: If Windows 10 Cannot Boot
Solution 1: Windows 10 System Image Recovery
Step 1. Boot your PC from Windows 10 installation disk. You might need to press a key to enter into BIOS for this setting.
Step 2. Wait for Windows to load installation files. When you see Windows Setup window, select Language, time and currency, keyboard and then click “Next”.
Step 3. Instead of going to reinstall Windows 10, click the “Repair your computer” link.
Step 4. Choose Troubleshoot -> Advanced options -> System image recovery.
Step 5. Choose Windows 10 as the target operating system.
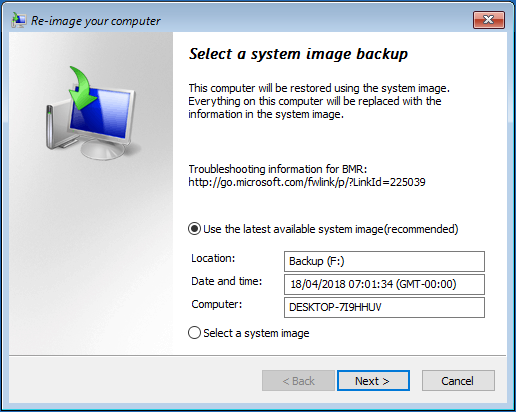
Step 6. Finally, you get the “Re-image your computer” window. Now you need to select a system image backup version. It is recommended to use the latest available system image and then click “Next” to go on. (Tip: you can also choose another system image by checking Select a system image -> backup location -> desired image backup.)
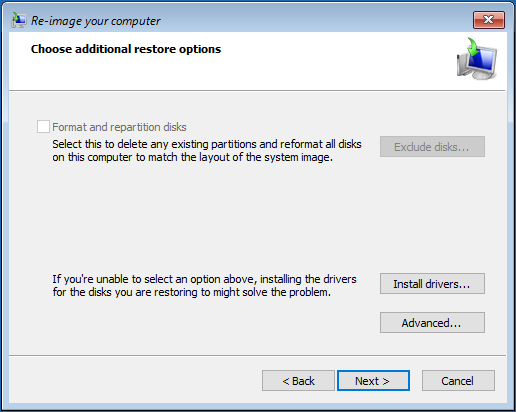
Step 7. In the next page, you can make some additional changes. For example, you can delete and reformat hard drives on this computer to match the layout of the system image. If you have no extra setting, click “Next” to go on.
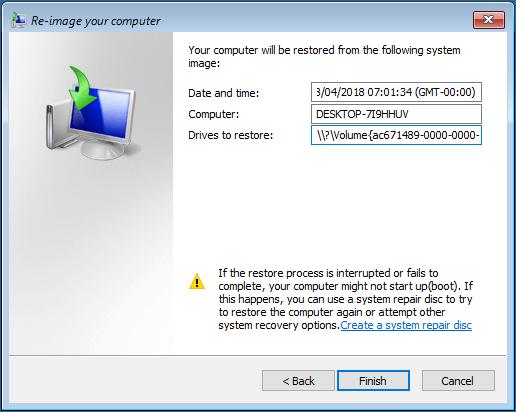
Step 8. Here comes the summary page. Please confirm the information of the selected system image backup as well as the drives to restore. If nothing wrong, click “Finish”.
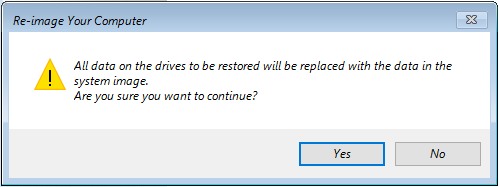
Step 9. You will receive a message which reads “All data on the drives to be restored will be replaced with the data in the system image. Are you sure you want to continue?” At this time, click “Yes“. The restoring process will take some time, please wait patiently and do not turn off your computer during the process. When it finishes, the system will restart.
Solution 2. Reinstall Windows 10
If you still can’t reset PC Windows 10, the last trying we have to say, is to reinstall Windows 10. Since your intention is to reset Windows 10, you can totally roll up your sleeves and start from scratch. But pay attention that this also brings data loss. So if you have something important saved on the C drive, you had better carry out data recovery first. We believe our post How to Recover Data When PC Won’t Boot will lead you through all the steps easily.
Simple tutorials for Windows 10 reinstallation:
Step 1. Boot your PC from Windows 10 installation media. (You might need to prepare for a Windows 10 installation media in advance.)
Step 2. Select the language to install, time and currency format, and input method. Then click “Install Now”.
Step 3. Enter your license key or do it later. Accept the license terms.
Step 4. Choose “Custom: Install Windows only (advanced)”.
Step 5. Select the drive to install Windows 10.
Step 6. Windows is installing. Just wait patiently. Later a few more clicks are required to finish the installation.
For detailed instructions, our guide How to Install Windows 10 will definitely lead you through all steps quickly.
RECOMMENDED: Windows 10 is running slow? Click here to speed up Windows 10.
Back up Your PC Often to Resist System Issues
In fact, no matter what system issues you encounter, restoring system to a former state is a better choice than resetting your PC, provided that you have made the system image backups. Here we would like to recommend professional backup software to help you easily do the job, which is MiniTool ShadowMaker.
Why is it professional? MiniTool ShadowMaker is not only a system backup program, it is also capable of file/folder backup and disk/partition backup. Besides, it lets you choose full/incremental/differential backup methods as well as provides you with several backup schemes to manage disk space taken by the image files. In addition, with schedule backup plan, you can totally relax after making the settings. Press the button below to get the 30-day free trial edition or get a full version.
MiniTool ShadowMaker TrialClick to Download100%Clean & Safe
A simple guide to using this Windows backup software for system backup:
Step 1. Run MiniTool ShadowMaker. When you are asked to connect one computer, just choose “This Computer“.
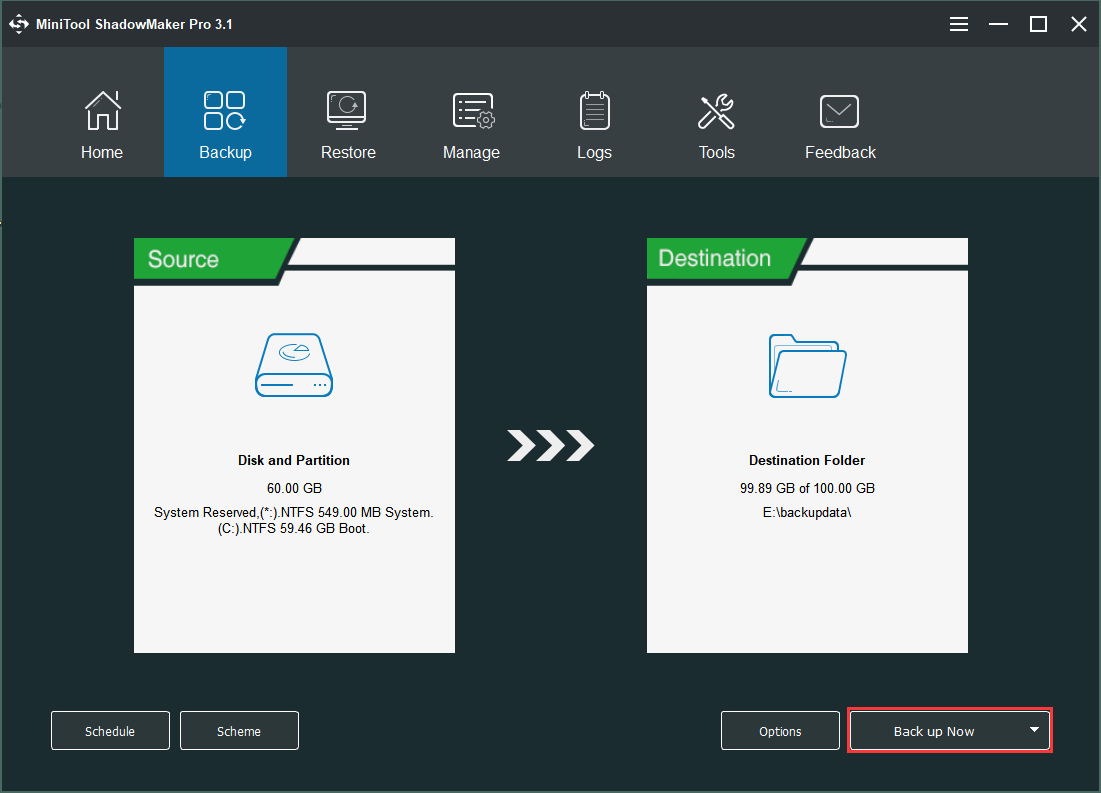
Step 2. You will come to the Home page. Just navigate to the Backup. Here you can see that the system required partitions are selected by default. Since you can try to image Windows 10, you do not need to make any changes.

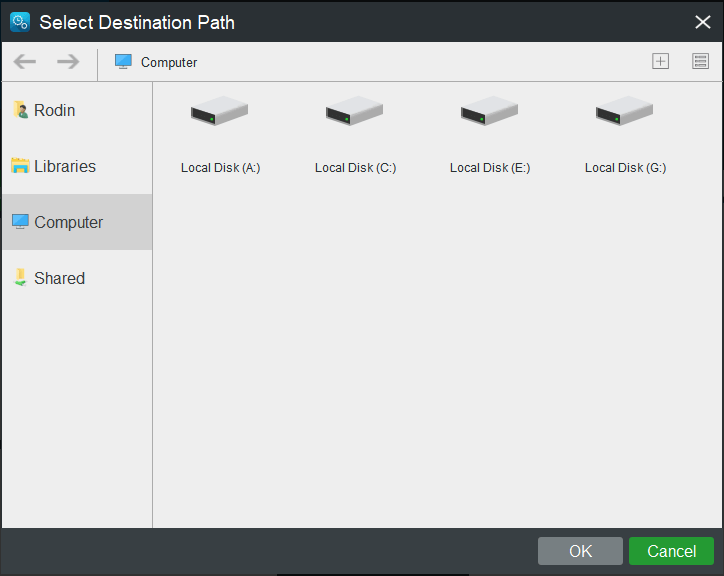
Then click the Destination to determine the location of the backup files or you may just keep the default path. It is better to save system image files to an external hard drive.
Step 3. Back to the Backup page, click “Back up Now” to start the backup process. You can view the progress on Manage.
In addition to imaging Windows 10, MiniTool ShadowMaker also enables to clone hard drive quickly. Simply put, you need to go to Tools, choose Clone Disk, choose the source disk, choose the target disk, and finally start the cloning process. To get the details, you can read How to Clone a Hard Drive to SSD in Windows 10/8/7?
The Bottom Line
We have listed some suggestions in this article to help you overcome “There was a problem resetting your PC”. You may just have a try on each one and we hope you never come to the last solution. If you’ve come across other workarounds, list the troubleshooting steps in the comment section below. If you need any help when using MiniTool software, you can contact us by sending emails to [email protected].
About The Author

Position: Columnist
Rodin is an enthusiastic IT writer focusing on Windows trends, disk partition management and data recovery. She loves to write and share her idea about the useful tips and tricks on personal computers' maintenance. If you are looking for methods to improve your computer performance, manage hard drives and recover data from different devices, Rodin can provide reliable solutions for data management.
User Comments :