Out of some reason, you may want to remap keys. Here comes the issue. How to remap keys? This question bothers plenty of users. In this post, MiniTool will explain why do you need to remap leys and how to do that.
Why Do You Need to Remap Keys
In fact, there are multiple reasons attribute to the key remapping. For instance, you feel wrong on the current key layout or the keys are broken. However, the point is that how to remap keys Windows 10.
Generally speaking, Windows 10 doesn’t allow you to remap keys directly. The chance that you can configure the current keyboard layout is rare unless you have a high-end keyboard or a custom mechanical keyboard.
If you want to place certain keys in a better manner or disable certain keys, you can try remapping keys. For example, you would like to re-arrange the location of the Caps Lock key or hope to open Windows Task Manager with one keystroke.
How to remap key on Windows 10 computer? The next section will illustrate it in detail. Please move on!
Top recommendation: What Is Membrane Keyboard & How to Distinguish It from Mechanical
How to Remap Keys Windows 10
As mentioned above, you are not allowed to remap keys Windows 10 directly. Based on that fact, you need to utilize some third-party tools such as SharpKeys, Keyweak, MapKeyboard, AutoHotoKey and other similar tools.
Now, we will show you the steps to remap key Windows 10 via SharpKeys.
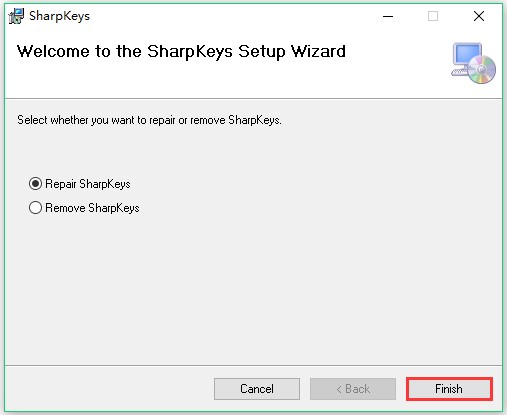
Step 1: At first, you should click here to download and install SharpKeys on your Windows 10 computer. Click on the Finish button to complete the installation and then follow the next steps.
Step 2: After that, open the SharpKeys program from your Start menu. Alternatively, you can also open the program by running the executable file from the extracted folder.
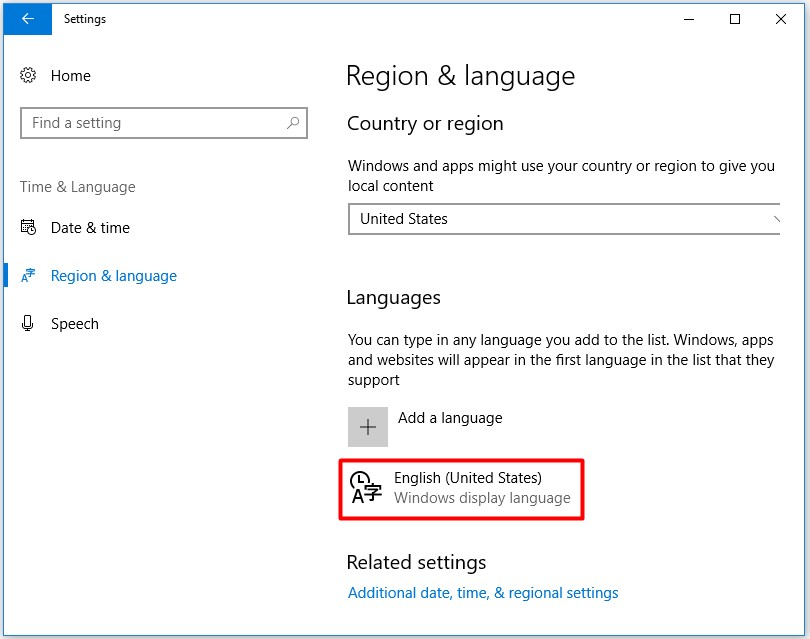
Step 3: You can check if the current keyboard locale is correctly configured for your location before beginning the remapping operation. Follow this guide to do that: Open the Settings window, and then click on Time & Language > Region & language and see if the locale listed under the Languages section.
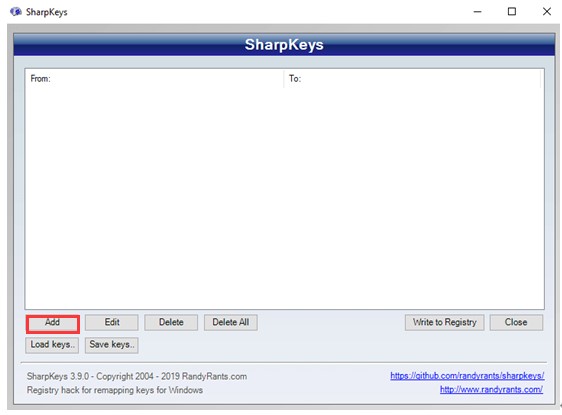
Step 4: If the locale is correct and you still want to remap keys, you can go on. Launch SharpKeys to enter its main interface and then click on the Add button.
Step 5: In the next window, you are able to choose the keys to remap. And then map the key options from the left list to the physical keys listed in the right side. Besides, you can also scroll down the list to choose these by yourself or click the Type Key button directly to find the target keys. Finally, click OK to save the changes.
Step 6: If you want to remap multiple keys, repeat the above steps. To reset the changes that you have made, click on the Edit button in the main interface of SharpKeys to go on.
That’s the all steps to Windows 10 remap keys for you.

User Comments :