If you are tired of the default fonts that come with your computer, you can read this post, in which MiniTool shows you how to add fonts that you like to Windows 10.
How to Install Fonts on Windows 10
When it comes to how to add fonts to Windows 10, there are many methods. Some users may like to install a new font through Microsoft Store if they can find Fonts tab in Personalization settings. They just need to right-click the blank space on the desktop and choose Personalize, then, click Get more fonts in the Microsoft Store to download and install fonts.
However, if you can’t find Fonts tab in Personalization settings, you should try the following two methods to add fonts to Windows 10.

Method 1. Adding Fonts to Windows 10 Through Control Panel
Step 1: Download font resources that you like from websites like dafont.com, fontspace.com, or fontsquirrel.com.
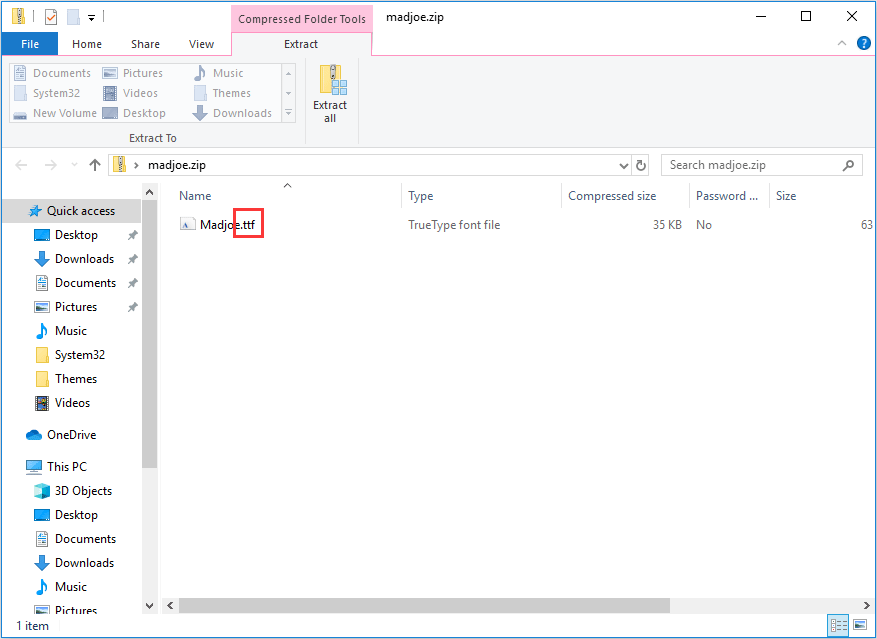
Step 2: Check the format of the downloaded font file and extract it. The downloaded file may be a ZIP or a RAR file. You should open it to check whether its format is among those formats supported by Windows systems, for example, TTF and OTF. If it is, you can then extract it.
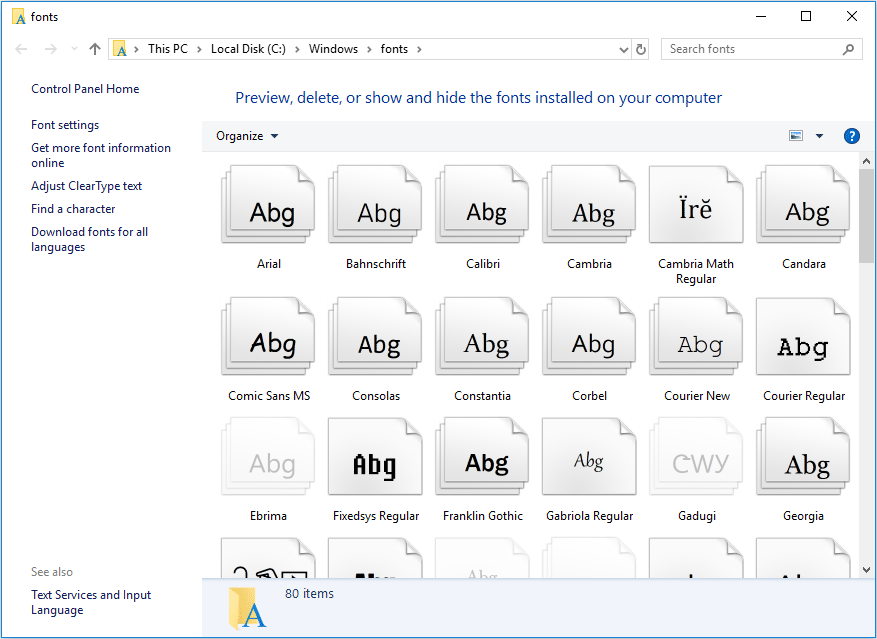
Step 3: Press “Windows + R” keys and type “%windir%fonts” into the Run box. Then, hit Enter key to open the Windows 10 Fonts folder (C:WindowsFonts).
Step 4: Copy the newly-downloaded font file into the font zone by dragging. Then, you can use the new font in programs.
Method 2. Adding Fonts to Windows 10 by Right-Click
Step 1: Similarly, download font file, check its format, and extract it.
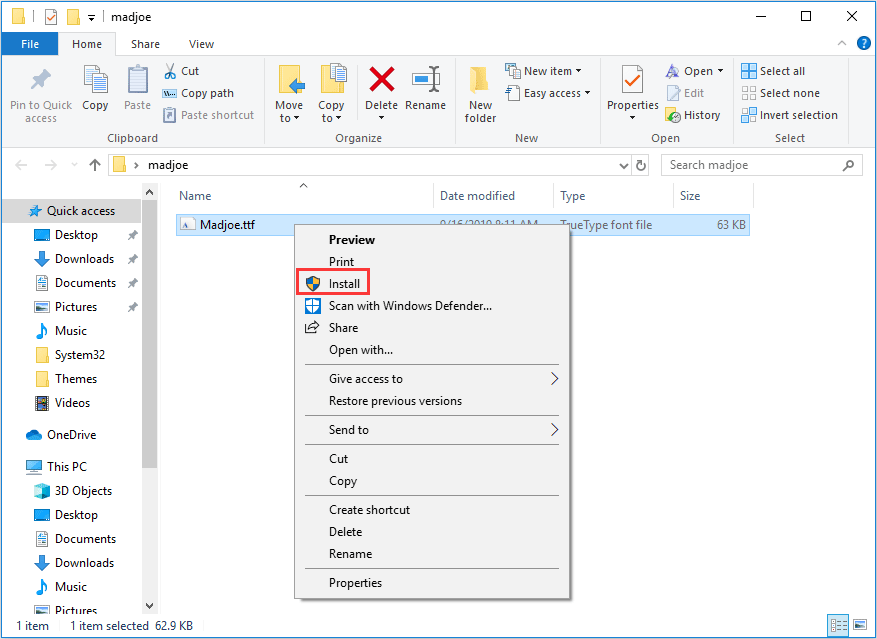
Step 2: Right-click on the font file and choose Install. If this font is already installed, you will be informed whether to replace it.
How to Delete Fonts on Windows 10
If the fonts have taken up a lot of space, you can remove some unnecessary fonts to free up disk space and reduce system loading time. As for how to delete fonts, please refer to the following steps:
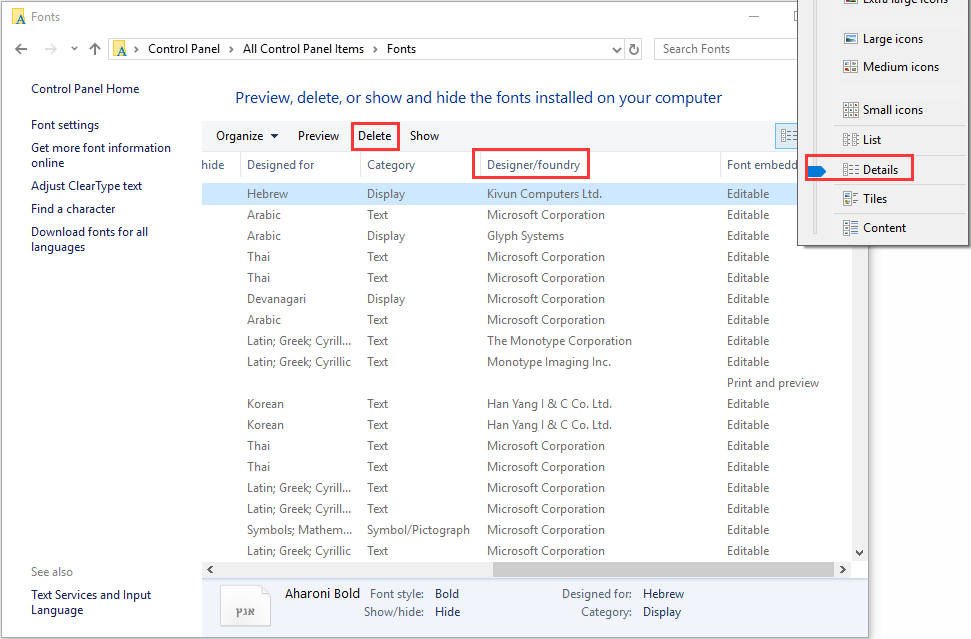
Step 1: Open Fonts folder again.
Step 2: Click the font that you want to remove. If you want to delete many fonts at once, you should press and hold the CTRL key while you select fonts. Thus, you can select more than one font at a time.
Step 3: Click Delete appearing on the File menu. Then, click Yes when you receive the “Are you sure you want to delete these fonts?” prompt.

About The Author

Position: Columnist
Linda has been an editor at MiniTool for seven years. She continuously learns about computers and puts her knowledge into practice. Moreover, she is particularly knowledgeable in disk management, data recovery, system installation, and PDF editing. Her articles typically reference multiple examples or are based on her own experience, providing users with the most suitable solutions.
User Comments :