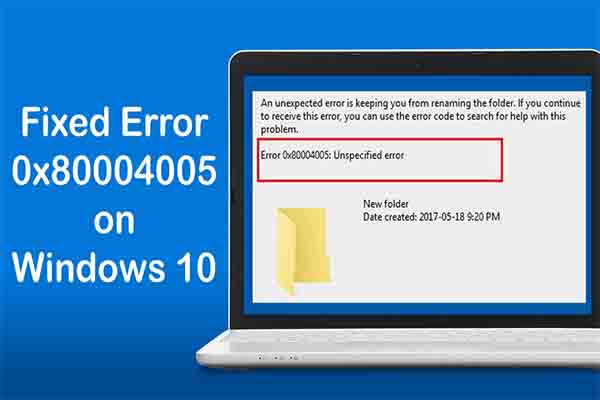
Causes for the Windows Cannot Access Error
The Windows cannot access error is a network-based issue. It is very common, but it still upsets many users. What causes Windows cannot access network drive? Several elements can lead to the error. For instance, you are lack of network permissions, have improper installed network drivers or corrupted Windows registry.
This error is directly related to permissions settings in your homegroup network, so resetting or changing sharing permissions may work. Here are 2 solutions available for you.

Fix 1: Disable IPV6
Disabling IPV6 is an effective way to solve Windows cannot access network drive error. How to do that? Here are detailed steps.
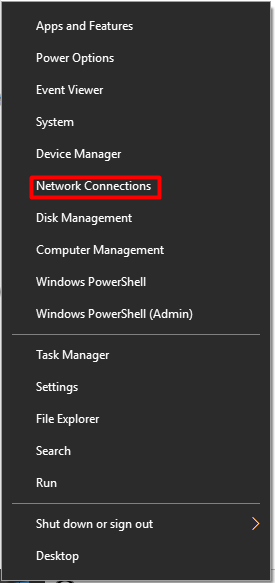
Step 1: Right click the Windows icon on your desktop and choose Network Connections from the pop-up menu.
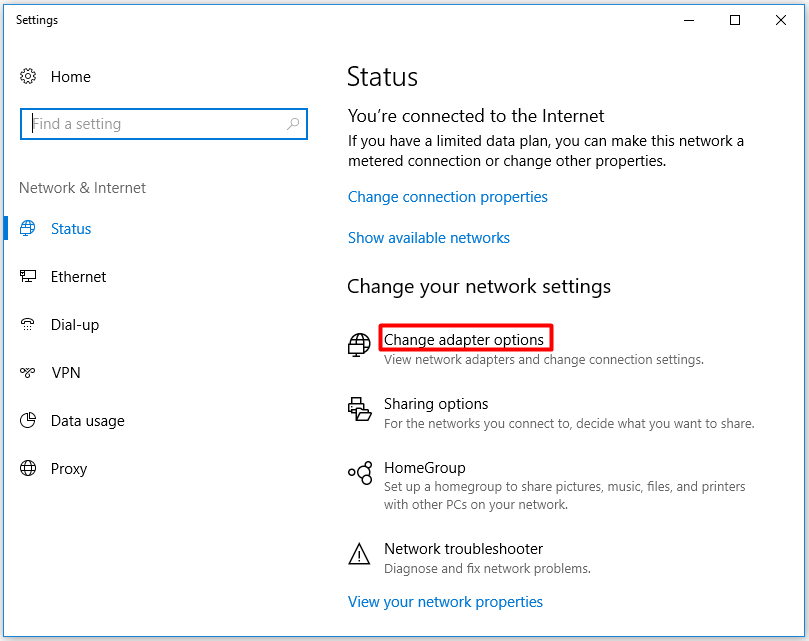
Step 2: In the next window, click on Change adapter options under the list of Change your network settings.
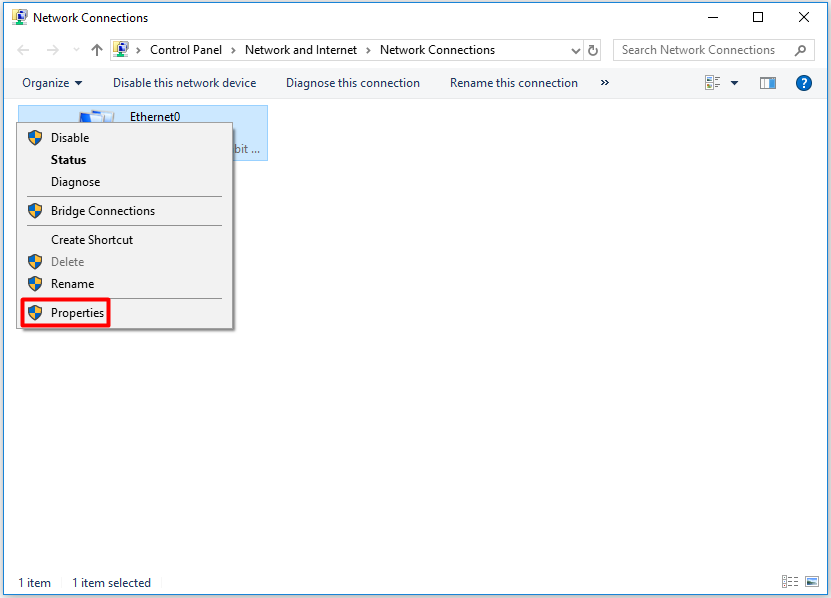
Step 3: Right click your network adapter and choose Properties to go on.
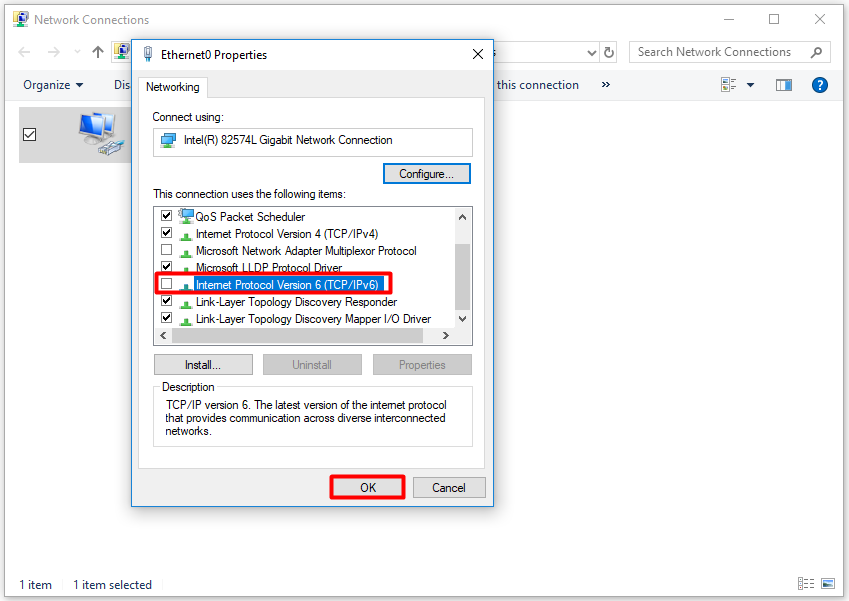
Step 4: Locate Internet Protocol Version 6 (TCP/IPv6) and uncheck this box. After that, click OK to save the changes.
Step 5: Reboot your computer to make this into effect. Then, check if the Windows cannot access error code 0x80004005 disappear.
Fix 2: Reset Network Sharing Permissions
Sometimes you can’t access computer on network Windows 10 due to the improper networking sharing permissions for the shared folder, drive, computer or printer form. So, you can try resetting network sharing permissions to fix the issue.
Here is the full guide to re-configure network sharing permissions.
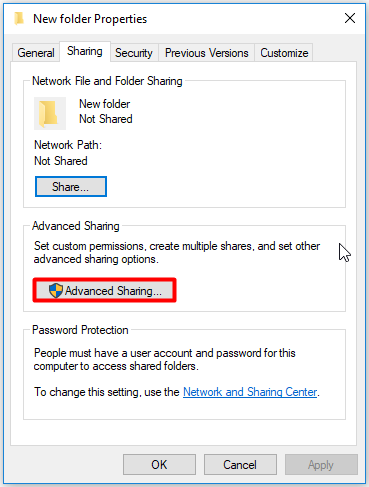
Step 1: Right click the folder, drive, or printer that you are going to share with other and choose Properties to go on.
Step 2: In the Properties window, move to the Sharing tab. Then, click Advanced sharing to go on.
Step 3: Check the Share this folder box, and then enter a share name for the folder or drive. Then, click the Permissions button.
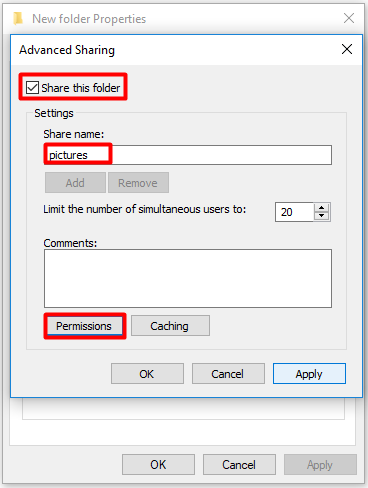
Step 4: In the next window, enable the Full Control and Change check-boxes under Allow. In most cases, the Read check-box is enabled by default. If not, you need to check it manually. Finally, click OK and Apply buttons at the bottom of the window to save and execute the operation.

After re-configuring network sharing permissions, you should add the Everyone to the security list so that you can grant full permissions for Everyone user truly. Since, you have the full control of shared items, you can start the steps below.
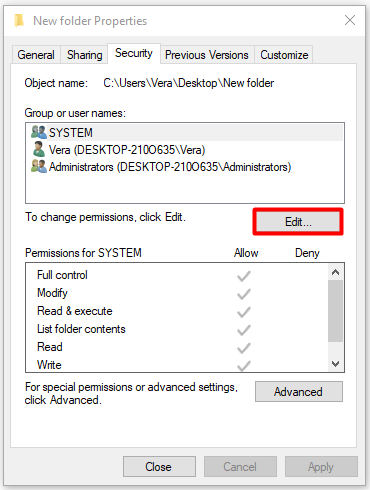
Step 1: Open the Properties of target item again, and then go to the Security tab. Then, click Edit to go on.
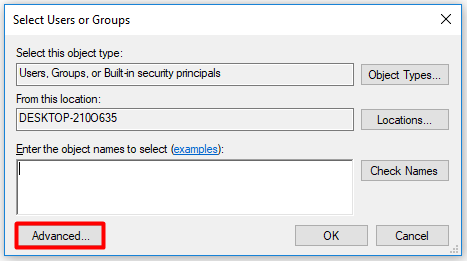
Step 2: In the next window, click Add.
Step 3: Click on Advanced from the pop-up window.
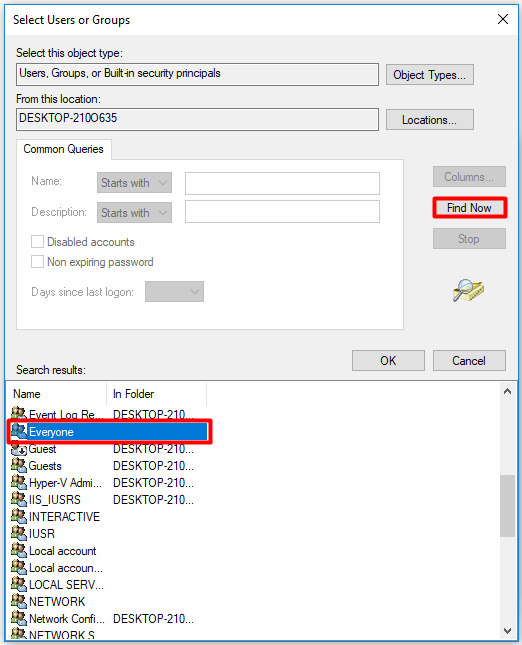
Step 4: Click Find Now, and then scroll down the list to find the Everyone user. Choose it and click OK. You will see the Everyone is on the list of Group or user names after returning to the Security window.
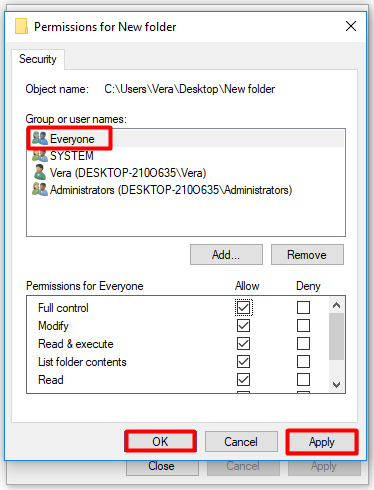
Step 5: Click Everyone and OK. Enable all the check-boxes under Allow, and then click OK and Apply.
Also read: Services.msc Access Denied Error: Cases, Causes, and Fixes
Conclusion
When you can’t access computer on network Windows 10, try the given methods now to fix it.
User Comments :