Do you bothered by Skype microphone not working error? If so, you are not alone. More importantly, the microphone doesn’t work on Skype error can be fixed easily with the provided methods from this post of MiniTool.
This post introduces you top 4 methods to resolve Skype microphone not working error. Now, let’s explore them together.
Solution 1: Check the Status of Microphone
If you encounter the error “Skype can’t hear other person” on Windows 10, check if the Microphone is set to the On status firstly. The following are detailed steps for doing that.
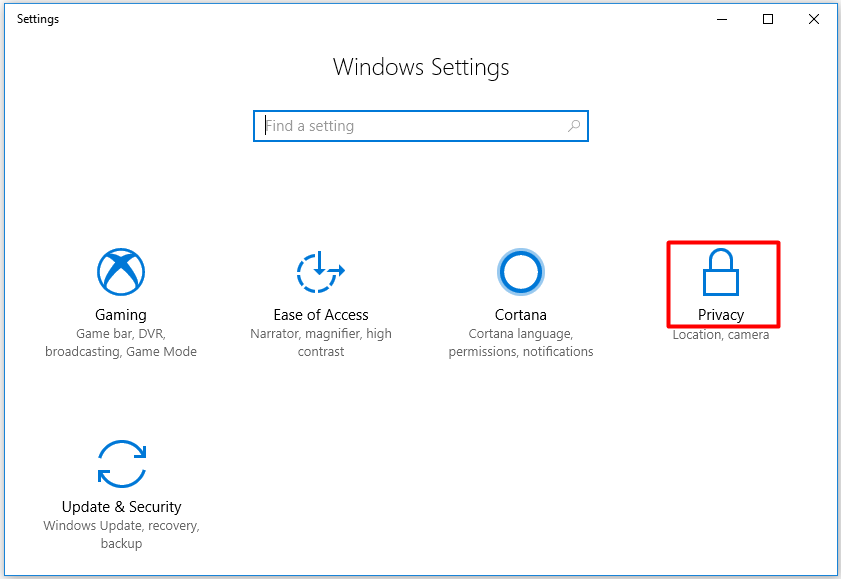
Step 1: Open Settings window by pressing Windows and I keys at the same time, and then click Privacy icon in the main interface.
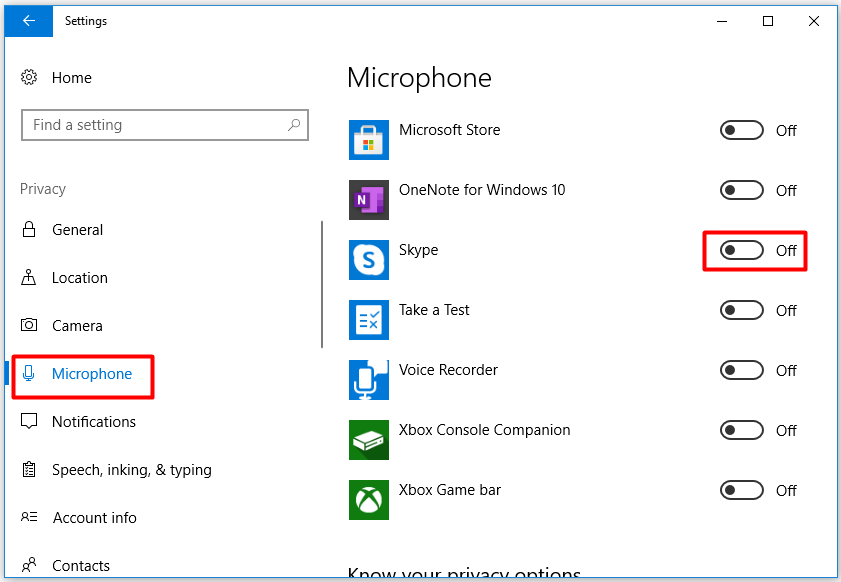
Step 2: Click the Microphone option in the left pane of the next window. After that, move to the right side of the window and scroll down the content to find Skype. Here, you can see the status of Skype. If it is in Off condition as shown in the picture below, turn on it.
Step 3: Switch on the microphone permission of Skype.
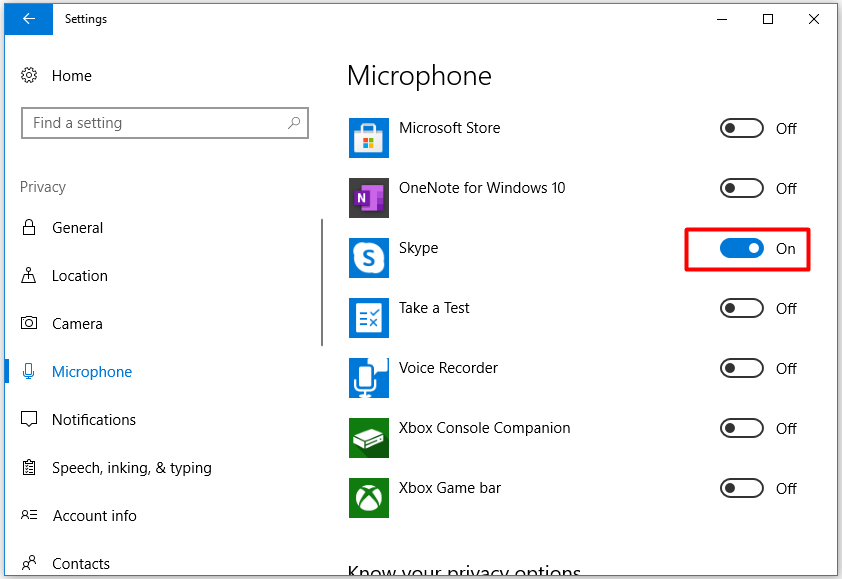
Step 4: After turning on the microphone of Skype, log in Skype and check if it works properly.
Solution 2: Change the Audio Settings on Skype
The Skype microphone not working error can occur because of improper audio settings as well. Hence, adjusting the audio settings on the Skype is also available for fixing Skype Windows 10 microphone not working. How to do that? Here are detailed steps.
Step 1: Log in your Skype account.
Step 2: Click the Tools tab on the Skype window, and then click on Options feature in the drop-down menu.
Step 3: Click Audio settings option in the left pane. Then uncheck the Automatically adjust microphone settings checkbox in the right side of the window and click the Save button.
Step 4: Now, exit Skype and re-launch it to test if the microphone works properly.
Recommended article: Fix Logitech G933 Mic Not Working Error with 3 Methods
Solution 3: Check If Audio Service Works Normally
Services in the computer are vital for the normal running of hardware and software. Hence, they should keep running at all the time. If any service stops working, the hardware performance of Windows hardware will be affected. It is likely that Skype microphone not working Windows 10 is cased by malfunction audio service.
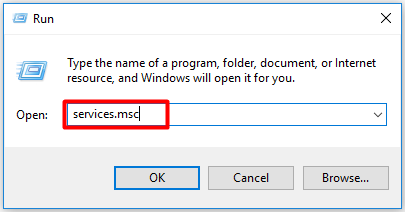
Step 1: Open the Run window by pressing Windows and R keys, and then type services.msc and hit Enter.
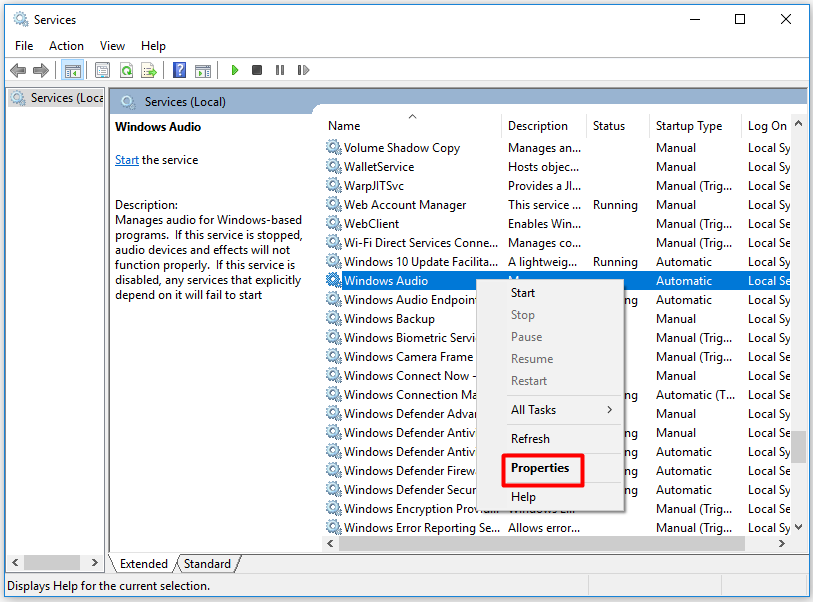
Step 2: Scroll down the items to find Windows Audio. Right click on it and then click Properties in the elevated menu.
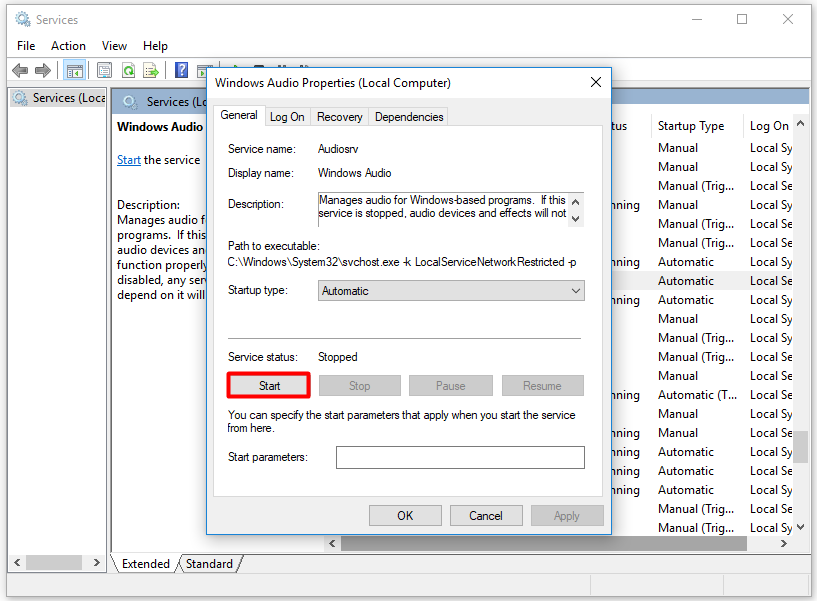
Step 3: You can find the status of this service in the pop-up window. If the service is in Stop condition, click Start to run the service.
Solution 4: Update Sound Card Driver
The Skype mic not working error can also be triggered by an outdated/broken sound card driver. Some users claim that the Skype microphone not working error is fixed by updating the sound card driver.
You can check if drivers are up to date first. If the driver is outdated indeed, update it with the following steps.
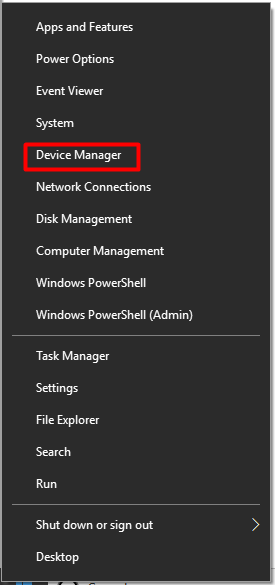
Step 1: Right click the Windows icon on your desktop and then click on Device Manager option in the prompted Start menu.
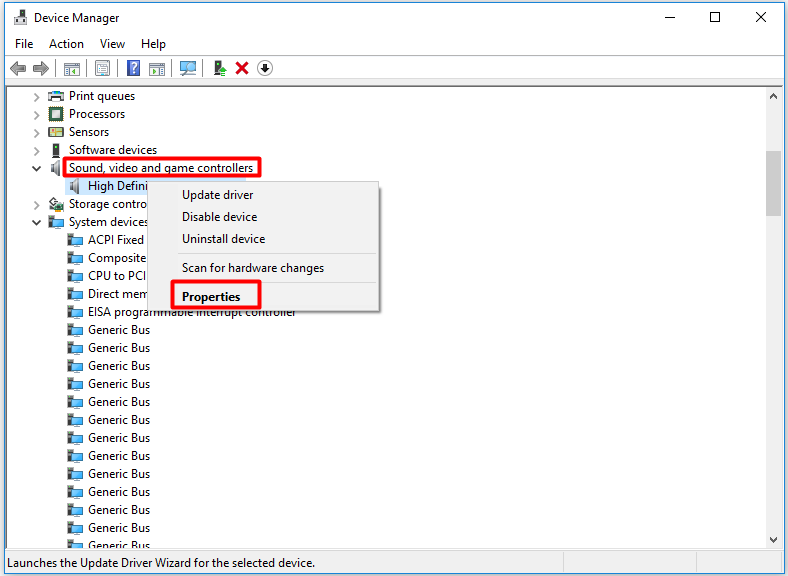
Step 2: Find the Sound, video and game controllers item by scrolling down the content in Device Manager window and then expand it. Then right click High Definition Audio Device and choose Properties.
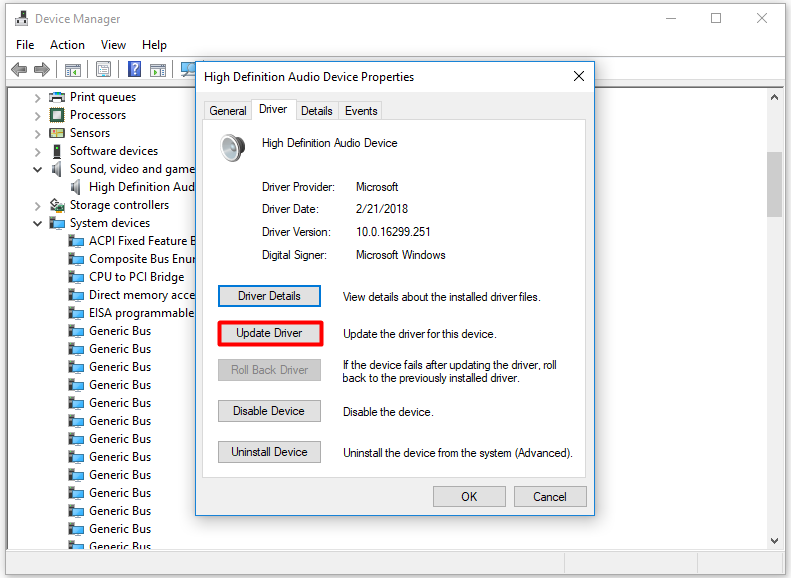
Step 3: Navigate to Driver tab in the pop-up window, and then click Update Driver option to continue.
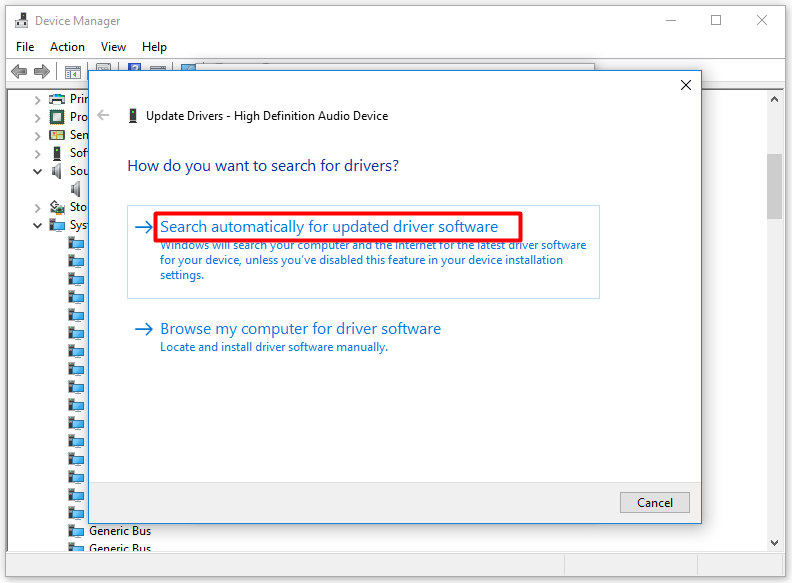
Step 4: Then choose Search automatically for updated driver software option. After that, follow the on-screen instruction to finish the process.
User Comments :