Speaking can be more quickly than typing when chatting with family members and game partners. It is very easy to set up a microphone on Windows PC. After that, you need to perform a microphone test. MiniTool will show you the whole process in this post.
Microphone can provide you with a better experience when playing online games. That’s why microphones are so popular with game players. You may ask how to test my microphone after installing it to your computer. If you haven’t installed the microphone yet, please don’t worry.
The following content will show you the installation and test process one by one. Now, let’s starting exploring them together!
How to Set up Microphone on Windows 10
If you are a beginner for installing microphone on PC, this guide will be very suitable for you. Here are specific steps for you.
Step 1: Right click the Speaker icon on the bottom right of your desktop, and then choose the Sounds option from the pop-up menu.
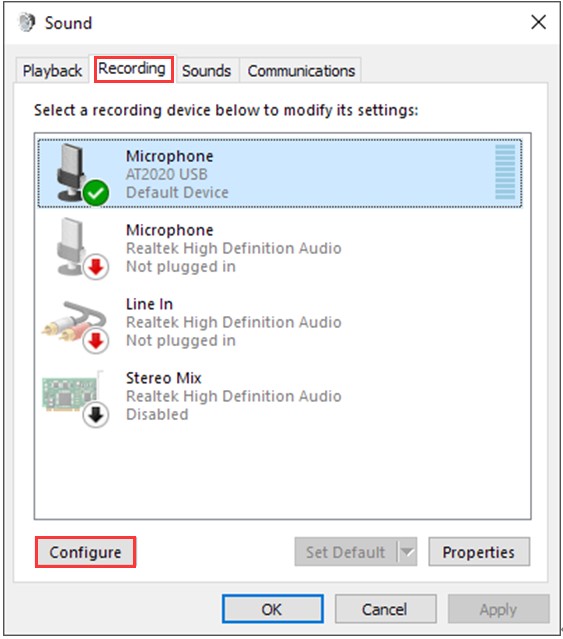
Step 2: In the Sound page, click the Recording tab to go on.
Step 3: After choosing the microphone that you would like to set up, click the Configure button in the lower left of the page.
Step 4: In the Speech Recognition page, choose the Set up microphone option.
Step 5: Follow the steps of the Microphone Setup Wizard to complete the process.
Step 6: After the process ends, click Finish to exit the operation.
At this time, you can perform a mic check by following the steps below.
Perform a Mic Test
To test microphone Windows 10, you need to repeat the Step 1 and Step 2 of installing microphone to go to the Recording section. Here, you will find the microphone that you installed just now. In order to check if your microphone is running properly, you should speak into it.
If it works normally, you will see a green bar rising behind the microphone when you are talking. Alternatively, you are able to know whether your microphone is working properly via a mic tester – Voice Recorder. It is a built-in program in Windows, which is easy to utilize.
Here are steps for testing microphone via Voice Recorder.
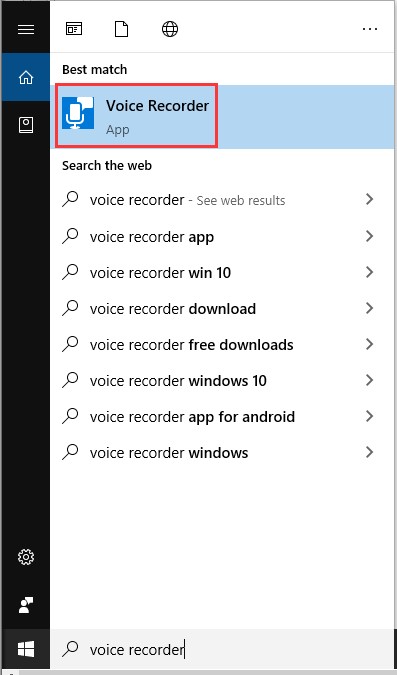
Step 1: Type voice reorder in the search box, and then select Voice Recorder in the search result list. If you are prompted with a confirm window, click Yes to go on.
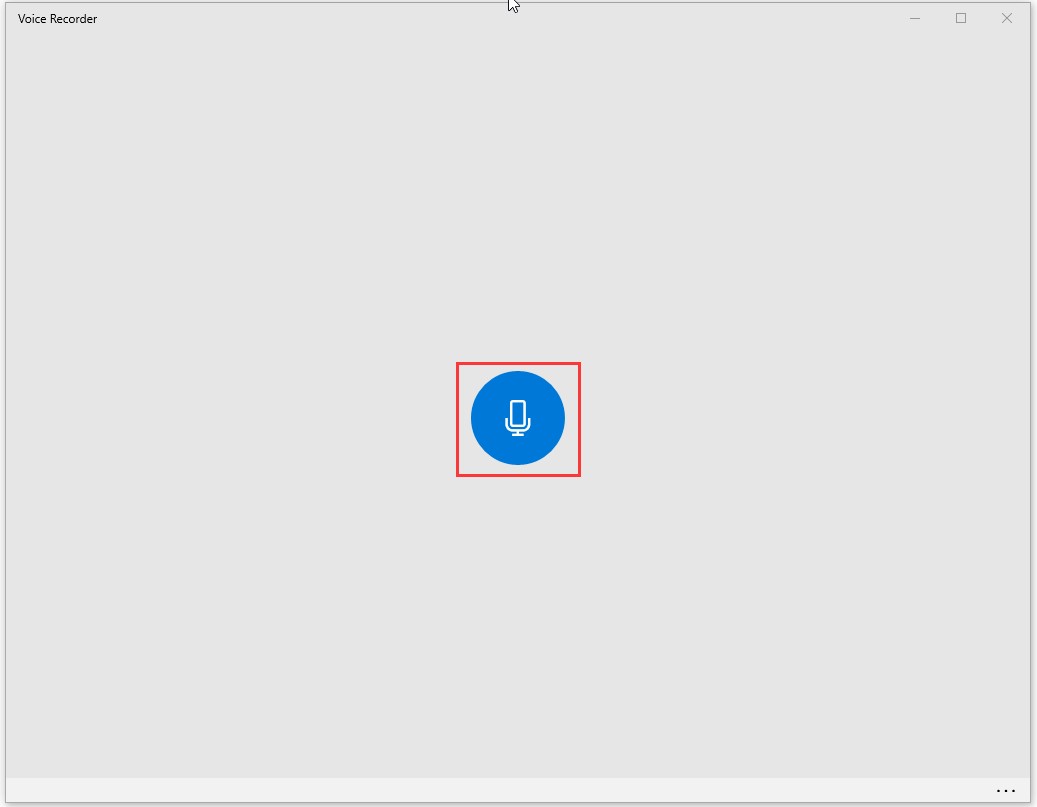
Step 2: Click the microphone icon in the middle of the Voice Recorder page to start recording.
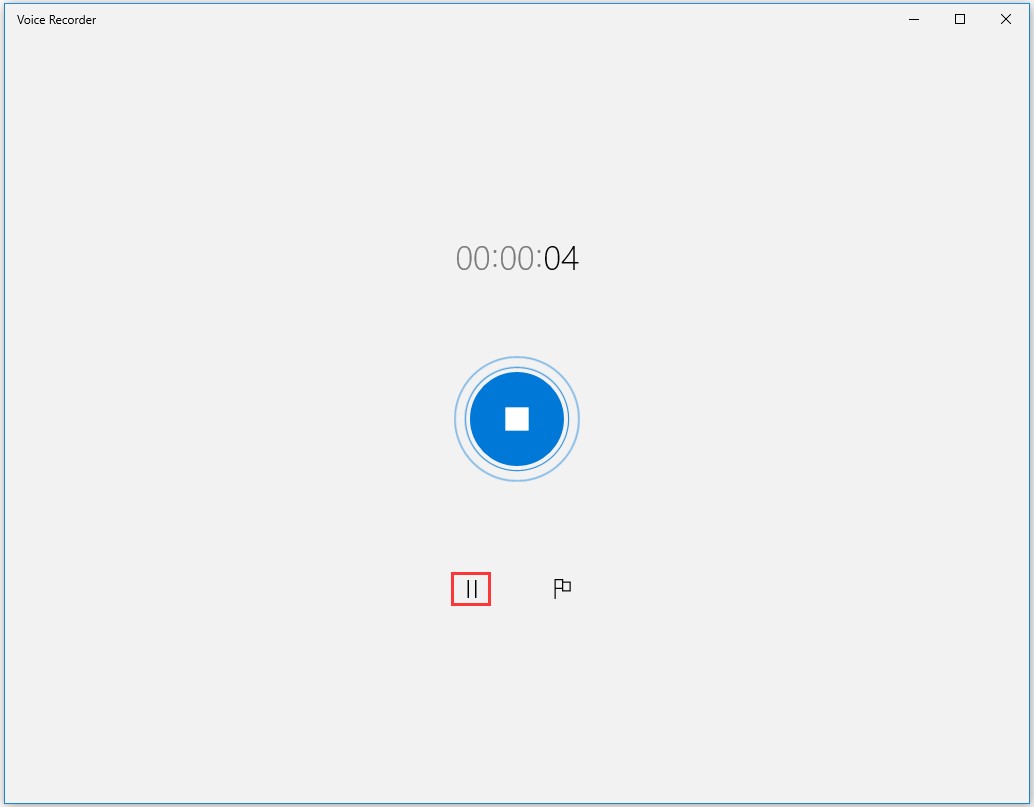
Step 3: You can pause the recording process by clicking the Pause button on the page. In addition, you are allowed to mark as many as you want parts of your recording via clicking the Flag button next to the Pause button.
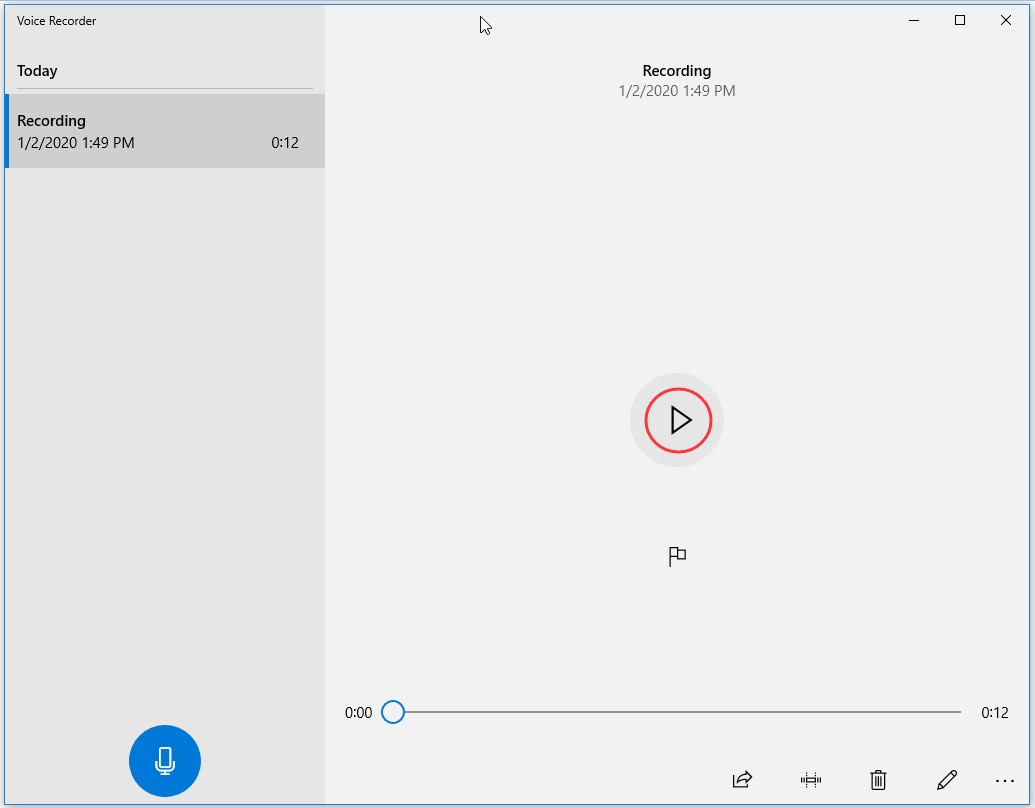
Step 4: When you finish recording, click the microphone button again. If you want to play the recording, clicking the Play button is ok. You are allowed to share, trim, delete and rename the recording by clicking the button at the bottom right corner of the page.
If you are unable to record, it indicates that your mic isn’ working. In this case, you need to take some measures to fix it.
User Comments :