Have you ever regretted not recording an important class lecture, business meetings or even a phone conversation? Fortunately, Windows 10 provides you with a simple option for recording the audio you want.
You may not be aware that Windows 10 includes a free Voice Recorder app, which can be used to record, trim, flag important moments, and share the audio effortlessly.
Let’s see how to record sound using Voice Recorder.
How to Install Voice Recorder App on Windows 10
Usually, Voice Recorder will be installed with the installation of Windows 10, but if it is not available on your device, you need to download and install it in the first place.
Step 1: Click Start and then select Microsoft Store.
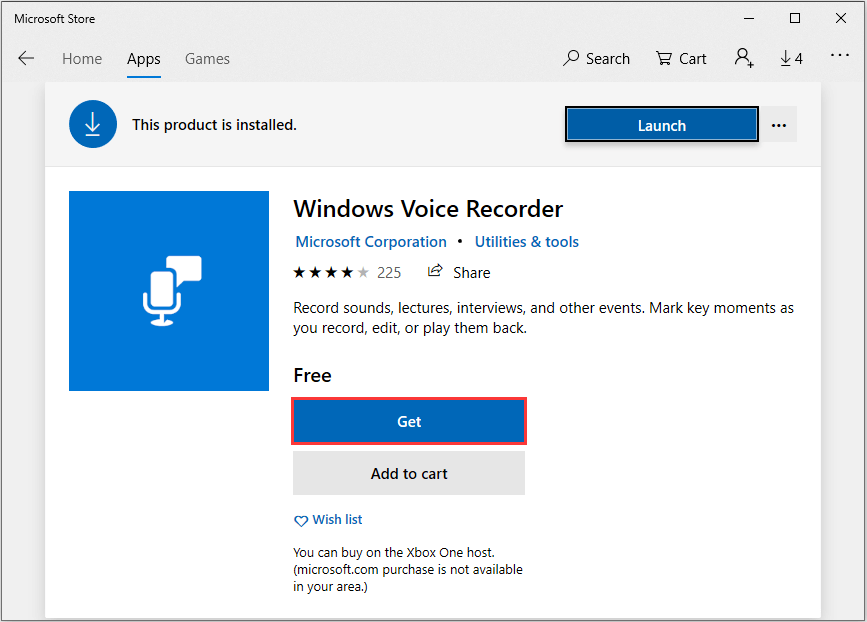
Step 2: Search for Windows Voice Recorder, and click the app in the search result.
Step 3: Click Get to download Voice Recorder.
Once you download Voice Recorder, it will be automatically installed. Then you can use it to record audio on Windows 10.
How to Record Sound Using Voice Recorder
You can learn how to record, play and edit your sound recording in the following instructions. The only thing you need is a microphone (if there is not one built into the computer).
Recording Audio
To record sound from the computer, be sure to connect a microphone and follow these steps.
Step 1: Press Win + S and type Voice Recorder in the search box. Then click the app to open it.
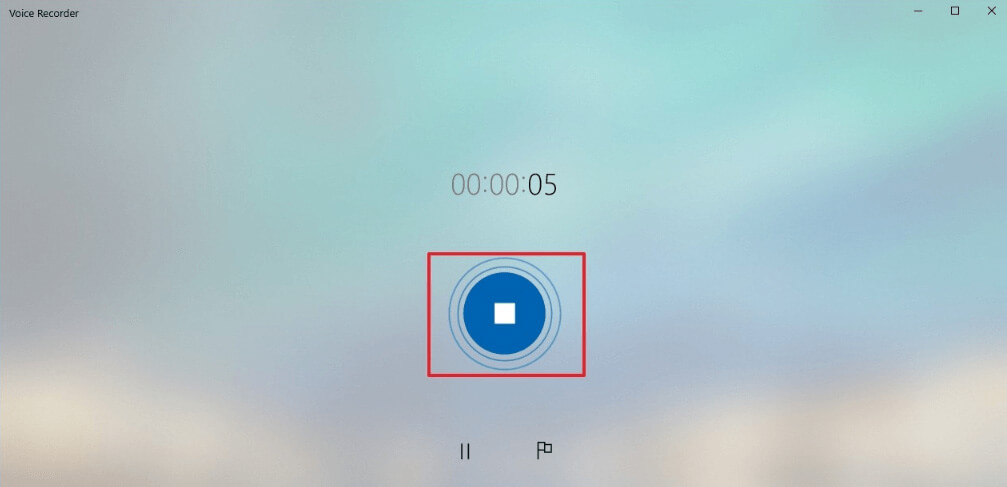
Step 2: Click Record button or press Ctrl + R to start recording.
Step 3: Click Stop button to finish recording when you have recorded all you need.
Further help:
- Flag button: You can use it to add a marker at a certain time during recording, which enables you to quickly jump to the certain part when editing the track. And the audio recording won’t be interrupted if you use this option.
- Pause button: You can temporarily stop the recording without terminating the session by clicking this option.
When you complete the recording process, Voice Recorder will automatically save the audio file as a .m4a file, and you can go to This PC > Documents > Sound recordings to find it.
Playing Audio Recordings
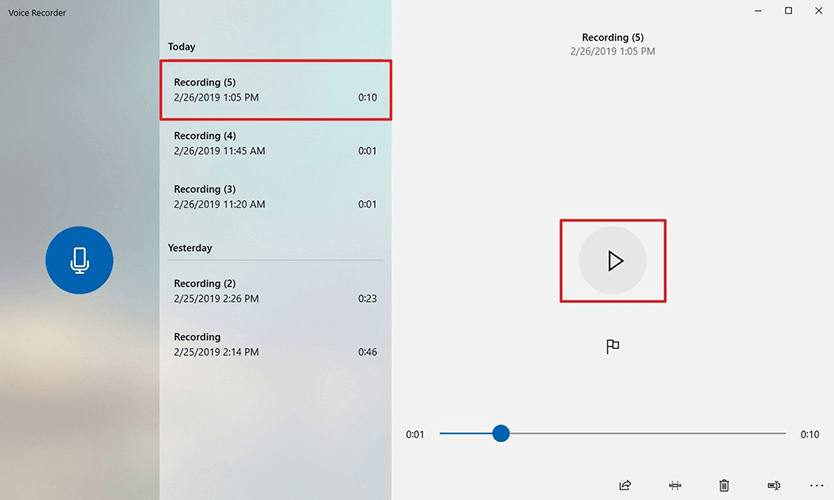
In Windows Voice Recorder, all recordings will be listed in the left panel. When you need to play the audio you record, you just need to choose the one you want and click Play button to check your recording file.
Trimming Audio Recording
If you want to edit your recording, you can take reference from the following steps.
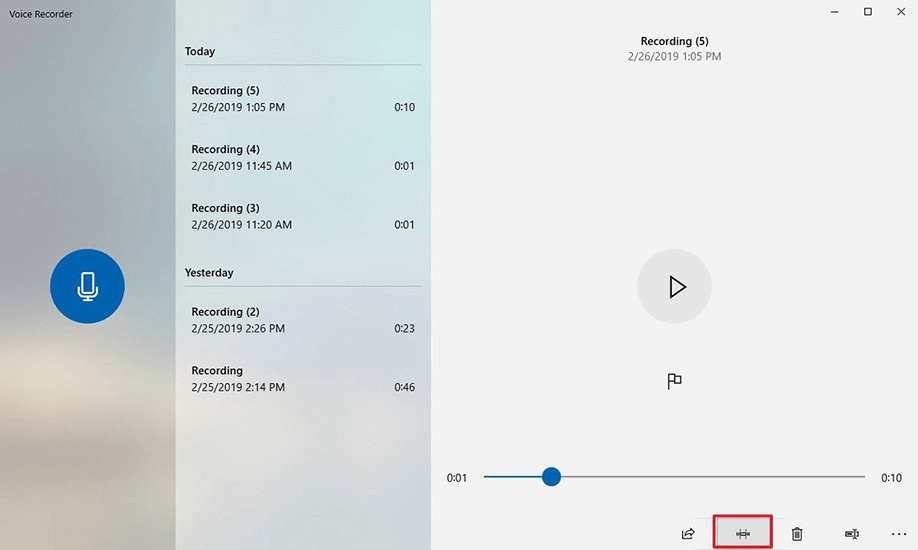
Step 1: Open Video Recorder and select the recording you want to trim from the left pane.
Step 2: Click the Trim button from the bottom-right corner.
Step 3: Select the beginning and end of the recording using the pins in the track.
Step 4: Click Save icon from the bottom-right corner, and choose Save a copy option. Then you will get a copy of the part of your recording.
User Comments :