Is a Raspberry Pi a good choice as a NAS server? How to build a Raspberry Pi NAS server? If you are trying to find the answer, this article by MiniTool Partition Wizard would tell you everything about the Raspberry Pi NAS server.
About Raspberry Pi NAS Server
Network Attached Storage (NAS) allows you to save files from computers and mobile devices to external hard drives over your home or office wireless network. With the Raspberry Pi, you can connect existing storage devices such as external portable hard drives and USB flash drives to create a safe backup of all your important files, accessible from anywhere in the world.
Is a Raspberry Pi a good choice as a NAS Server? There are many good reasons to set up a Raspberry Pi NAS server: Your own small computer-based server is less expensive than buying a full NAS system. Energy costs in particular are much lower due to the low requirements of the Raspberry. It is also compact and portable. Raspberry Pi NAS systems run off standard battery packs if no other power source is available.
What Need to Create a Raspberry Pi NAS Server
To create a Raspberry Pi NAS, you first need to obtain the necessary equipment.
- Raspberry Pi
- USB-C power supply unit (PSU)
- micro SD card
- powered USB hub
- ethernet cable
- external storage
If you're using a Raspberry Pi 4 or Raspberry Pi 400, you'll need a USB-C power supply and a micro HDMI to standard HDMI cable for Raspberry Pi 4 NAS server. Older models will require a micro USB power supply and a standard HDMI to HDMI cable.
Install the Rasalia Pi Operation System Related Edition
We will use Raspberry Pi Image to install Raspberry Pi OS Lite on your MicroSD card. Raspberry Pi Image can be used for free Windows, macOS, Ubuntu X86, and Raspberry Pi OS, which can be downloaded here.
1. Open the Image application and connect the MicroSD card to the computer
Use the SD card accessories to connect the MicroSD card to the computer. We recommend that the minimum storage size is 16GB.
2. Install the Raspberry Pi OS to your MicroSD card
In Raspberry Pi Image, you can do the following operation:
- Choose OS: you can find Raspberry Pi OS under Raspberry Pi OS (Other). We use smaller Raspberry Pi OS Lite.
- Open the Advanced Menu: Press Ctrl + Shift + X to mix the Raspberry Pi Image advanced menu, or click the Advanced Menu button.
- Enable SSH: Check the Enable SSH box and set the username and password. You need these details to access your Raspberry Pi and network storage. Then select Save the advanced menu.
- Choose Storage: Select your MicroSD card. Finally, select Write.
After completion, you can remove the MicroSD card from the computer and insert it into Raspberry Pi.
3. Storage option
In this tutorial, we will use a portable USB hard disk drive and a built-in hard disk drive with a SATA adapter. You can also use a USB flash drive. We recommend that you remove the data in the driver, because you may need to format it in the process later.
To maintain a stable power supply for your external hard disk drive, it is best to connect your storage device to your Raspberry PI with the active USB hub.
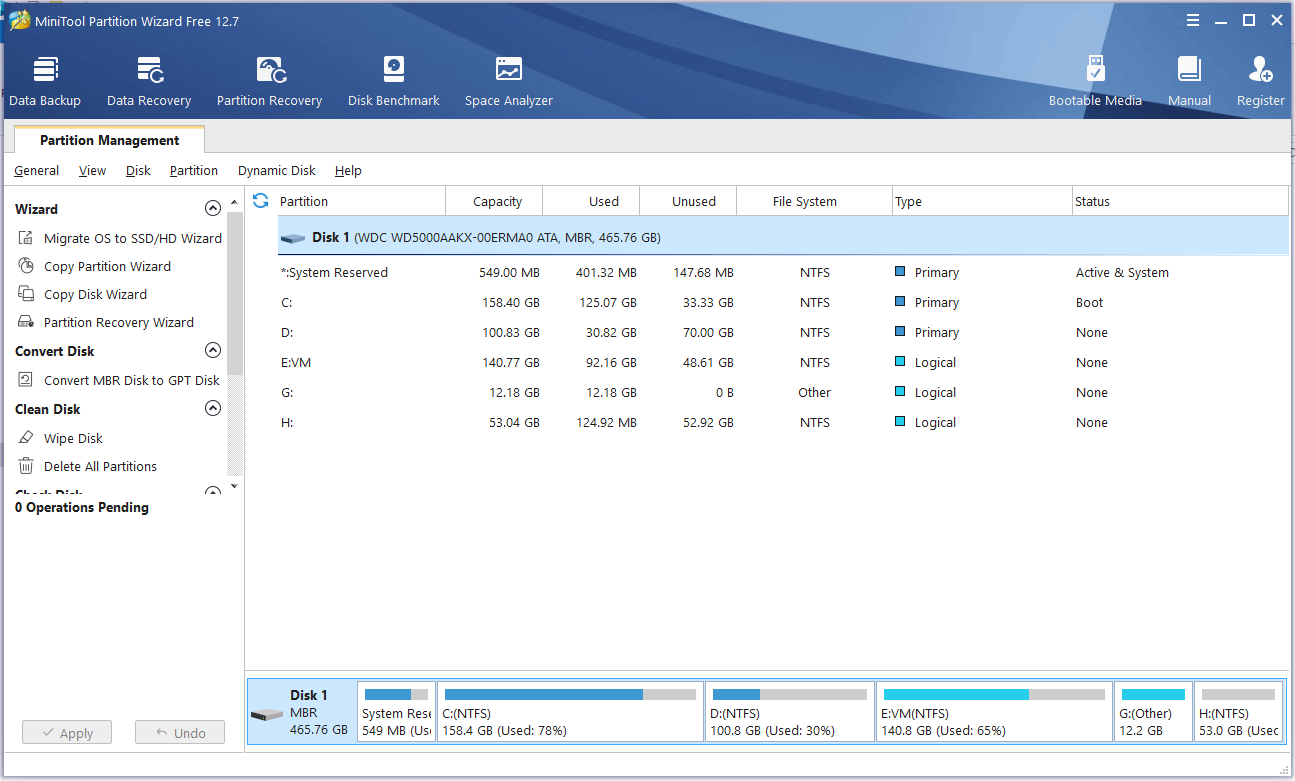
Note that if you use the SD card you have used, you may need to back up the SD card. Because you need to format it in the process later, formatting will definitely cause data loss. A disk cloning software is recommended here - Minitool Partition Wizard. As a dedicated clone tool, it provides you with convenience, and can easily transmit data from one disk to another.
In addition, it is the best SD card formatter. The most important thing is that the SD card between 32GB and 2TB can be formatted into the FAT32 file system, which breaks the restrictions of Windows.
MiniTool Partition Wizard DemoClick to Download100%Clean & Safe
How to Set up Raspberry Pi as NAS Server
Here we divide the Raspberry Pi NAS Server setup process into several steps.
Step 1: Download and Install OpenMediaVault
As with Raspbian or other Raspberry Pi distributions, you’ll need an external computer to download and install OpenMediaVault.
Before starting the automatic installation process, you should configure your network router to assign the minicomputer the same IP address every boot, otherwise it will change every reboot.
To install OpenMediaVault, run:
sudo wget -O – https://github.com/OpenMediaVault-Plugin-Developers/installScript/raw/master/install | sudo bash
Step 2: Set up OpenMediaVault
1. Open an internet browser on your regular computer and enter your Raspberry Pi’s IP address in the address bar.
2. Log in to OpenMediaVault with the following credentials:
Username: admin
Password: openmediavault
3. Select the gear icon in the upper right corner to open settings and change your OpenMediaVault administrator password.
Step 3: Set up Network Access
- Select Storage, then select Disk
- Navigate to Storage and File Systems. You probably won’t see anything here, so choose to Create. Here you can choose your storage device. We recommend choosing the EXT4 drive format. Choose OK and Close.
- Select the file system to mount and apply the changes.
- Now we need to create a shared folder.
- Navigate to the Storage and Sharing Folder and choose to Create. Here you can name the folder, choose the drive it should live on, and grant permissions to the user.
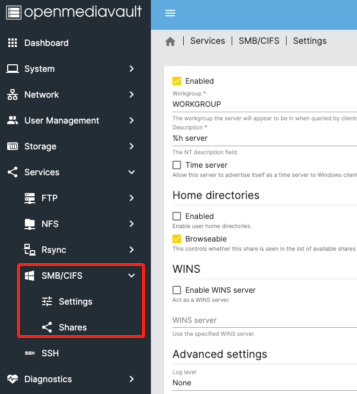
- Finally, we need to make sure that computers on your network can find the folder. Navigate to Services and select SMB/CIFS.
- Under Settings, check the Enabled box and save. Under Shares, choose to Create, add your shared folder, and save. Your NAS system should now be ready for use.
Step 4: Access Your NAS from macOS, Windows
Access Your NAS from macOS
- On your desktop, press Command + K. Enter smb://XXX.XXX.X.XXX (replace with the IP address of your NAS Raspberry Pi).
- Enter your username and password. Your username and password will be the ones you created in Raspberry Pi Imager.
- Your shared folder will now appear in a finder window.
Access Your NAS from Windows
Open Windows Explorer. In the Path field, write \XXX.XXX.X.XXX (using your Raspberry Pi NAS’s IP address).
Create a new entry under Network in the left nav and display its contents. Double-click the share you want, and when prompted, enter the username and password you created in Raspberry Pi Imager.
![How to Increase Raspberry Pi Storage [4 Ways]](https://images.minitool.com/partitionwizard.com/images/uploads/2023/01/raspberry-pi-storage-thumbnail.png)
Bonus: Free Partition Managers for Windows 10/11
Are you looking for a professional partition manager for your Windows computer? If so, you can try Minitool Partition Wizard.
MiniTool Partition Wizard is a powerful and reliable partition manager. It can do what disk management does, such as creating/deleting/formatting/adjusting partition size. In addition, its Surface Test function can help you check your disk health.
Do you want to try it now?
MiniTool Partition Wizard FreeClick to Download100%Clean & Safe
About The Author

Position: Columnist
Vega enjoys helping people with computer problems, including disk management, data recovery, data backup, and more. She is constantly expanding her knowledge in related fields. And she will continue to bring more easy-to-understand professional articles to help people solve various problems on the PC.
User Comments :