On-Screen is quite useful when you don’t have a physical keyboard or your computer is designed with a touch screen. However, some users are bothered by the On-Screen keyboard not working issue. In this post, MiniTool Partition Wizard puts together some solutions to this issue.
An On-Screen keyboard is a keyboard where you can type with your mouse or fingers. It is quite useful when you don’t have a physical keyboard or the keyboard is not working. Users who have a computer with a touch screen usually prefer the On-Screen keyboard to a physical keyboard. It is available on many operating systems, such as Windows 11/10/8.1/7.
Unfortunately, some users reported that their On-Screen doesn’t work. Here is an example:
My Keyboard and on-screen keyboard don’t work after boot-up on my Toshiba notebook. Touchpad is working well. I tried to plug in a wireless kb and it didn’t work either. I need to keep excessively type on my keyboard and sometimes, it goes back to life. Any clue to solve this problem?https://answers.microsoft.com
If you are bothered by the same issue, please try the following fixes to solve it.
Solution 1: Make Sure Your On-Screen Keyboard Is Enabled
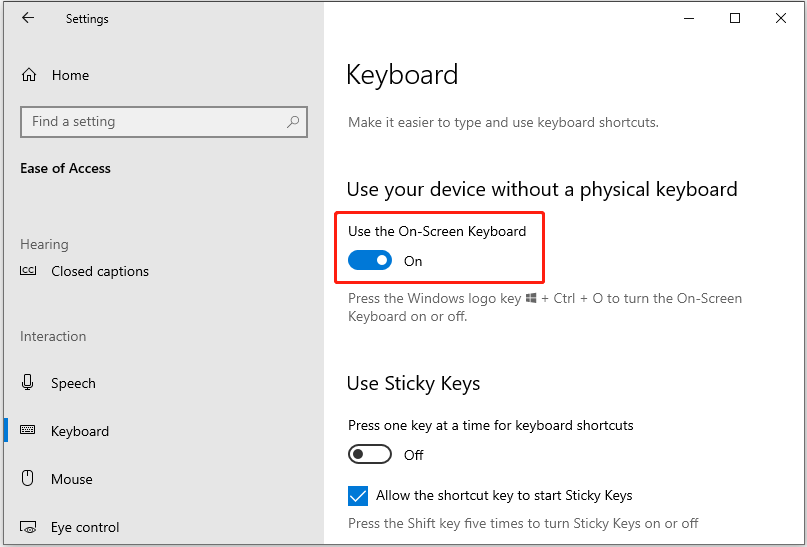
Before troubleshooting the On-Screen keyboard not working on Windows 10/11, please make sure your On-Screen keyboard has been enabled. You can press Win + I to open Windows Settings and go to Accessibility > Keyboard to enable On-Screen keyboard, as the following picture shows. You can also use the touch keyboard on Windows 11/10/.
If you have enabled the keyboard but it is not working, you can move on to the next solution.
Solution 2: Create a Shortcut for Your On-Screen Keyboard
If you encounter the On-Screen keyboard not working after you enable On-Screen keyboard in Settings, you can try another way to run it – creating an On-Screen keyboard shortcut.
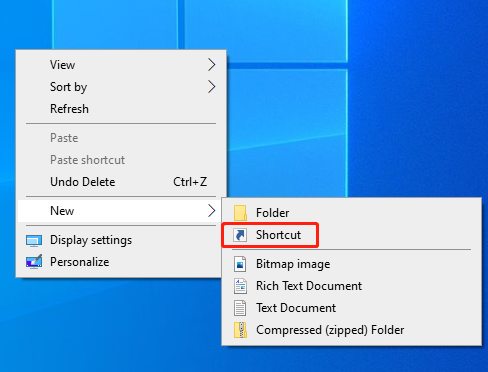
Step 1: Right-click any empty space on the desktop.
Step 2: In the pop-up menu, select New > Shortcut.
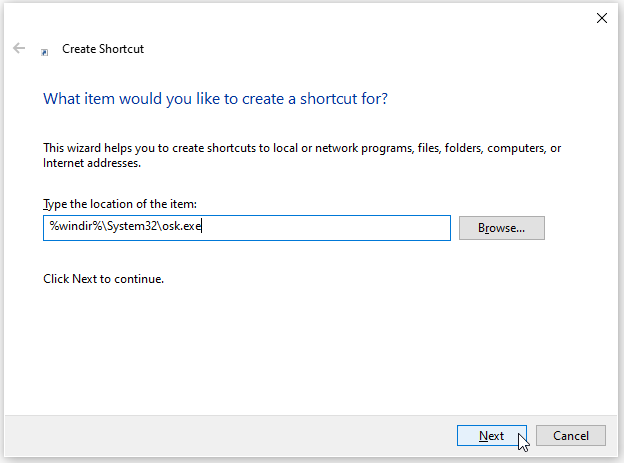
Step 3: In the following window, input %windir%System32osk.exe in the box and click Next.
Step 4: Name the shortcut, such as My On-Screen Keyboard. Then click Finish.
After that, you can see the On-Screen keyboard shortcut on your desktop. Double-click it to launch the keyboard and check if it works.
Solution 3: Enable Related Services
To troubleshoot the Windows 11 or Windows 10 On-Screen keyboard not working issue, you need to make sure related Windows services are running properly. Here are the detailed steps.
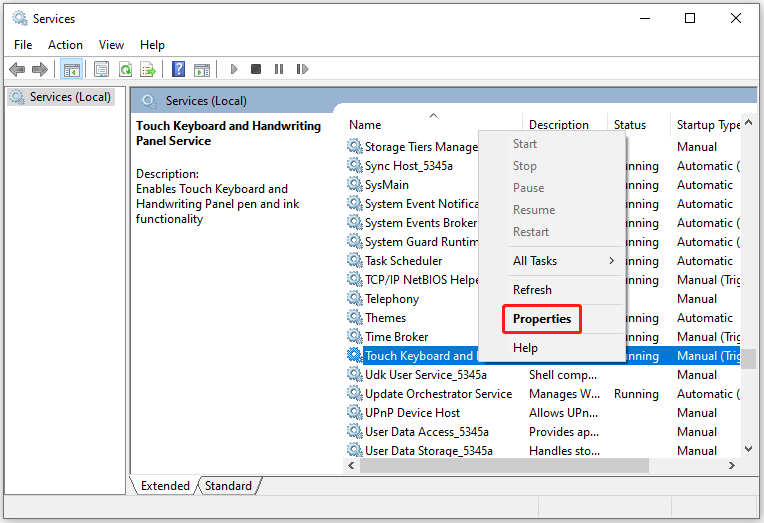
Step 1: Press Win + R to invoke the Run window. Then type services.msc and click OK to open the Services window.
Step 2: Scroll down to find the Touch Keyboard and Handwriting Panel service. Then right-click it and select Properties.
Step 3: In the pop-up window, select Automatic for the Startup type. If this service is not running currently, click Start.
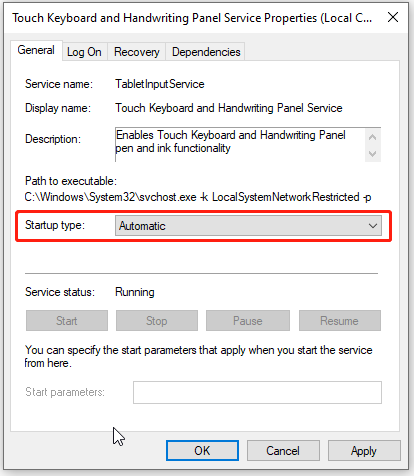
Step 4: Click Apply and OK to save the changes.
Then, you can check whether the Windows 11 or Windows 10 On-Screen keyboard not working issue has been solved. If it fails to work again, please continue with the next solution.
Solution 4: Run a SFC Scan
On-Screen keyboard not working on Windows 10/11 could also happen when there are corrupted or missing system files. To solve the problem, you can run System File Checker (SFC), a built-in tool in Windows.
Step 1: Open the Run window. Then type cmd and press Ctrl + Shift + Enter to run Command Prompt as administrator.
Step 2: In Command Prompt, input sfc /scannow and press Enter to run the command.
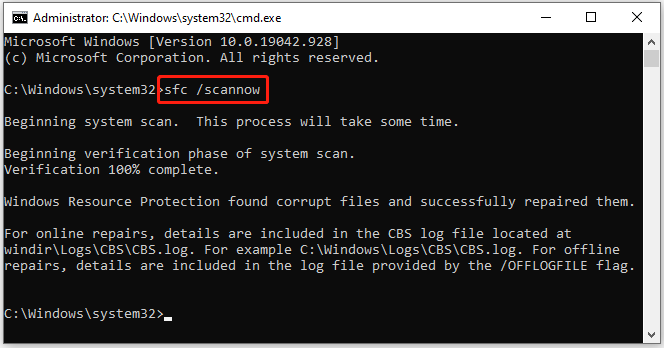
Step 3: Wait until the process is finished and type with your On-Screen keyboard to check if it works properly.
Now, it’s your turn to troubleshoot On-Screen keyboard not working on Windows 10/11.
User Comments :