It is easy to show others what is on your screen with a screenshot. But how to screenshot on Dell? This post from MiniTool Partition Wizard details two methods. Follow the tutorials below to get your screenshots on your Dell computer.
How to Take a Screenshot on a Dell
It is easy to take a screenshot on Dell. The common way is hitting the Print Screen key or using Snipping Tool. Now follow the tutorial below to take a screenshot on your Dell computer.
Take a Screenshot on Dell Using the Print Key
The Print Screen is a keyboard key and you can find it on most common computer keyboards. When you hit the key, the key will capture your entire screen.
Here is the tutorial on using the Print Screen key to take a screenshot on a Dell.
Step 1: Locate the Print Screen key on your keyboard. The key is usually located in the upper right-hand corner of the keyboard.
Step 2: Once locate the Print Screen key, press it and the Windows key in the bottom left/right-hand corner of the keyboard simultaneously.

Step 3: Find the screenshot in the Screenshot folder that is created in the Pictures folder after you take your first screenshot.
- Type screenshot into the Windows search bar.
- Hit the Enter key to access the folder where you can find the screen image you have captured.
This is about how to take a screenshot on Dell using the Print Screen key. Keep reading to see how to use Snipping Tool to capture your computer screen.
Take a Screenshot on Dell Using the Snipping Tool
Snipping tool is a Microsoft Windows screenshot utility released in 2002 and is available in Windows Vista and later. With the utility, you can take capture of an open window, a free-form, area, a rectangular area, and the entire screen and make some notes on the screenshot. Moreover, the screenshot can be saved in different file formats like PNG, GIF, or JPEG.
How to use the utility on Dell? Follow the tutorial below.
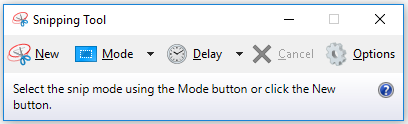
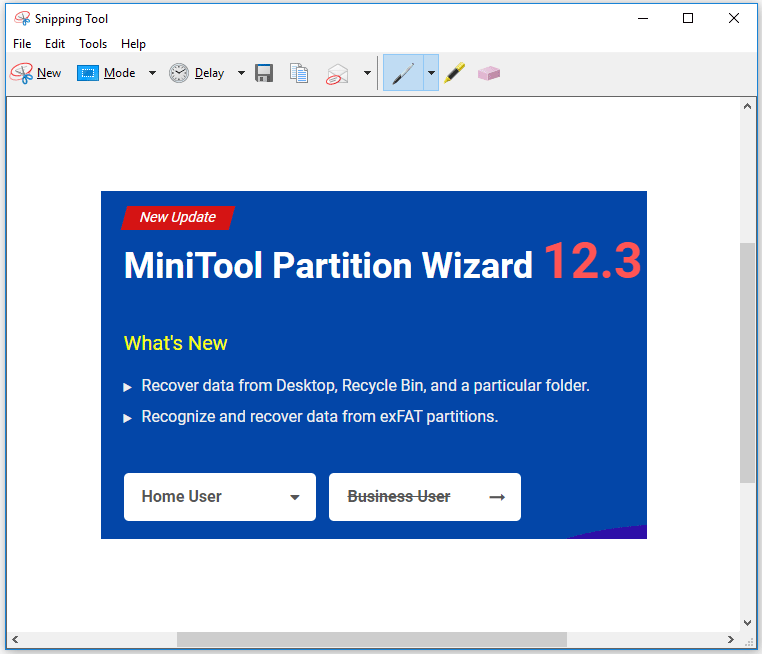
Step 1: Type Snipping Tool into the Windows search bar and hit the Enter key. Then, you will see a small window called Snipping Tool.
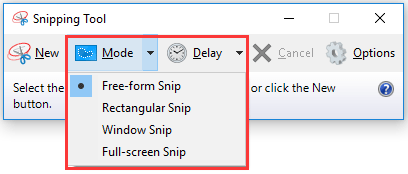
Step 2: Click the Mode option and choose Free-form Snip, Rectangular Snip, Window Snip, and Full-screen Snip from the drop-down menu.
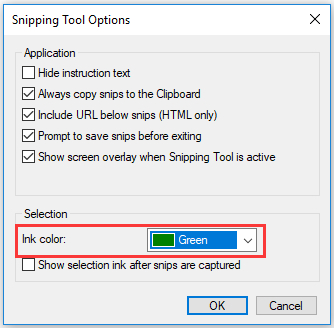
Step 3: By default, Snipping Tool has a red border around it. To change the border color, you can click the Options option and then choose the color you prefer from the Ink color menu. Click the OK button to save the change.
Step 4: Click the New option and then drag your mouse across your Dell computer screen to snip an area.
If you are satisfied with the screenshot, you can click the Save Snip icon to save it. If not, you can click the New option to re-take a screenshot.
This is all about how to take a screenshot on Dell. If you want to show what is on your computer screen better, you can use a screen recorder like MiniTool uTube Downloader.

User Comments :