There are many reasons that you may need to change user name on Windows 10. For example, you use a wrong name when creating the user account, and now you want to correct it with your real name.
Well, how to change user name Windows 10? Here are 4 ways with detailed steps and screenshots. Let’s have a look one by one.
Here is a video guide:
Way 1. Change User Name Windows 10 via Control Panel
Step 1. Type control panel in the Windows 10 Cortana search box and then click the best match to open it. Alternatively, you can press Win + R keys to bring up the Run box. Type control and hit Enter to open the Control panel.
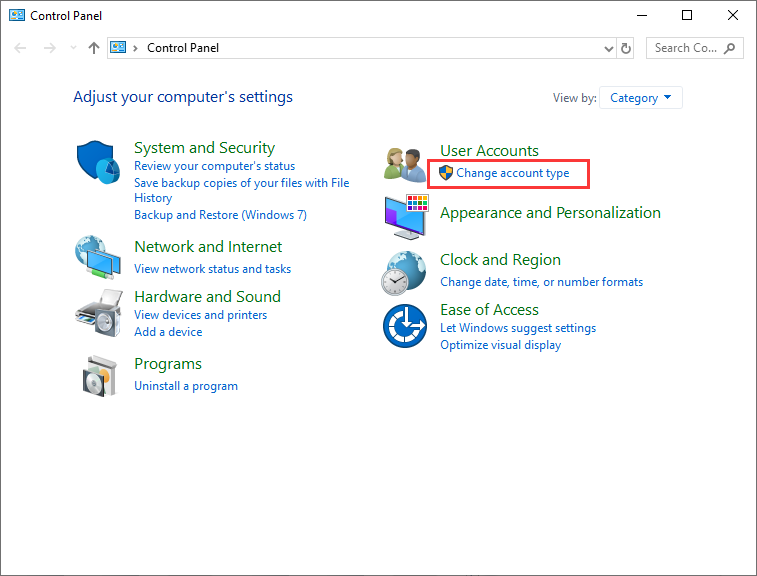
Step 2. Under the User Accounts, choose Change account type directly when the Control Panel is in Category view.
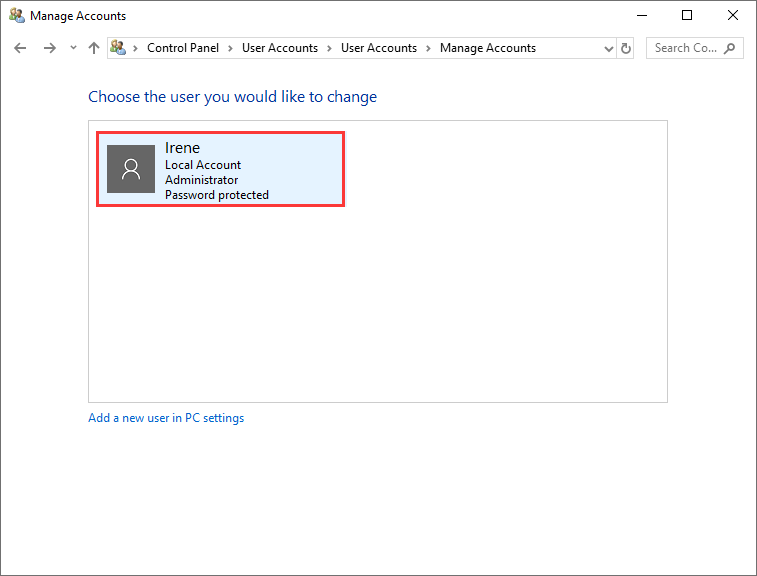
Step 3. Click on the account that you would like to change the user name.
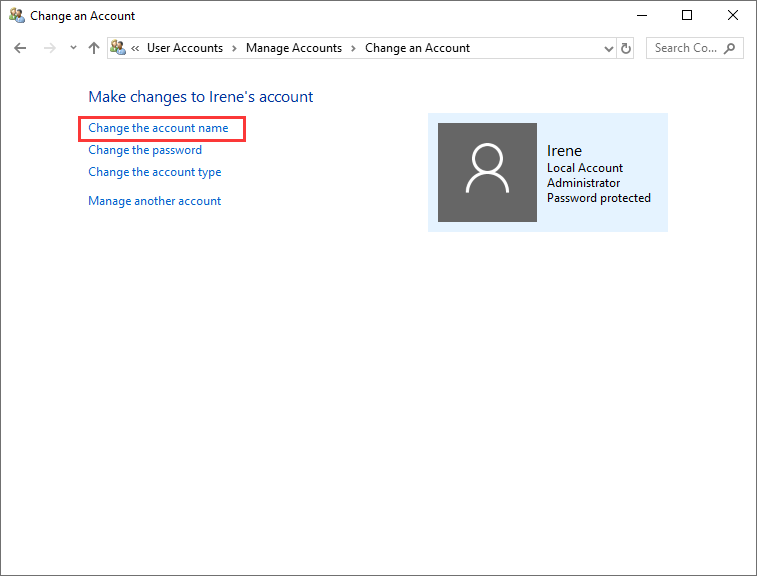
Step 4. Then select Change the account name from the left panel.
Step 5. Type the new name into the target box, and then click Change Name to make instant change. Then this name will appear on the Welcome screen and on the Start screen.
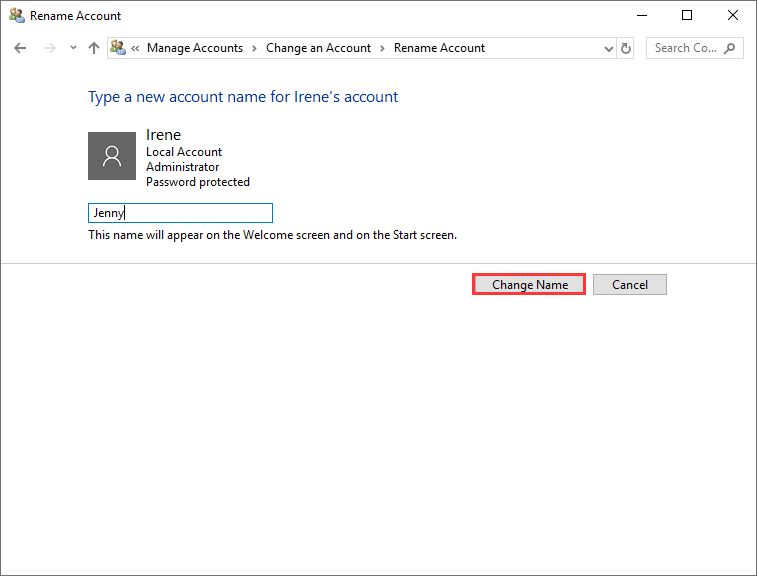
So next time when you log in your account, you’ll then see your account with the new name.
Way 2. Change User Name Windows 10 via Local Users and Groups
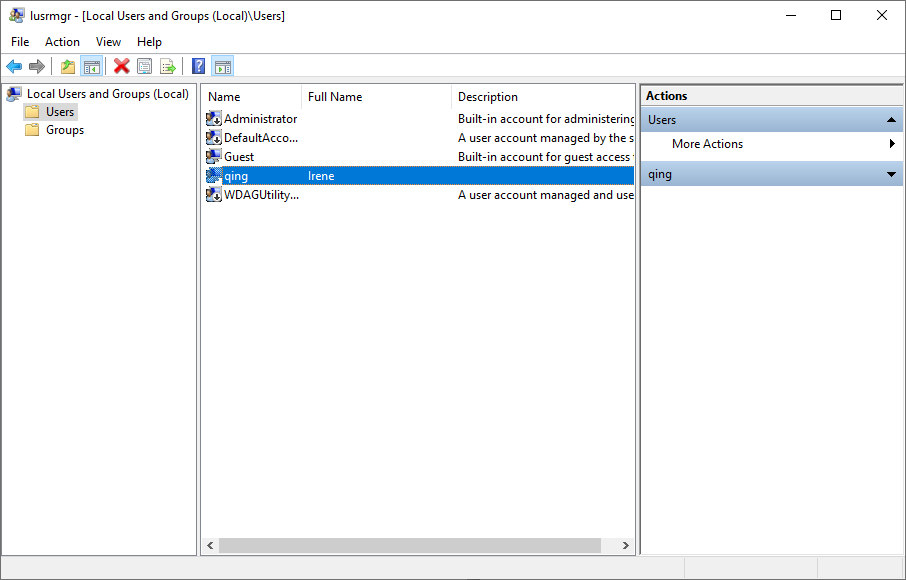
Step 1. Press Win + R keys on the keyboard to open the Run dialog box (you can also right click Windows 10 Start menu and choose Run from the menu get the Run box), and then input lusrmgr.msc and hit Enter to open Local Users and Groups.
Step 2. Click on the Users folder from the left panel, and then double-click the user account you would like to rename.
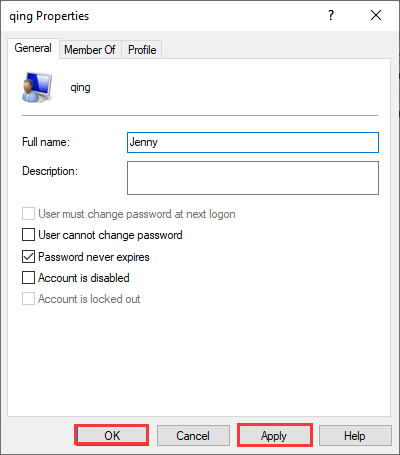
Step 3. On the pop-up window, type a new name in the full name box. Then click Apply and OK to save the change.
Way 3. Change Users Name Windows 10 via Netplwiz
You can use the user account settings netplwiz to change user account name in a simple way. Here are detailed steps.
Step 1. Input netplwiz in the Windows 10 Cortana search box and click the best match to open the tool.
Step 2. Choose the account that you want to change. Then click the Properties button.

Step 3. In Full Name field, input your new user name. Then click Apply and OK to save it.
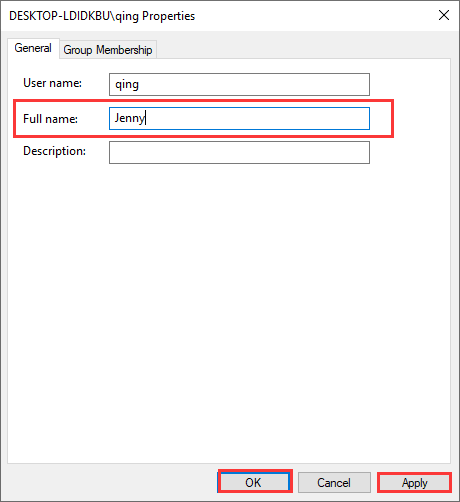
Then the newly updated name you specified in the Full Name field will be shown in the Windows 10 Sign-in and sign-out screen.

Way 4. Change User Name Windows 10 via Setting
If you log in your Windows 10 computer with a Microsoft account, you can change user account name Windows 10 via Settings. Follow the steps below to change user name windows 10 now.
Step 1. Right click Windows start menu and choose Settings from the pop-up window. Alternatively, you can press Win + X keys on the keyboard and then select Settings from the quick-access menu.
Step 2. Click Accounts from the Windows Settings window.

Step 3. Click Manage my Microsoft account.
Step 4. Click the drop-down menu of More options under your Microsoft account. Then click Edit Profile.
Step 5. Find and click Edit name.
Step 6. Enter the new name into the box and save it.
After finishing the above steps, the account name of your Microsoft account will be changed.
Have you learned how to change user name Windows 10? If this post helps you, you might as well share it with your friends who need to change user name Windows 10. If you have any question about the methods shown in this post, you can leave a comment in the comment zone below.
User Comments :