You may have set up the iCloud Drive on your Windows 10 computer. But an annoying thing occurs that the space of primary partition (containing the folder) is running out, and you hope to change the folder’s location to get rid of this issue. In this post, MiniTool shows the tutorial on changing iCloud Drive location.
iCloud Drive on Windows 10
It is easy to get up and running iCloud Drive on Windows computers. Some Windows 10 users have created the iCloud Drive folder on their Windows 10 computers. But the annoying thing is that the folder uses the primary partition on PC and the partition space is running out.
This situation needs to be paid attention to, especially when the primary partition is related to system. As we know, when the system-related partition gets full, this will slow down computer performance.
To remain the iCloud Drive folder on your Windows 10 computer and free up the primary partition simultaneously, you can move the folder to another location.
Change iCloud Drive Location on Windows 10
To move the iCloud Drive folder to another location on Windows 10, you can refer to the following steps.
Step 1: Click the iCloud icon on your computer taskbar and then click the Open iCloud Settings button to launch the iCloud app.
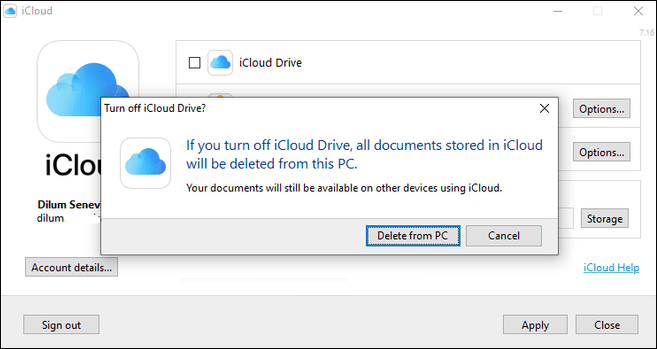
Step 2: On the iCloud app window, uncheck the box next to iCloud Drive and then click Apply to confirm this change.
Step 3: On the confirmation window, click the Delete From PC button.
Step 4: After removing the files and folders from your computer, please close the iCloud app.
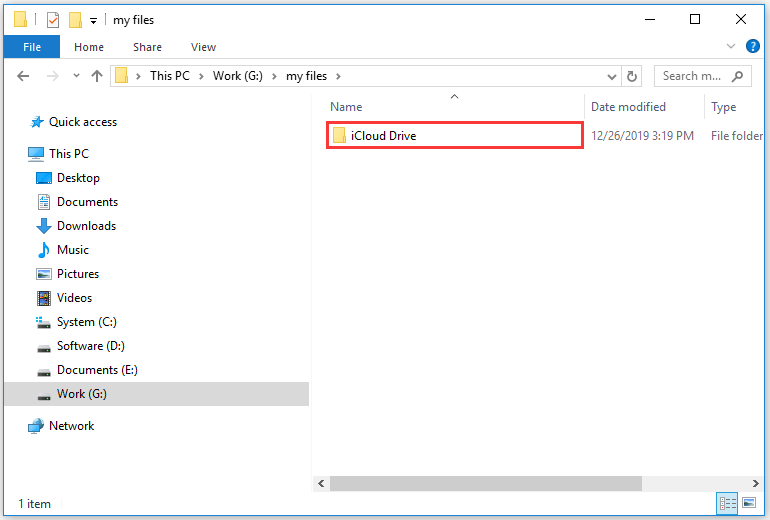
Step 5: Create a new iCloud Drive folder in a different location. You can create it on the local disk or the external storage device, such as USB. Note that it is not recommended that you use the root of the local drive or partition for the new iCloud Drive folder location.
Step 6: Make some changes via Windows PowerShell.
- Open Windows PowerShell by right-clicking the Start button and then choosing Windows PowerShell from the list.
- Once the Windows tool is launched, type the command: cmd /c mklink /J “C:Users*iCloudDrive” “#” (* refers to your Windows username; # refers to the actual path of your created iCloud Drive folder location, like “D:iCloudiCloud Drive”) and then hit the Enter key to run this command.
Step 7: Repeat Step 1 to launch iCloud app and then check the box next to iCloud Drive and click Apply.
After the above steps, the iCloud Drive files will be downloaded on the new location.
Have you changed iCloud Drive location on Windows 10 successfully? If you are still bothered by running out partition space, you can read the post from which you can get other ways to free up disk space.

Bottom Line
Have you mastered how to change iCloud Drive location on Windows 10? Please leave your feedback to the tutorial in the following comment zone, this may be helpful for other Windows 10 users.
User Comments :