If you are experiencing the UDFS FILE SYSTEM blue screen error on your computer, you come to the right place. In this post, MiniTool Partition Wizard provides several effective solutions to help you get rid of the error.
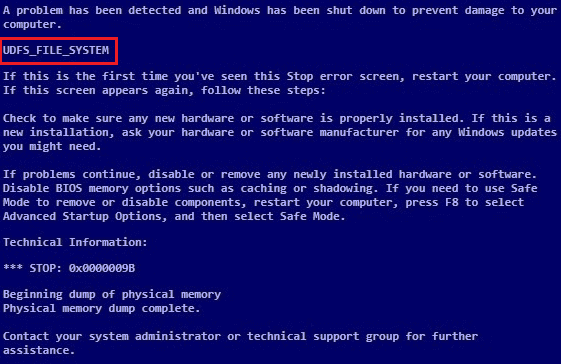
UDFS FILE SYSTEM Blue Screen
The UDFS_FILE_SYSTEM blue screen error indicates a problem with the UDF file, causing your PC to malfunction. It is accompanied by a bug check code, 0x0000009B.
After investigating extensive user reports and posts, I find that the UDFS FILE SYSTEM blue screen error can mainly be caused by corrupt disks and bad sectors, malfunction within the IDE and SCSI drivers, and insufficient space in the non-paged pool memory.
In addition, malfunctioning or incompatible optical drives, obsolete or corrupt drivers, corrupted system files, and even more serious hardware issues are also related to the UDFS_FILE_SYSTEM (0x0000009B) error.
Have you also encountered the same error? If so, you don’t need to worry. This post provides a full guide on it.
Fix 1. Try Some Basic Tricks
Before you try using other advanced ways to fix the Bug Check 0x9B: UDFS_FILE_SYSTEM error, you can try these fixes first:
- Run the BSOD Troubleshooter
- Update Windows and drivers
- Check hardware and cables
- Check for problematic applications
- Perform a clean boot
Fix 2. Check Disk Errors
Corrupt disks and bad sectors can cause the Bug Check 0x9B: UDFS_FILE_SYSTEM error easily. So, you can try checking your drive on your PC to fix the error. Here’s the way:
Step 1. Press the Win + E keys to open the File Explorer window, and select Computer from the left panel.
Step 2. Right-click the problematic drive and select Properties.
Step 3. Go to the Tool tab, and click the Check button under the Error checking section.
Step 4. Follow the on-screen instructions to complete the process. Once done, restart your computer and check if the error persists.
However, if you encounter errors while using Disk Error Checking and running CHKDSK, you can use MiniTool Partition Wizard as an alternative. It provides the Check File System feature to help you check and fix disk errors, and the Surface Test feature to help you scan bad sectors on disk.
Besides, this multifunctional tool can also help you format USB to FAT32, change cluster size, partition disk drives, rebuild MBR, convert MBR to GPT, set partitions as primary/logical, align partitions, recover data from hard drive, and more.
MiniTool Partition Wizard FreeClick to Download100%Clean & Safe
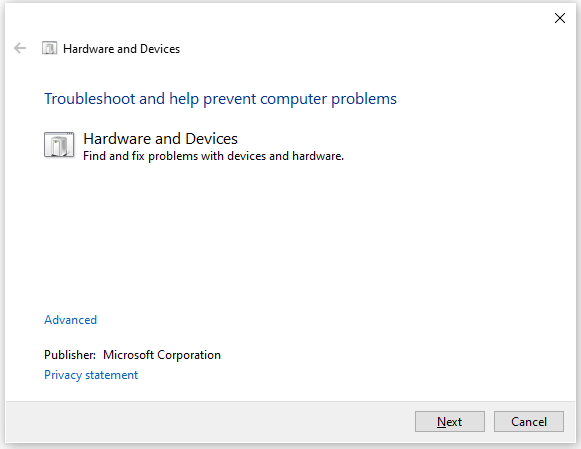
Fix 3. Run the Hardware and Devices Troubleshooter
Hardware issues are also one of the reasons for the UDFS_FILE_SYSTEM (0x0000009B) error. In this case, you can try running the Hardware and Devices troubleshooter to fix the error. Here are the detailed steps:
Step 1. Press the Win + R keys to open the Run window.
Step 2. Type “msdt.exe -id DeviceDiagnostic” and press Enter to open the Hardware and Devices troubleshooter.
Step 3. Click Next to run this troubleshooter. It can automatically detect hardware and device issues, and allow you to choose whether to fix them or not.
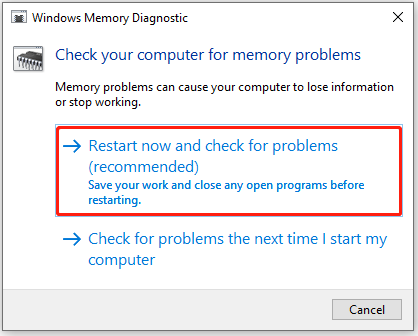
Fix 4. Run Windows Memory Diagnostic
If there is anything wrong with the RAM, you can also encounter the Bug Check Code 0x0000009B. In this situation, you can run Windows Memory Diagnostic to fix the error. Here’s how to do it:
Step 1. Press the Win + S keys to open the Search window, type “mdsched.exe” and select Windows Memory Diagnostic from the results.
Step 2. In the pop-up window, select Restart now and check for problems (recommended).
Step 3. Once the test is done, check if the error has been resolved.
Fix 5. Disable the UDF File System Driver
If the UDFS FILE SYSTEM blue screen error on your PC is related to handling UDF formats, disabling the UDF file system driver may solve the issue. This is particularly useful if you do not currently need to use UDF-formatted discs. Here’s a guide:
- Open the Run window, type “devmgmt.msc” and press Enter.
- Navigate to View > Show hidden devices.
- Expand Non-Plug and Play Drivers.
- Right-click on Udfs.sys and select Disable.
- Restart your computer.
Fix 6. Run SFC and DISM
Corrupted system files are also responsible for the Bug Check Code 0x0000009B. So, you can try run SFC and DISM to fix the error. Here’s the way:
Step 1. Open the Search window. Type “cmd” in the search box, right-click Command Prompt under Best Match, and then select Run as administrator.
Step 2. In the elevated Command Prompt window, type “sfc /scannow” and press Enter.
Step 3. Once the process is complete, restart your PC and check if the error has been resolved. If not, pro If not, proceed by initiating a DISM scan. Here are the DISM commands:
- DISM.exe /Online /Cleanup-image /Scanhealth
- DISM.exe /Online /Cleanup-image /Checkhealth
- DISM.exe /Online /Cleanup-image /Restorehealth
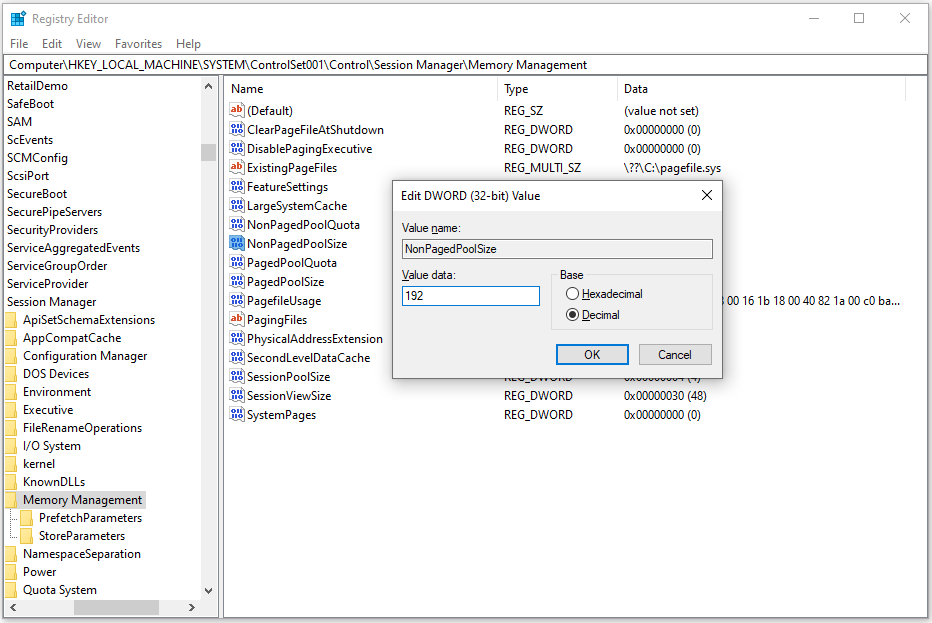
Fix 7. Repair any Non-Paged Pool Memory Error
The Bug Check 0x9B error can be caused by insufficient space in the non-paged pool memory as well. In this situation, you can change some certain keys to fix the error. Here’s the tutorial:
Step 1. Open the Run window, type “regedit.exe” and press Enter. Click Yes in the pop-up UAC window.
Step 2. Navigate to the following path:
Computer\HKEY_LOCAL_MACHINE\SYSTEM\ControlSet001\Control\Session Manager\Memory Management
Step 3. Scroll down and select NonPagedPoolSize DWORD key.
Step 4. Double-click it, select Decimal under the Base section, and then set the Value data as 192. Next, click OK to save the changes.
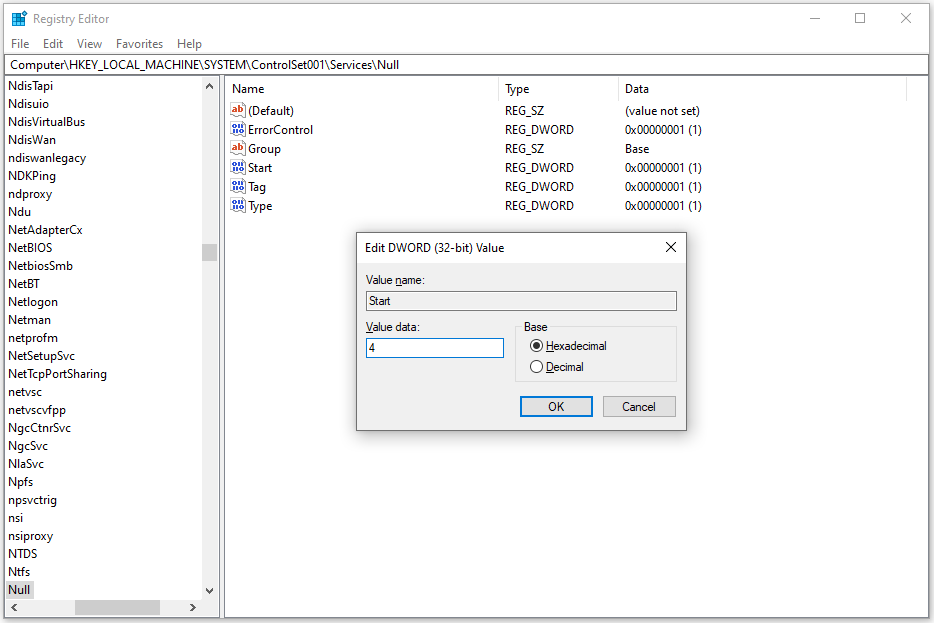
Step 5. Then, navigate to this location:
HKEY_LOCAL_MACHINE\SYSTEM\ControlSet001\Services\Null
Step 6. Double-click the Start key in the right panel, set the Value data as 4 and click OK to save the change.
Fix 8. Perform System Restore
If none of the above solutions can help you fix the Bug Check 0x9B error, you can try performing a system restore to fix the error. Here’s how to do it:
- Reboot your PC to enter Safe Mode.
- Press the Windows and R keys simultaneously to open the Run window.
- Type “rstrui.exe” in the box and press Enter.
- Click Next, and you can find all the restore points you have created on your Windows computer to date.
- Select one restore point, and then click Next.
- Follow the on-screen instructions to complete the restore process.
Fix 9. Reset Windows
If using a system restore point is also unable to help you fix the UDFS FILE SYSTEM blue screen error, you can try resetting Windows to fix the error. If you don’t know how to do that, you can refer to this post: How To Factory Reset Windows 10: Full Guide
Wrapping Things up
How to fix the UDFS FILE SYSTEM blue screen error? This post provides 9 useful fixes to help you fix the error. You can try using them to fix the error on your own.
About The Author

Position: Columnist
Charlotte is a technology columnist with a strong focus on the Windows operating system, specializing in disk management, backup, and data recovery. She is passionate about analyzing computer errors, identifying root causes, and delivering practical solutions. In her free time, she stays updated on the latest developments in computer systems and hardware while continuously learning new technologies to broaden her expertise. Her writing style is clear and easy to understand, making complex technical topics accessible even to users with limited computer knowledge.
User Comments :