About UCMUCSI_FAILURE Blue Screen Error
As a blue screen error code, the UCMUCSI_FAILURE bug check has a value of 0x000001D8. It indicates that the UCSI class extension has encountered an error.
This error usually occurs when the UCSI firmware is unresponsive or when the UCSI firmware has errors in responding to critical UCSI commands sent by the UcmUcsi driver.
In short, this issue is caused by a faulty USB-C driver or port, or outdated BIOS firmware. So first, try using a different port if available, and check the existing port for any signs of damage.
If you are bothered by this BSOD error, you can try the following methods to solve it.
MiniTool Partition Wizard DemoClick to Download100%Clean & Safe
How to Fix UCMUCSI_FAILURE Blue Screen Error?
Now, try the following solutions one by one to get rid of the UCMUCSI_FAILURE blue screen error.
Because the computer cannot boot successfully, in this case, you should boot the computer into Safe Mode and then perform these actions. To start a PC in Safe Mode, the steps are as follows:
- Press and hold the Power button till the screen turns off. Repeat this operation three times, and then the words “Preparing Automatic Repair” will appear. When you are prompted to enter WinRE, choose Advanced Options.
- When you are in WinRE, navigate to Troubleshoot > Advanced options > Startup Settings > Restart.
- After the computer restarts, there is a list of options. Press the F5 key to choose the Enable Safe Mode with Networking option.
Fix 1. Update Windows
Sometimes, an outdated Windows can cause your computer to display error 0x000001D8. To fix this problem, you can try updating Windows to resolve this error. Here’s how:
- Press the Win + I key to open the Settings window.
- In the Settings window, select Update & Security > Windows Update.
- Click the Check for updates button on the right-side panel if there are updates available.
Once done, restart your computer and check if the UcmUcsi.sys failed still appears.
Fix 2. Update Your Device Driver
As mentioned above, the outdated device driver may lead to the Windows UCMUCSI_FAILURE error. To get rid of this error, you need to update your driver to the latest version. The following are detailed steps for you to execute the operation.
- Press the Win + S key and type Device Manager in the Search box. Then press Enter.
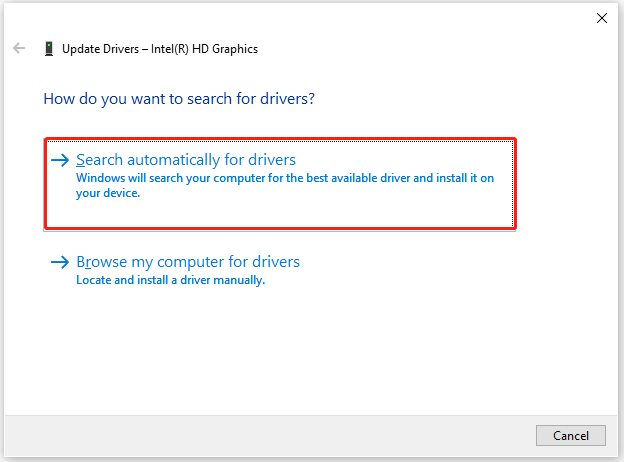
- Expand your desired device category and right-click a driver to select Update Driver.
- In a pop-up window, select Search automatically for drivers. Then, Windows will automatically check, download, and install the latest and appropriate driver.
Fix 3. Restart or Reinstall the Driver
Alternatively, you can try restarting or reinstalling the driver to fix this issue. The steps are as follows:
- In Device Manager, right-click the UCM-UCSI ACPI device in the USB Connector Managers section and select Disable device.
- Wait a few seconds, then right-click it again and select Enable device.
- If this doesn’t work, right-click the device and select Uninstall device.
- After uninstalling, right-click the USB Connector Managers section and select Scan for hardware changes to reinstall the driver.
Fix 4. Scan for Malware and Viruses
Viruses and malware can also cause various errors on your PC, such as the BSOD error UCMUCSI_FAILURE. So, if you are facing this blue screen error on your PC, you can try to scan for malware using the Windows Security tool. Here are the steps:
- Open the Settings window and navigate to Update & Security > Windows Security.
- Next, select the Virus & threat protection option from the right pane.
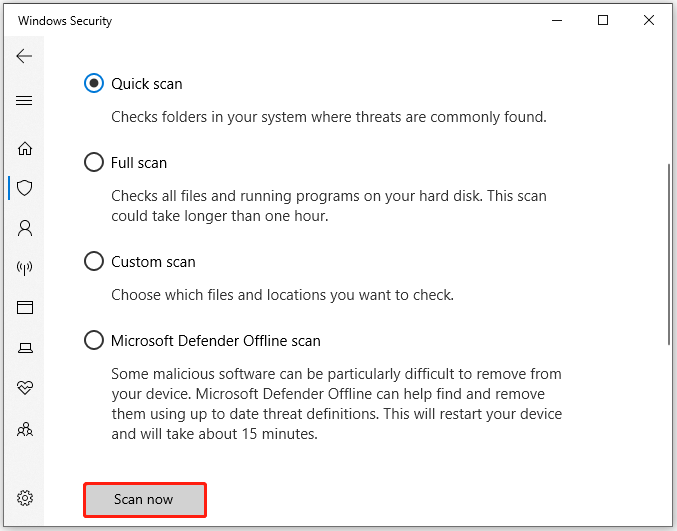
- Click Scan options and select one according to your needs in the new window.
- After that, click Scan now.
Fix 5. Update BIOS Firmware
Updating the BIOS firmware may also be helpful for this UCMUCSI_FAILURE blue screen error. You can update BIOS with USB.
Bottom Line
What can you do if you receive the UCMUCSI_FAILURE blue screen error? You can find the answer in the post. Here, 5 solutions to this issue are provided for you.
About The Author

Position: Columnist
Vega enjoys helping people with computer problems, including disk management, data recovery, data backup, and more. She is constantly expanding her knowledge in related fields. And she will continue to bring more easy-to-understand professional articles to help people solve various problems on the PC.
User Comments :