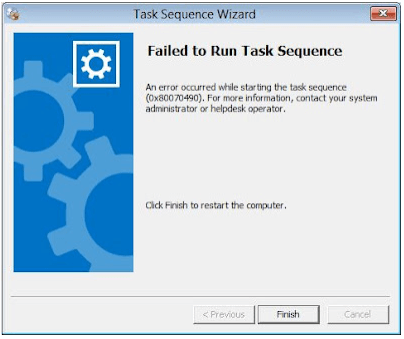
What Causes the SCCM Task Sequence Failed Error 0x80070490
According to user reports, the SCCM task sequence failure 0x80070490 error often occurs when running an operating system deployment with SCCM task sequence. The problem is mainly related to improper BIOS settings or incompatible partition table. Don’t worry. There are corresponding solutions to the SCCM task sequence unable to find a volume error 0x80070490.
How to Fix SCCM Task Sequence Failed Error 0x80070490 on Windows 10/11
Here we summarize 3 effective fixes to the task sequence failure error 0x80070490 after investigating extensive user reports. Let’s start trying.
# 1. Convert the Hard Disk to GPT and Set BIOS to UEFI
Some users from the Microsoft forum reported that the “failed to run task sequence 0x80070490” error can be solved by converting the system disk to GPT and switching to UEFI mode. It may seem strange but worth trying.
How to convert a hard disk to GPT without data loss? MiniTool Partition Wizard can do that easily. It’s a professional partition and disk manager that can convert hard disk, migrate OS to SSD, recover data, check disk performance, rebuild MBR, extend/resize/copy partitions, etc.
Here’s how to convert disk to GPT and set BIOS options to UEFI.
MiniTool Partition Wizard FreeClick to Download100%Clean & Safe
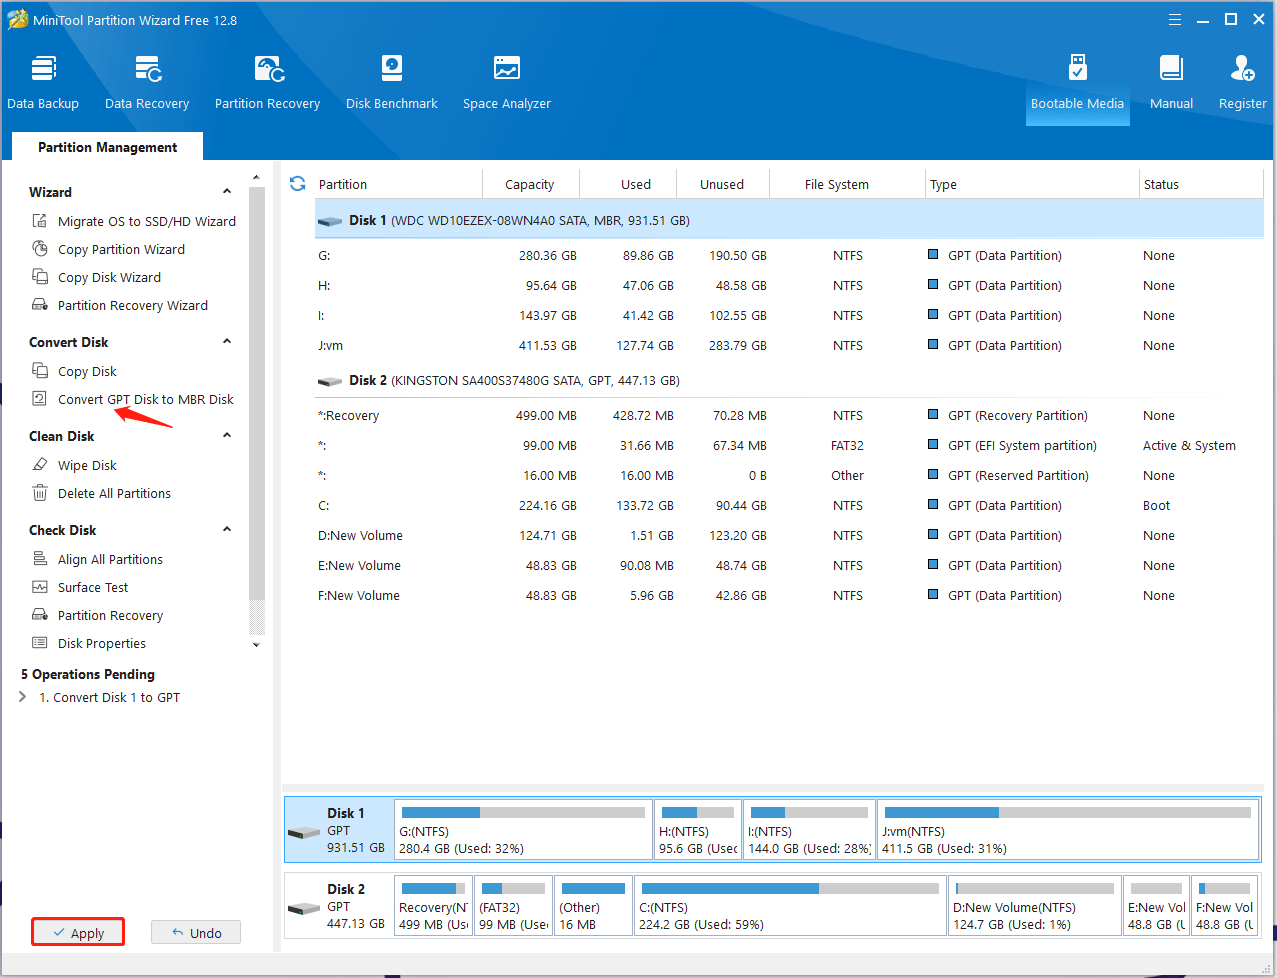
Step 1. Start the MiniTool software to enter its main interface, and then select your desired disk from the disk map and click on Convert MBR Disk to GPT Disk from the left action panel.
Step 2. Click on Yes If you are asked to boot from the GPT disk. If not, click on Apply to execute the pending operation.
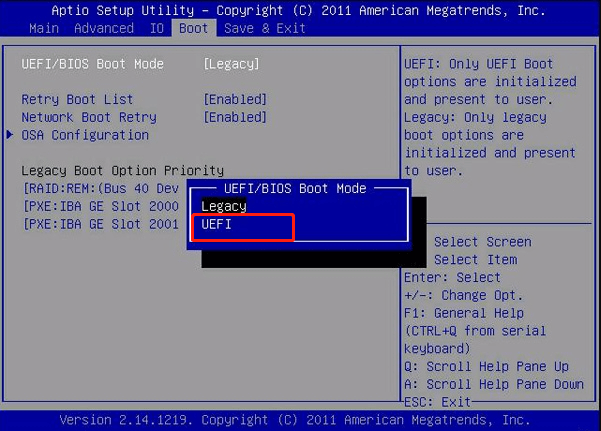
Step 3. Restart your computer, and then press F2 or Delete key during the startup to enter BIOS.
Step 4. Find the Boot options menu and set the BIOS mode to UEFI. Then press F10 and Enter to save and exit BIOS.
Now, you can reboot your computer and see if the SCCM task sequence failure 0x80070490 error disappears.
# 2. Set the BIOS Controller to AHCI
Some other people reported that the SCCM task sequence failed error 0x80070490 can be solved after changing the BIOS controller to AHCI. You may have a try. To do this work, enter BIOS again as we just showed above, find the Controller mode, and set it to AHCI. Then you can change the BIOS settings below:
- Disable secure boot under boot configuration
- Change SATA/NVMe operation from RAID to AHCI/NVMe
- Set fastboot to Auto under the Pre-Boot behavior
# 3. Format the Hard Disk
If none of the above methods can fix the SCCM task sequence unable to find a volume error 0x80070490, you may consider cleaning the hard disk and reformatting it. This has been proven by some users to be helpful. Let’s have a try.
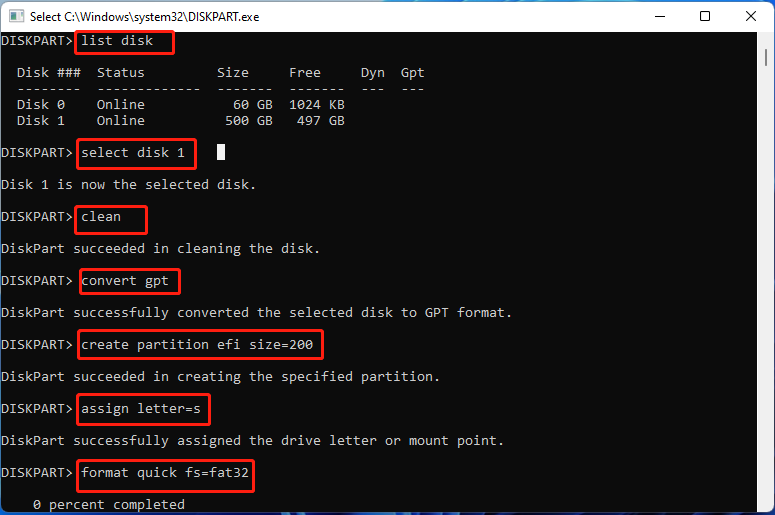
Step 1. Press Win + R keys to open the Run dialog box, and then type diskpart in it and press Enter.
Step 2. In the pop-up window, type the following commands in order and hit Enter after each one.
- list disk
- select disk * (* represents the disk number that you want to reformat)
- clean
- convert gpt
- create partition efi size=200
- assign letter=s
- format quick fs=fat32
- create partition msr size=128
- create partition primary
- assign letter=c
- format quick fs=NTFS
- exit
How to fix the task sequence failure error 0x80070490 on Windows 11/10? We have introduced 3 effective methods in this post. If you have any other opinions about this error, please leave them in the following comment area.
User Comments :