This post explores the possible reasons and available fixes for the PC not booting after new CPU install issue. If you are looking for solutions to this error, read this post from MiniTool Partition Wizard now!
PC not booting after a new CPU install means that there’s an issue with the installation process or the process is incomplete. Besides, your computer won’t boot after a CPU or GPU upgrade if the CPU and CMOS interface are not compatible with each other.
The computer won’t boot after a CPU or GPU upgrade if the new CPU is not seated properly, the thermal paste is not applied correctly, or any CPU pins are bent or damaged. When the existing power supply wattage is insufficient to cope with the power requirement of the CPU, your computer won’t boot after CPU upgrade.
Sometimes, you are required to perform a BIOS update to support the new CPU. You should also check the new CPU for issues.
Fix 1: Disconnect Peripherals
Disconnect everything except the keyboard and then reboot your computer. If the computer loads into Windows, connect cables one by one and restart the computer. By doing so, you can find culprits. Then remove the target peripheral from your PC.
Fix 2: Clear CMOS
Step 1: Power off the computer and unplug the power cable from the power outlet.
Step 2: Find the CMOS jumper on your motherboard. The CMOS jumper is a set of three pins with a plastic jumper cap covering two pins. It usually is labeled CLR_CMOS, CMOS, or Reset BIOS.
Step 3: After remembering the current position of the CMOS jumper, remove it from the present position.
Step 4: Move the jumper cap to cover the other two pins. For instance, if it covered pins 1 and 2, move it to pins 2 and 3.
Step 5: Leave the jumper cap in this position for about 10-15 seconds. It will clear the CMOS settings.
Step 6: After the specified time, remove the jumper cap to its original position.
Step 7: Reconnect the power cable to your computer and turn it on.
Fix 3: Try Booting Another Computer with the New CPU
You will receive the issue “Windows 10 not booting after CPU upgrade” if there’s something wrong with the CPU itself. A simple way to check that is to use the CPU on another computer and boot it to see if it boots up successfully.
If the PC loads up successfully, it can be concluded that the new CPU is fine. You need to take other measures to repair PC not booting after new CPU install.
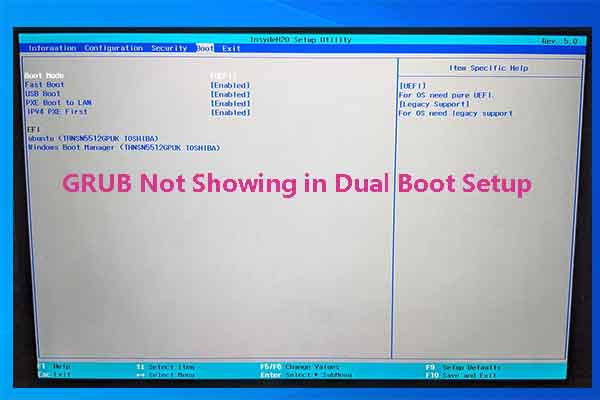
Fix 4: Switch from UEFI to CSM
Step 1: Restart your PC.
Step 2: While the computer loads up, keep pressing the BIOS key (F2, F10, F12, Del, or Esc) until the BIOS or UEFI setup utility appears.
Step 3: Use the arrow keys to navigate to the Boot or Boot Options section.
Step 4: Look for an option related to Boot Mode, Boot Type, or Boot Protocol.
Step 5: Depending on the BIOS/UEFI version of your motherboard, you have different options like UEFI, Legacy, and CSM. Choose the option that enables CSM or Legacy boot mode.
Step 6: Press F10 and Enter keys to save the changes and exit the BIOS setup utility.
Fix 5: Update the Version of the BIOS
When the present BIOS version doesn’t support the new CPU, your computer won’t boot after a CPU or GPU upgrade. In this case, you need to update the BIOS and then install the new CPU. So, put the old CPU back and update BIOS by following these steps.
MiniTool Partition Wizard DemoClick to Download100%Clean & Safe
Step 1: Download the latest BIOS version from the manufacturer’s official website on another computer.
Step 2: Unzip or copy the BIOS file to a USB flash drive with Fat32 file system.
Step 3: Plug the USB drive with the latest BIOS file into the faulty computer.
Step 4: Reboot your computer to enter the BIOS setup utility.
Step 5: Switch from easy to advanced menu mode.
Step 6: Go to the update menu within the BIOS
Step 7: Choose the BIOS file in your USB drive and click Yes or OK to continue.
You may also like this: Solved: PC Not Booting After BIOS Update – Recovery & Repair
User Comments :