What is the meaning of the net use delete command? How to use it to delete mapped network drive in Windows 10? To get the answers, you can focus on this post. Here, MiniTool Partition Wizard provides detailed information on the specific command and alternatives to remove mapped network drives.
About Net Use Delete
Net use delete is one commonly used command of the Net Use Command introduced in Windows 2000. This command is available in all Windows operating systems, like Windows 11, Windows 10, Windows 8, etc. You can easily use it to delete all network connections like mapped network drives from the Windows PC.
How to Use Net Use Delete Command in Windows 10
When you plan to remove a network drive with the net use delete command, simply follow the steps below.
Step 1: Search for Command Prompt in the search bar. Then open it from Best match.
Step 2: In the Command Prompt window, type net use [MappedDriveLetter] /delete and press Enter. You need to replace [MappedDriveLetter] with the drive letter of your network drive to delete, e.g., net use Z: /delete.
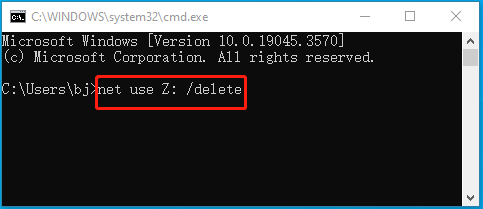
Step 3: If prompted, type Y and press Enter to confirm the net use delete network drive operation.
Alternatives to Net Use Delete
In this section, we explore some alternatives to the net use delete drive commands. If you are not familiar with the net use delete all and net use /delete force commands, you can choose one of the following ways to remove network drives.
#1: Use File Explorer
File Explorer enables you to delete network drives with ease. To do this, you just need to go to This PC in File Explorer, right-click the target network drive, and select Disconnect.
Alternatively, you can go to This PC, click Computer at the top toolbar, select Map network drive > Disconnect network drive, and then choose the target drive from the list and click OK to delete it.
#2: Use Windows PowerShell
Windows PowerShell is a Windows built-in utility that allows you to delete network drives with command lines as well. Here are the simple steps for network drive deletion in Windows PowerShell.
Step 1: Right-click the Start icon and select Windows PowerShell.
Step 2: To remove the target network drive, execute the Get-PSDrive [MappedDriveLetter] | Remove-PSDrive command, e.g., Get-PSDrive Z | Remove-PSDrive.
#3: Use Registry Editor
Step 1: Press Windows + R to open the Run dialog.
Step 2: Type regedit in the text box and press Enter to open Registry Editor.
Step 3: Navigate to the following path:
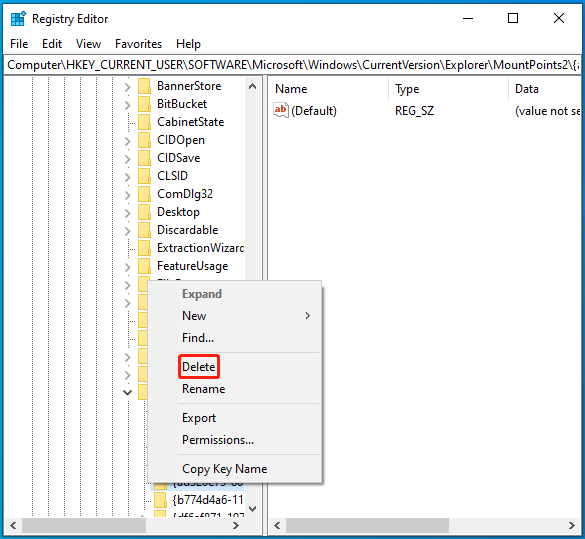
HKEY_CURRENT_USER\SOFTWARE\Microsoft\Windows\CurrentVersion\Explorer\MountPoints2
Step 4: Right-click the drive you want to remove under MountPoints2 and select Delete. Then click Yes to confirm the operation.
The Best Partition Manager: MiniTool Partition Wizard
Microsoft provides Disk Management and Diskpart for basic partition and disk management on your computer. If you want to arrange your partitions and disks better, we recommend you use MiniTool Partition Wizard. It’s a professional and comprehensive partition manager with a wide range of features.
With this program, you are able to create/format/resize/delete partitions, format USB to FAT32, copy/wipe hard drives, convert MBR to GPT, recover data from hard drives, etc.
If you are interested in this free partition disk software, you can click the following button to download and install it on your PC and then have a try.
MiniTool Partition Wizard FreeClick to Download100%Clean & Safe
This post guides you to delete a network drive with the net use delete drive command and other methods. If you have any problems with net use delete, you can leave a message in our comment part below.
User Comments :