Are you suffering from the Microphone not working after upgrading to Windows 11 issue? If you are looking for solutions, just read this article from Partition Magic to get the answer.
Microphone not working after upgrading to Windows 11 22H2. Recently. After upgrading my Windows 11 21H2 to 22H2, my microphone stopped working. after doing several common problems that none worked out I gave up.https://answers.microsoft.com/en-us/windows/forum/all/microphone-not-working-after-upgrading-to-windows/
This is a true example from the Microsoft forum. If you are also suffering the same problem, you can keep reading this article to solve this issue.
Solution 1. Run the Recording Audio Troubleshooter
Microsoft provides a Recording Audio troubleshooter that includes a series of automated repair strategies to help fix some simple errors.
Step 1: Press the Win + R key to open a Run dialog box. Next, type ms-settings:troubleshoot inside the box, then press Enter. If you’re prompted by the User Account Control, click Yes to grant admin access.
Step 2: In the Troubleshoot window, move over to the right-hand section and click on Other Troubleshooters.
Step 3: Once you see the list of troubleshooters, scroll down to the bottom of the screen and click on the Run button associated with Recording Audio.
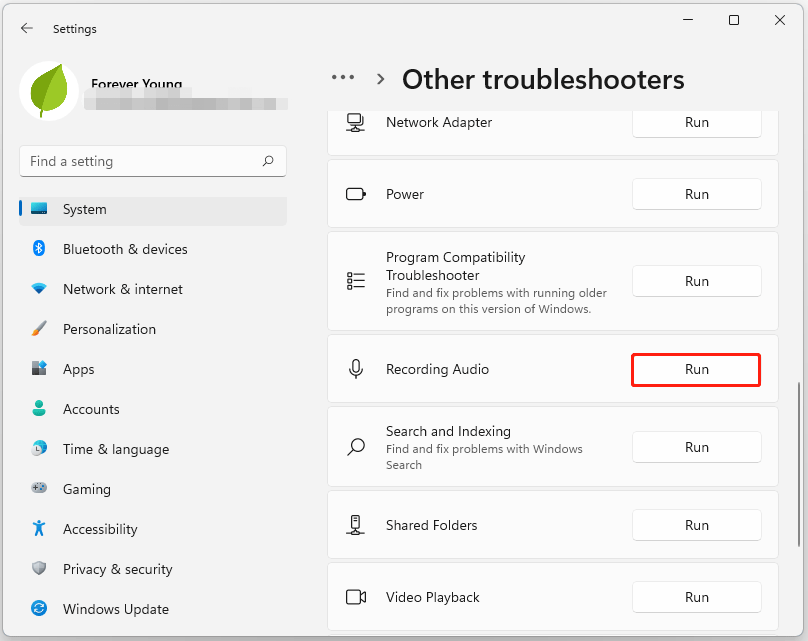
Then follow the on-screen instructions to operate. If a viable fix is identified, click on Apply this fix from the prompt.
Once done, reboot your PC and check if the issue is now fixed.
Solution 2. Update the Microphone Driver
If you have just completed the upgrade process to Windows 11 and your operating system has not yet updated its recording driver, you should update your microphone driver. While most Windows 10 recording drivers are compatible with Windows 11, some are not.
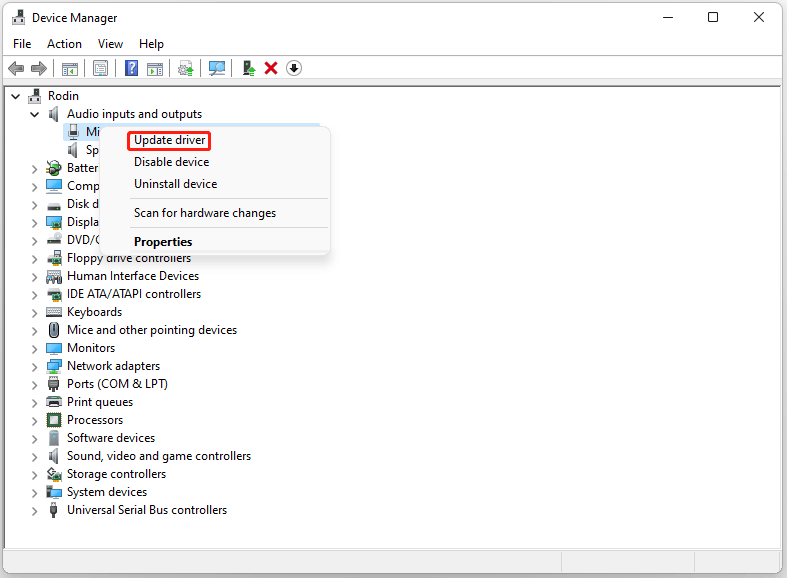
Step 1: Right-click on the Windows icon to select Device Manager. Then expand the Audio inputs and outputs category, right-click on the microphone device that you’re using, and choose Update Driver.
Step 2: In the new window, click on Search automatically for drivers, and then follow the on-screen instructions to operate.
Solution 3. Set the Correct Microphone as Default
If you have a laptop, your computer should have a built-in microphone. If you currently have two active microphones, you need to check which microphone is currently set as default.
Step 1: Type Change system sounds in the Windows Search box, and open it.
Step 2: In the new pop-up box, switch to the Recording tab, click on the desired Microphone or Headset, then select Properties.
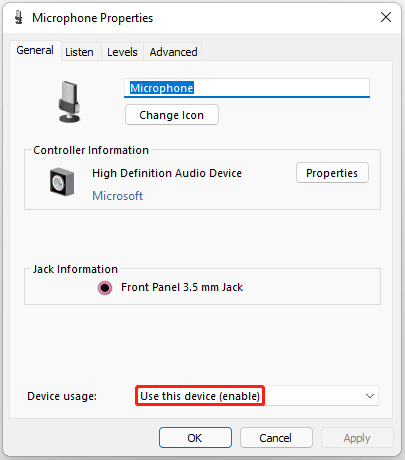
Step 3: At the bottom of the page, look at the Device usage section, then make sure it is set to Use this device (enable). If it isn’t, choose it from the drop-down menu.
Step 4: Finally, click on Apply > OK to save the changes.
Further reading: MiniTool Partition Wizard is a free partition manager that can free up disk space, partition hard drives, convert FAT32 to NTFS, migrate OS to SSD, recover lost data/partitions, wipe hard disks, clone hard drives, and more.
MiniTool Partition Wizard FreeClick to Download100%Clean & Safe

Bottom Line
In conclusion, this post provides 3 methods to solve the Microphone not working after upgrading to Windows 11 issue. Hope you can solve it successfully.
About The Author

Position: Columnist
Vega enjoys helping people with computer problems, including disk management, data recovery, data backup, and more. She is constantly expanding her knowledge in related fields. And she will continue to bring more easy-to-understand professional articles to help people solve various problems on the PC.
User Comments :