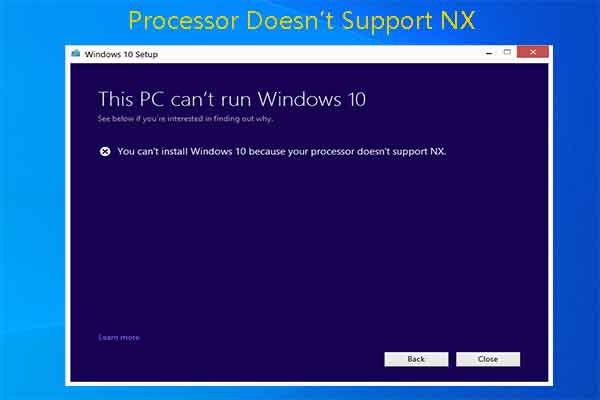
DeleteFile failed code 5 is an annoying error, which upsets a lot of users. If you are suffering from it too, read this post now! It shows you fixes for the error happening in 3 cases.
MiniTool Partition Wizard FreeClick to Download100%Clean & Safe
Case 1: Occur to SendPro Online Software
In addition, the message “DeleteFile failed; code 5 access is denied” can also appear when installing or updating the SendPro Online software. It is mainly because the Windows account you are using doesn’t have permission to modify or delete files in the installation folder.
You can contact your local IT department or system administrator to obtain permissions. By doing so, you can get rid of the error.
Case 2: Happen to SyncBack
The “DeleteFile failed; code 5 access denied” message also shows up when you are trying to replace the existing file in SyncBack. If SyncBack is running and so one of its files cannot be replaced. It might be running under a different user account, so it is not visible in the Task Manager.
In this case, try closing SyncBack and repeating the operation. If the error persists, try the methods below.
- Stop the install, run SyncBack, and set it not to start with Windows.
- Restart and try installing SyncBack again.
Case 3: Occur to SONAR
If you run Windows 7 and your user account has limited privileges, you may receive the error message “DeleteFile failed; code 5 access denied” while installing SONAR. In this case, you can troubleshoot the “installation error: DeleteFile failed; code 5 access denied” by following the steps below.
Step 1: Restart the PC, log in with another administrative user account, and install SONAR.
Step 2: If you have logged in as an administrator, you need to run the SONAR installer manually as admin.
- Insert the SONAR DVD installation disc into your DVD drive. If you are using a downloaded version of the installer, skip to 4. If the Auto-screen appears, close it.
- Go to Computer, right-click on your DVD/CD-ROM drive, and click Open.
- Navigate to \Install\SONAR_Setup.exe.
- Right-click SONAR_Setup.exeand click Properties to open the Properties dialog box.
- Tap on the Advanced button to open the Advanced Attributes dialog box.
- Tick the Run as Administrator checkbox and click OK to close the Advanced Attributes dialog box.
If the above steps don’t solve the error and there’s no other user account to log in, you can create a new user account with administrative rights. The permissions for the current user account are likely corrupt, so creating a new user account should fix the issue.
You should ensure that no other programs are running when you install SONAR. To avoid any programs from loading when you start Windows, refer to the steps below.
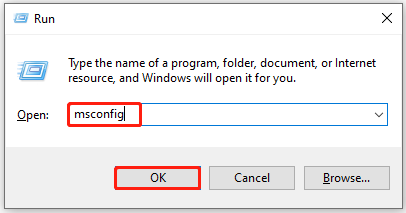
Step 1: Open the Run window by holding the Windows and R keys.
Step 2: In the Run window, type msconfig and click the OK button.
Step 3: Click on the Startup tab and click Open Task Manager.
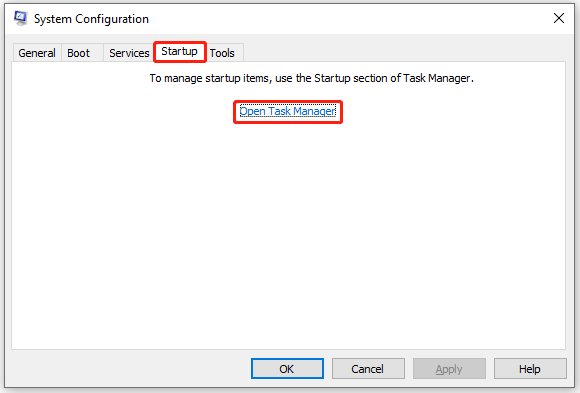
Step 4: In the Task Manager window, right-click on the program and tap the Disable option. Repeat this option until all the unnecessary startup programs are disabled.
Step 5: Restart the PC and reinstall SONAR.
![Why and How to Disable BIOS Cache or Shadowing [Answered]](https://images.minitool.com/partitionwizard.com/images/uploads/2024/02/disable-bios-cache-or-shadowing-thumbnail.jpg)
Are you bothered by DeleteFile failed code 5? If so, pay attention to this post now! It offers you solutions in different cases.
User Comments :