As you might know, PowerShell is an open-source project that’s pre-installed in Windows 10. You can open it from the Power User menu or search for it in Cortana.
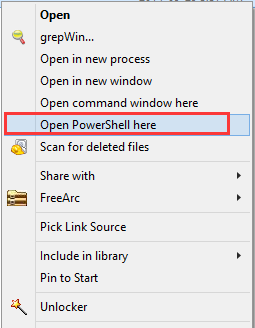
Unlike Command Prompt, you can open it anywhere by holding down the Shift key and right-clicking the folder, and then you will find the Open Command window here option from the context menu. However, there is no Open PowerShell window here option. At this time, you need to add the option to the context menu manually.
Now, let’s see how to open PowerShell in a folder.
![How to Run PowerShell Script on Windows 10? [Full Guide]](https://images.minitool.com/partitionwizard.com/images/uploads/2019/12/powershell-script-thumbnail.jpg)
Method 1. Open PowerShell Window Here in File Explorer
The first and simplest method for Windows open PowerShell in a folder is to utilize the File Explorer. Don’t worry. This operation will make no changes to anything. Here’s how to open PowerShell here.
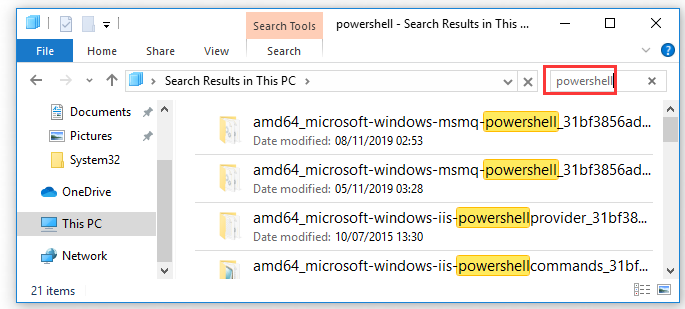
Step 1. Press Win plus E keys to open your File Explorer, and then go to the folder or location that you want to find the open PowerShell window here option.
Step 2. Type PowerShell in the search bar and hit Enter.
Step 3. Wait a moment and you can open a PowerShell window at that folder.
Method 2. Add “Open PowerShell Window Here” to the Context Menu
Alternatively, you can add the “Windows open PowerShell in a folder” feature to the context menu by editing the registry manually. To do so, you need to make some changes to Windows Registry. Here’s how:
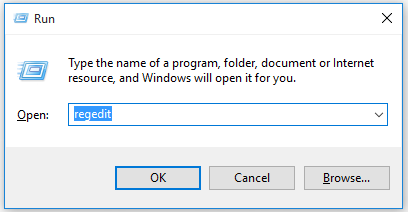
Step 1. Press Win + R keys to open the Run dialog box, and then type regedit in it and hit Enter.
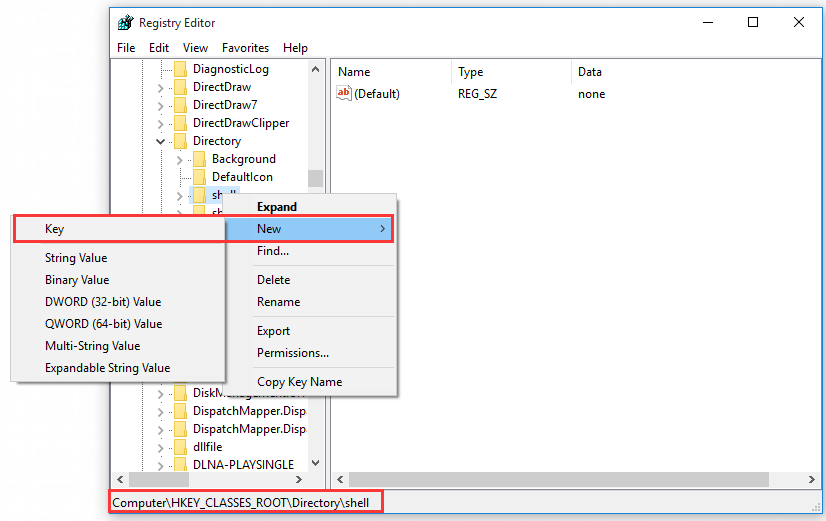
Step 2. Navigate to the following path through the left sidebar:
HKEY_CLASSES_ROOTDirectoryshell
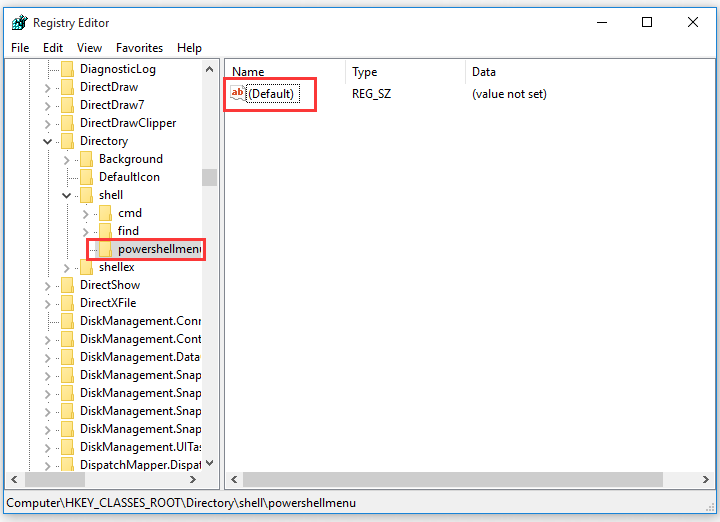
Step 3. Right-click the shell key and choose New > Key from the context menu. Then name the new key to the powershellmenu.
Step 4. Now, double click the default value inside the new PowerShell key to open its Properties window.
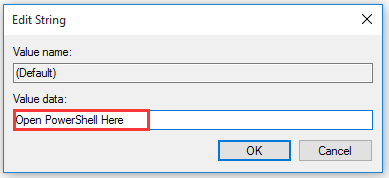
Step 5. In the Properties window, change the Value data to Open PowerShell Here, and then click on the OK button to save this change
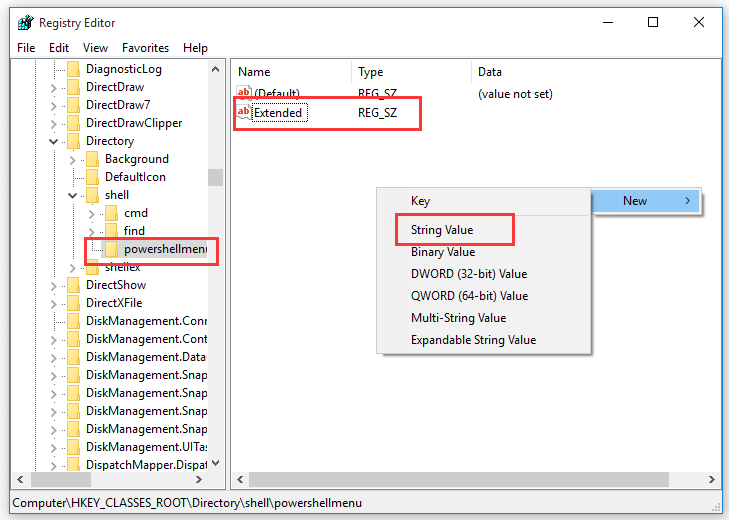
Step 6. To set the same way to the Open Command Prompt here option by holding the Shift key and right-clicking the folder. Here you can set the same way for the Windows open PowerShell in a folder option. Right-click the powershellmenu key and choose New > String Value.
Step 7. Name the default value to Extended. And then the rest process is the same as the above, you need to create a new key inside the powershellmenu key and choose New > Key, and name the key to command.
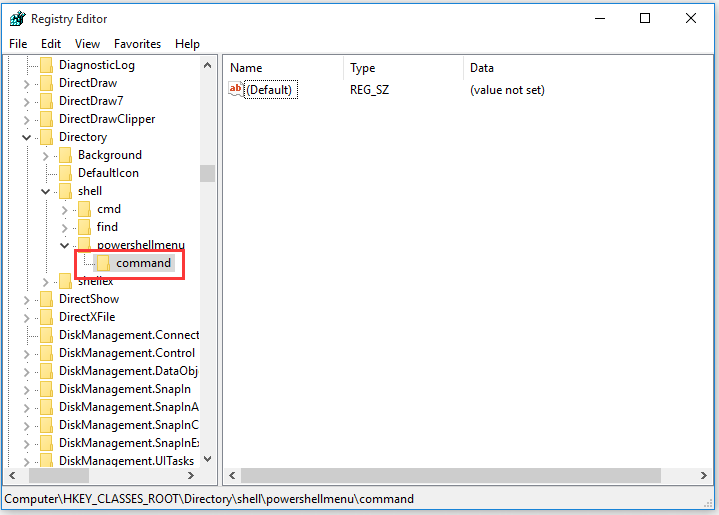
Step 8. Double click the Default value inside the command key to open its properties.
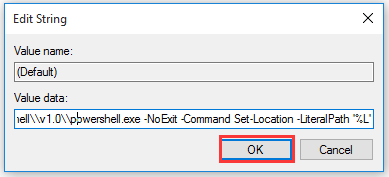
Step 9. Then type the following text into the Value data and click on OK.
C:\Windows\system32\WindowsPowerShell\v1.0\powershell.exe -NoExit -Command Set-Location -LiteralPath ‘%L’
Step 10. Close the Registry Editor. After that, these changes will take place at one and you can choose the Open with PowerShell option by holding down Shift key and right-clicking the folder.
User Comments :